How to Braid Your Own Hair
Become a Braiding Master: A Guide to DIY Hairstyles
There’s nothing quite like the look and feel of an intricate braid. From sleek and sporty to romantic and bohemian, braided hairstyles have a way of making you feel put-together and stylish. While it’s always nice to have someone else weave those plaits for you, there’s a serious girl power vibe that comes from being able to braid your own hair. With the right techniques and a little practice, anyone can master stunning braided looks all by themselves!
Why Learn to Braid Your Own Hair?
Before we get into step-by-step tutorials, let’s talk about why mastering the art of self-braiding is such an empowering skill:
Endless Styling Freedom
Want beachy waves one day and an intricate updo the next? Having braiding skills gives you the freedom to style your hair however you please without being dependent on someone else.
Creative Self-Expression
Braiding takes hairstyling from something purely functional to an artistic form of self-expression and individuality. Get as creative and complex as you desire!
Self-Reliance
Being self-sufficient with braiding makes getting out the door easier since you don’t have to worry about scheduling salon or friend appointments. You’re in control.
Serious Hair Therapy
The act of braiding itself provides a relaxing, meditative benefit as you focus on gently manipulating your strands into plaits. It’s a calming self-care ritual.
Money Saver
Let’s be real – updo and braid services at salons can cost a pretty penny, especially if you love rocking complex styles frequently. Do-it-yourself braiding saves both time and cash.
The Tools and Prep For Braiding
You only need a few things to start braiding your locks into perfect plaits at home:
Rat-tail comb or hair picks
Small non-slip hair clips or butterfly clamps
Smoothing hair cream, pomade or light hold gel
Handheld mirror
A steady table or desk surface
Braid inspiration pics! (Optional but helpful)
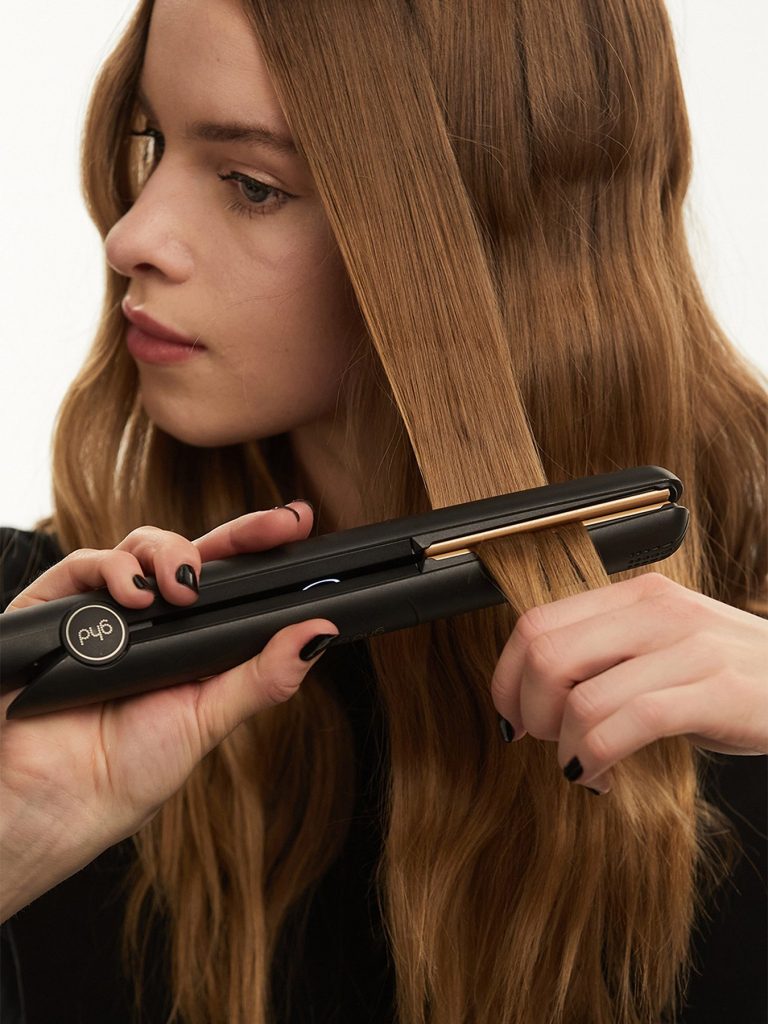
Having manageable sections and a good grip are key, so always start by detangling and prepping your hair with a nourishing styling cream from roots to ends. Make sure your hair is completely knot-free before separating it into your desired part or sections. You can braid on either fresh hair or second/third day styles with a bit of grit and hold.
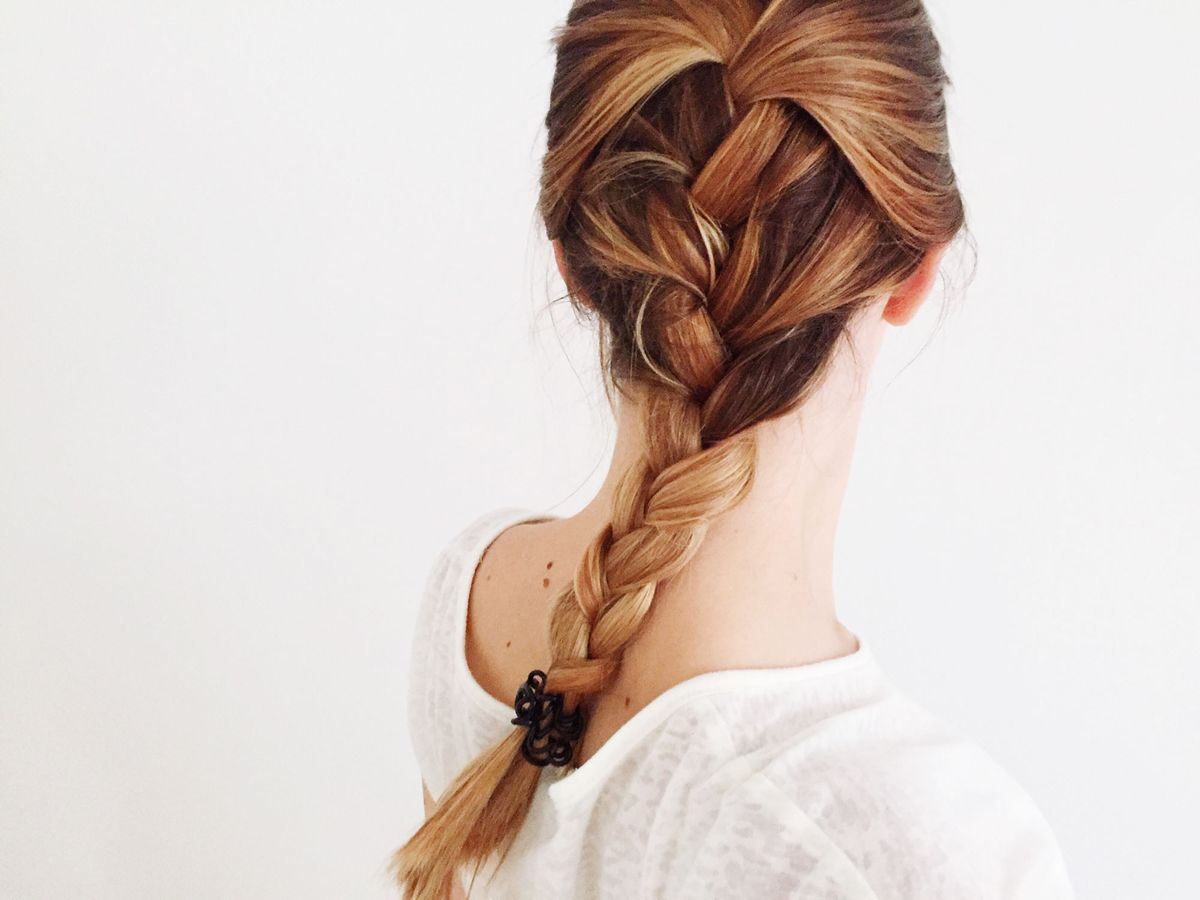
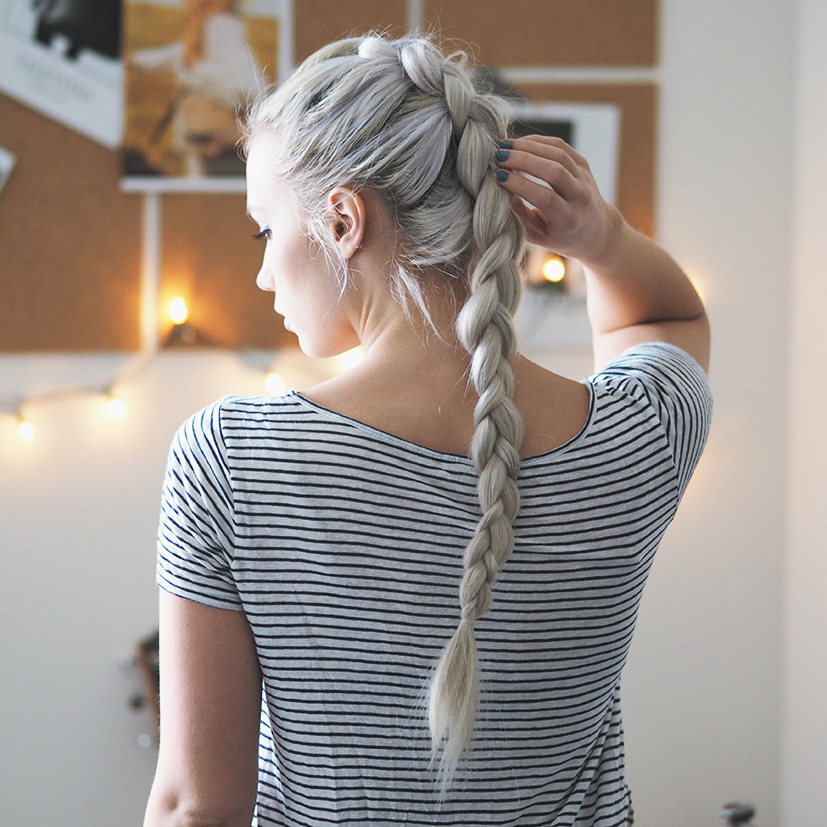
Simple Starter Braid: The Three-Strand Plait
Ready to get braiding? Let’s start with the classic three-strand braid. This fundamental plait is the base for more complex and intricate styles.
1. Brush all hair forward over one shoulder and separate out a top section about 2-3 inches wide into three small, tidy segments using your comb and clips. Secure the rest out of the way.
2. Take the outermost left segment, and cross it under the middle section. Then do the same by taking the outermost right section and crossing it under the new middle.
3. Repeat this pattern of alternating the left and right outermost strands under the middle. Keeping all crossed sections tight but not pulling too snug.
4. Once you establish a basic braid pattern, remove the clipped sections and continue braiding, adding more hair to each outer strand as you build the plait down the length.
5. Secure with a hair tie once you reach the ends. Mist with hairspray if desired to tame flyaways.
The key is working in stages, starting with just the top sections until you build up some muscle memory for creating that classic over-under pattern. As you get more comfortable, try braiding from different parts and making your plaits tighter or looser.
Pigtails and Beyond
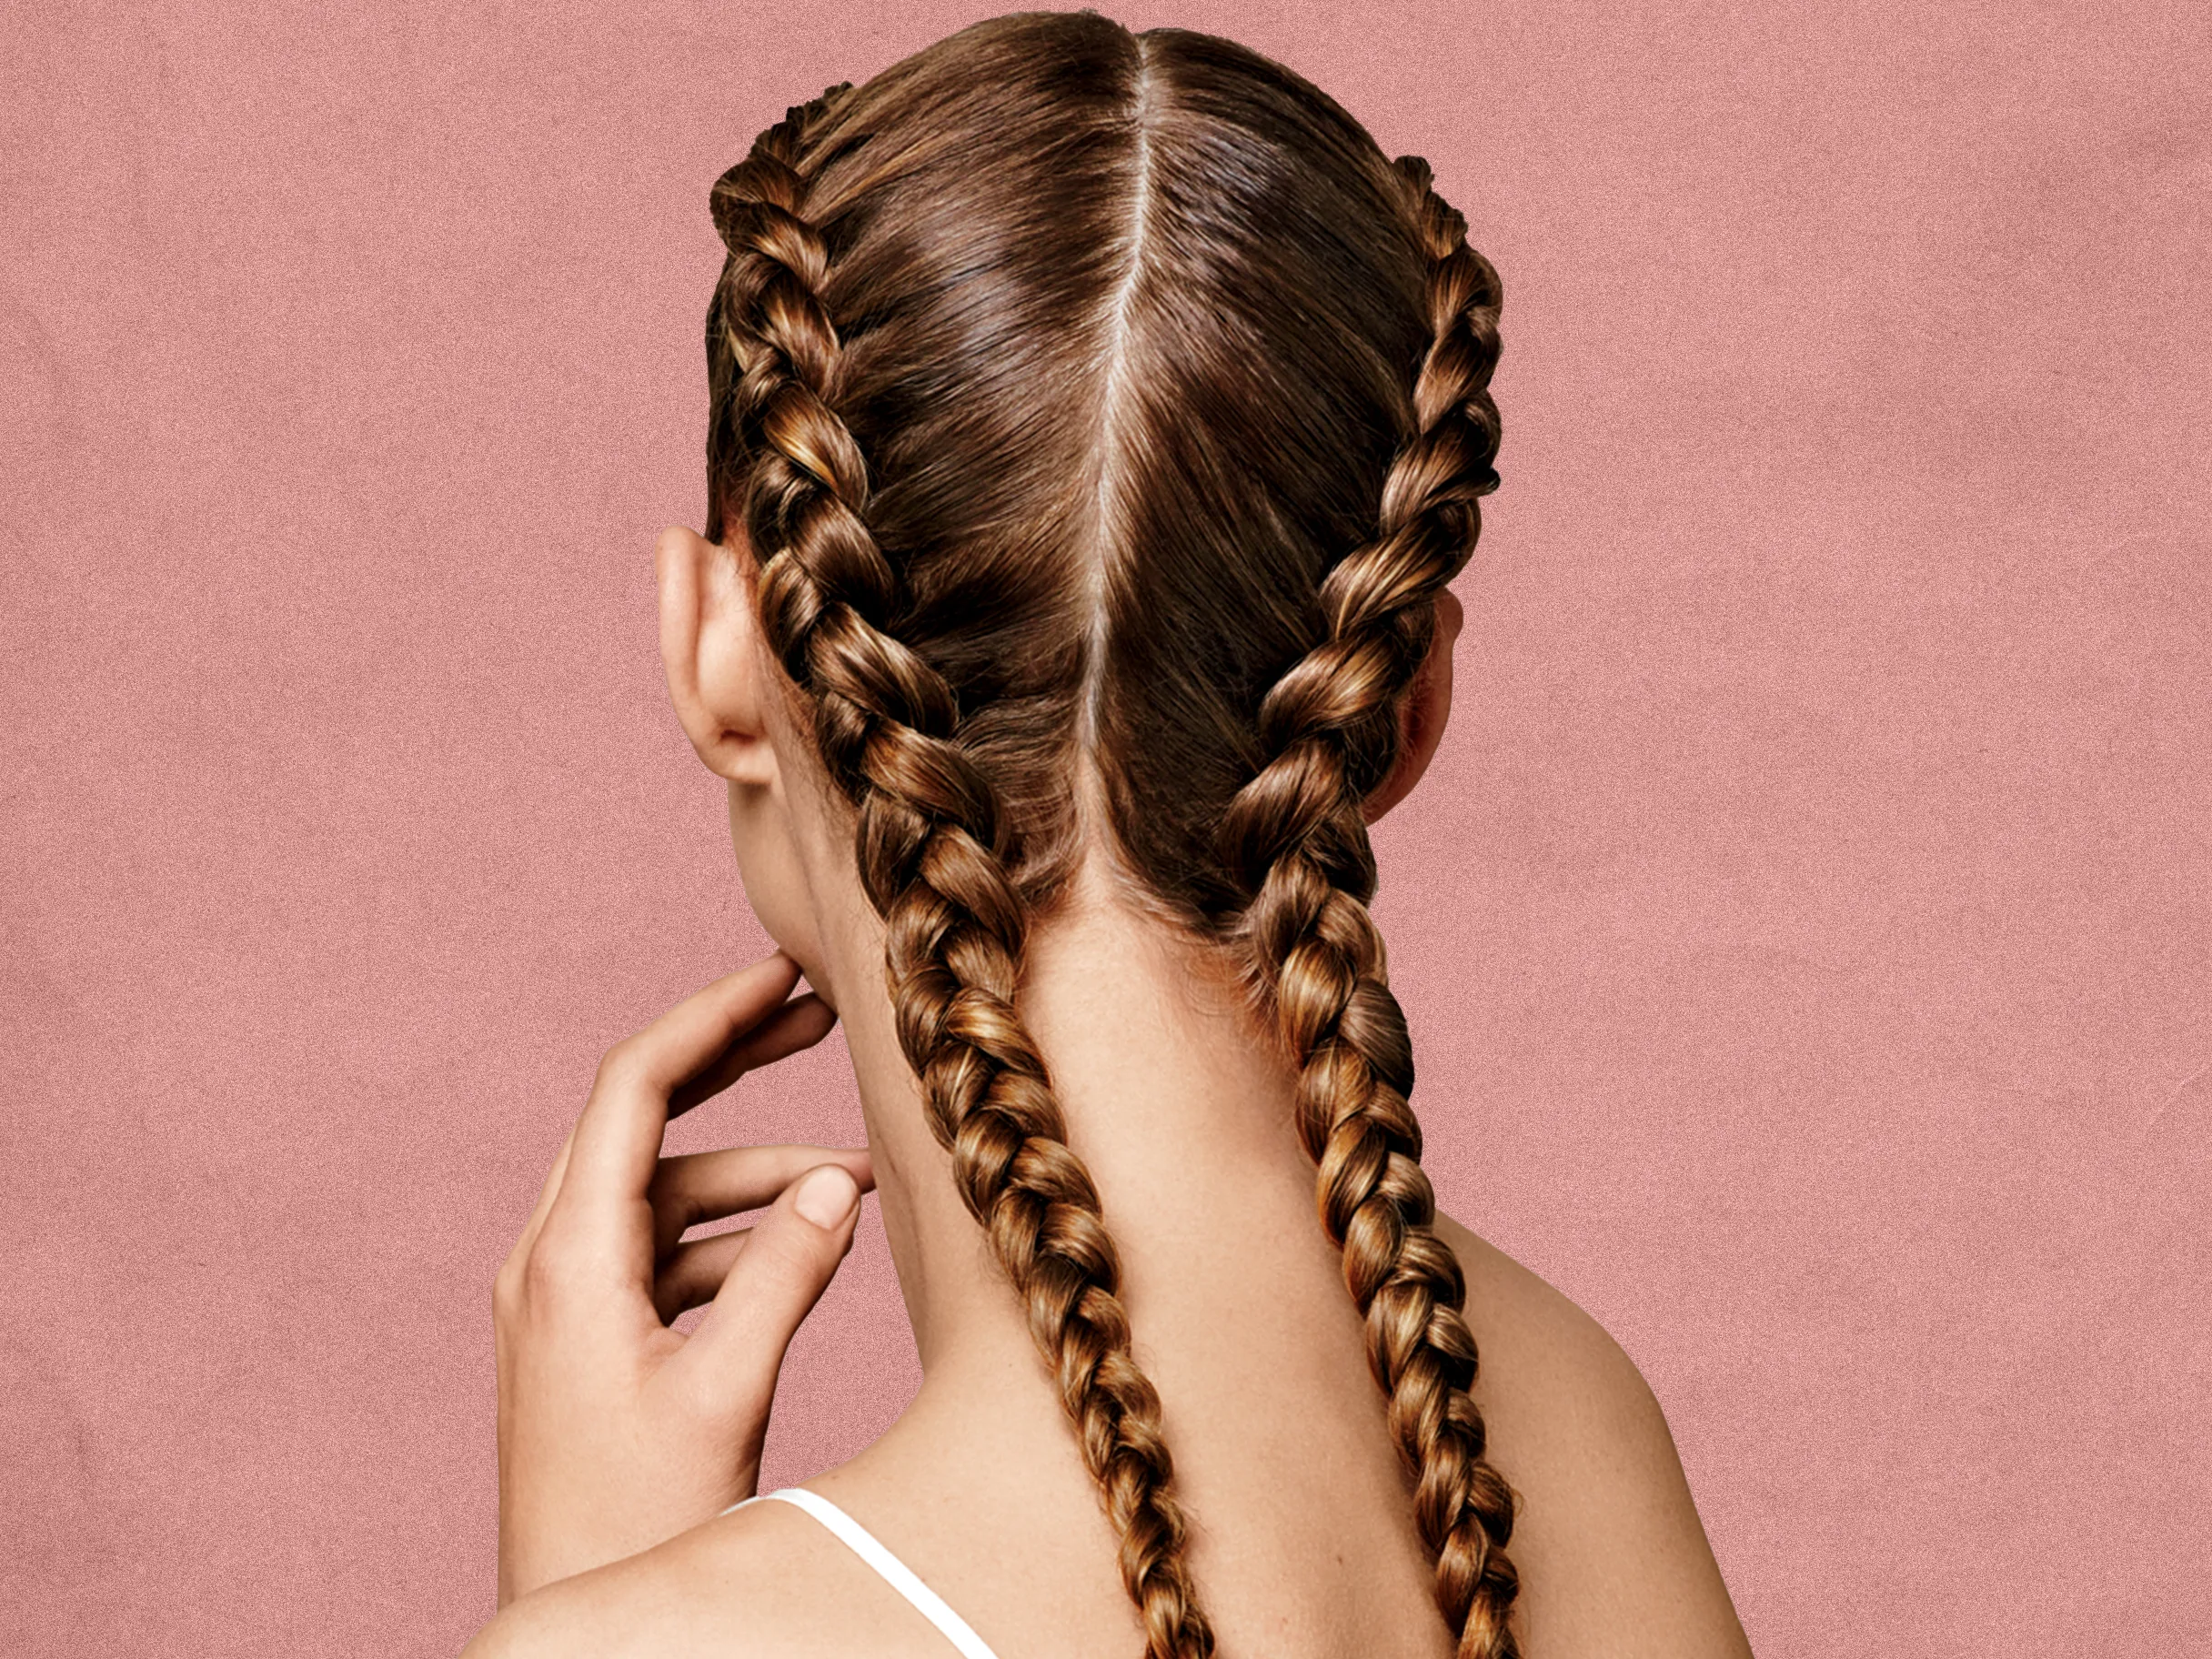
Mastered the basic three-strand technique? Time to kick things up a notch! Move on to styling double pigtail braids all by yourself. Simply repeat the previous over-under pattern on two side sections:
1. Part hair down the middle from front to back. Separate each side into three strands and secure the rest away with clips.
2. Braid each side in a standard pattern at the same time, working both plaits simultaneously. Check your handheld mirror to keep them symmetrical.
3. Once braided to your desired length, secure each one with a hair tie. You can leave them hanging freely or pull into pigtails or buns!
From here, the plait possibilities are endless! Combine pigtails with a braided headband or use as the base for an intricate updo like a braided crown or halo braid. Get creative with style, tightness, and where you position parts for endless gorgeous looks.
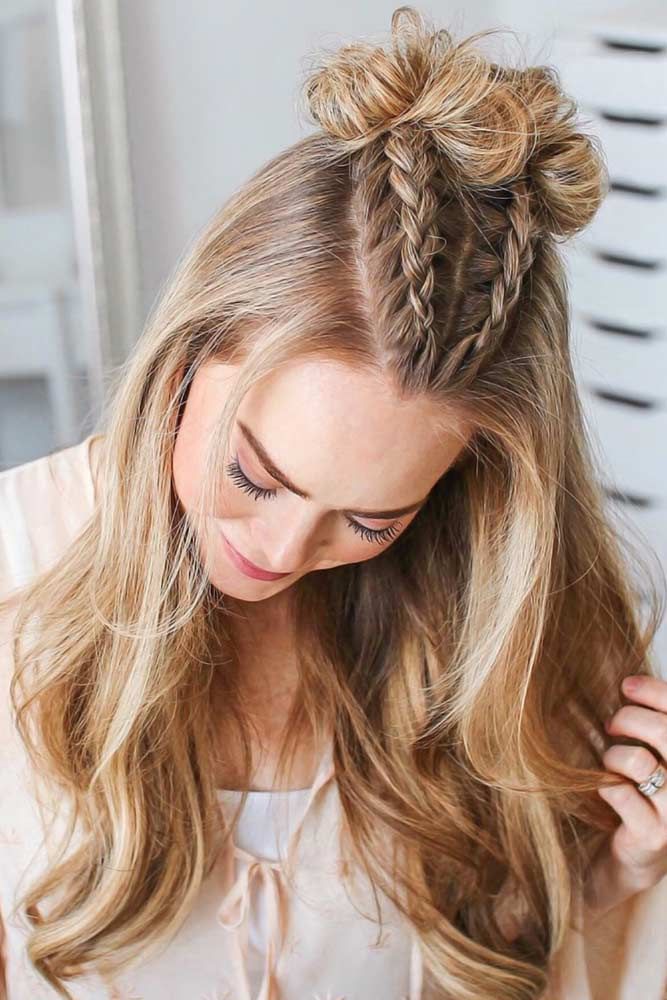
Take It Up a Notch With…
Ready to level up past basic plaits? Move on to mastering fancier styles like French, Dutch, or fishtail braids:
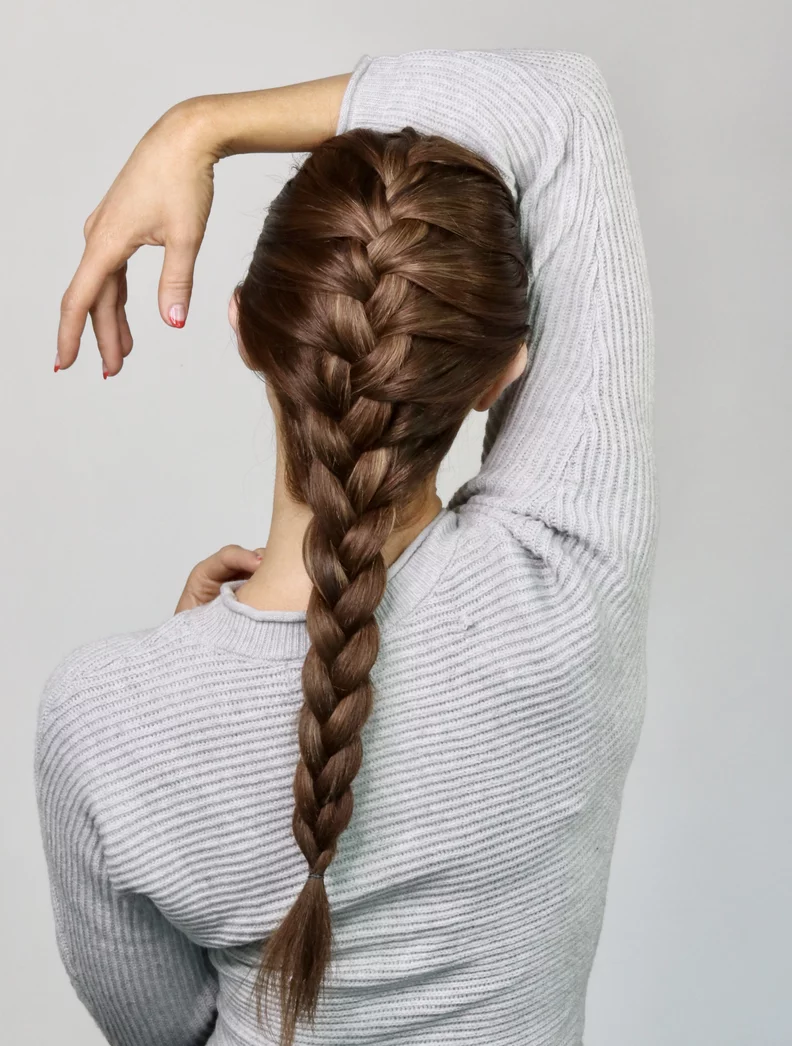
French Braids: Start with a small section near your hairline, braid normally, picking up extra hair strands with each cross. Work gradually around toward the back to incorporate all hair.
Dutch Braids: Like a French braid, but cross outer strands under the middle instead of over. Creates a more dimensional, outside-in look.
Fishtail Braids: Instead of three strands, separate hair into two sections. Take a small strand from one section and cross it over to the other. Keep repeating this weaving pattern all the way down.
Don’t get discouraged if you struggle at first – these more complex braided styles require a lot of focus and dexterity to pick up new strands cleanly. Check mirrors on all angles and fix any bumps or holes as you go. Quality styling tools like pik attachments or braiding helpers make sectioning and controlling strands way easier.
Pro Tips for Perfecting Your Plaits
The more you braid your own hair, the more tiny tricks and shortcuts you’ll pick up along the way. Here are a few key braiding hacks to have in your back pocket:
Let the Weight Do the Work: When bringing over new strands, allow the weight of your hair to feed gently into the braid without tugging or forcing it.
Hair Spray is Your BFF: Missed a section or have stray hairs sticking out? A quick blast of hair spray lets you easily reincorporate pieces back into the braid.
Vary Tension: Switch between looser braids at the top for volume and pulling more taut as you near the ends. Constant tension is key.
Stay Focused on Your Grip: The key to a smooth, mistake-free braid is maintaining optimal hair tension between your fingers as you weave. Think of creating a new muscle memory.
Prep Root Volume: Whether blow drying upside down or using texture spray, having some lift at the roots prevents braid patterns from falling flat.
Don’t Neglect the Details: Little finishing extras like gently pulling apart or pancaking your braid can really amp up dimension and give it a loose, lived-in look.
With a bit of patience and the right preparation, you’ll be an expert at braiding your own hair in no time! Let your new plaiting prowess unleash a world of fresh, chic hairstyles at every turn. Those flawless DIY braids are yours for the taking.