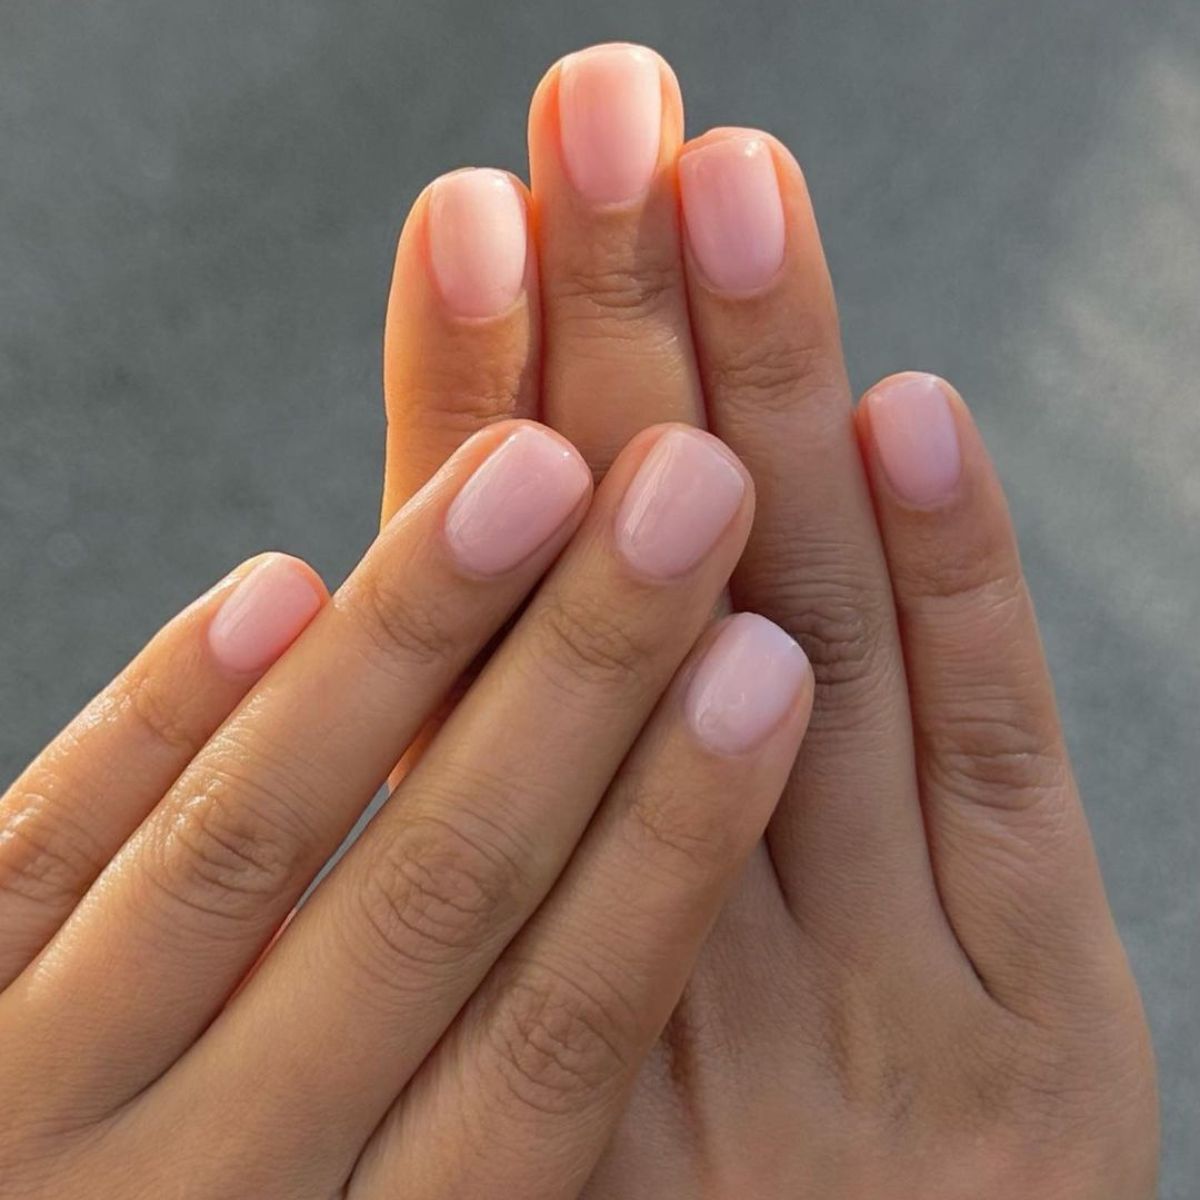
Gel Polish on Natural Nails: DIY Perfect Application
Contents
hide
Essential Tools and Supplies for Gel Polish Application
To ensure a successful gel polish application on your natural nails, gathering the right tools and supplies is vital. How to apply gel polish on natural nails?Here’s what you’ll need:
UV/LED Lamp
A UV/LED lamp is crucial for curing the gel polish, making it durable. Look for one that’s easy to use and fits your hand comfortably.
Cuticle Oil and Cuticle Pusher
Nail Buff and Nail File
A nail buff smooths out imperfections, and a nail file shapes your nails and prepares them for polish.
Gel Polish Kits
Consider a gel polish kit that includes both application and removal supplies.
High-quality Gel Polishes
Choose gel polishes that promise a long-lasting shine and chip resistance.
Gel Base and Top Coats
A base coat helps the polish stick, and a top coat seals in the color for a glossy finish.
Acetone and Cotton Balls
Acetone cleans your nails before application and aids in gel polish removal. Use cotton balls or lint-free wipes with it.
Additional Supplies
You might also need nail clippers, UV gel manicure gloves, and nail decals for delightful nail art.
Gather these essentials to ensure your at-home gel polish application goes smoothly and your manicure lasts longer.
Preparing Your Natural Nails for Gel Polish
Before diving into the application process, it’s crucial to properly prep your natural nails.How to apply gel polish on natural nails? Thorough preparation not only enhances the longevity of your gel polish but also gives you a professional finish. Follow these steps for optimal nail prep:
- Clean Your Nails: Start by cleaning your nails with acetone to remove any oils or residues.
- Shape Your Nails: Use nail clippers and a nail file to shape your nails to your preferred style.
- Tend to Your Cuticles: Apply cuticle oil and gently push back cuticles with a pusher. Be mindful not to cut them.
- Buff the Nail Surface: Use a nail buff to gently smooth the surface of your nails. This removes any imperfections and helps the gel polish adhere better.
- Wipe Nails Clean: After buffing, clean your nails again with acetone to ensure no dust or oil remains. Use a lint-free wipe to avoid leaving fibers behind.
Take your time with each step to ensure that your nails are in the best possible condition for the gel polish application.
Step-by-Step Guide to Applying Gel Base Coat
How to apply gel polish on natural nails?Now that you’ve prepped your nails, it’s time to start the gel base coat application. A careful application of the base coat is key for a lasting gel polish manicure. Here’s how you do it step by step:
- Apply a Thin Layer: Begin with a thin layer of gel base coat on each nail. Make sure the layer is even.
- Avoid the Skin: Keep the base coat off your skin and cuticles. If it gets on your skin, clean it before curing.
- Seal the Edges: Carefully paint over the tips of your nails. This ‘capping’ protects the edges.
- Cure Under the Lamp: Place your nails under the UV/LED lamp. Cure them for the time the manufacturer recommends.
- Check for Stickiness: Once cured, nails may feel sticky. That’s normal but don’t touch them yet.
- Clean Up Mistakes: If any gel slips onto the skin, wipe it with a little acetone on a brush.
- Repeat for All Nails: Follow these steps for each nail, ensuring all are prepped for the next stage.
With the base coat down, you’re ready for the next phase. This will create the foundation for a gorgeous, long-lasting gel polish manicure. Remember, the base coat is what helps the color coat stick, so don’t rush this part.
The Art of Applying Gel Color Polish
Applying gel color polish is like a craft that takes patience and precision. How to apply gel polish on natural nails?To get the best results, follow these steps:
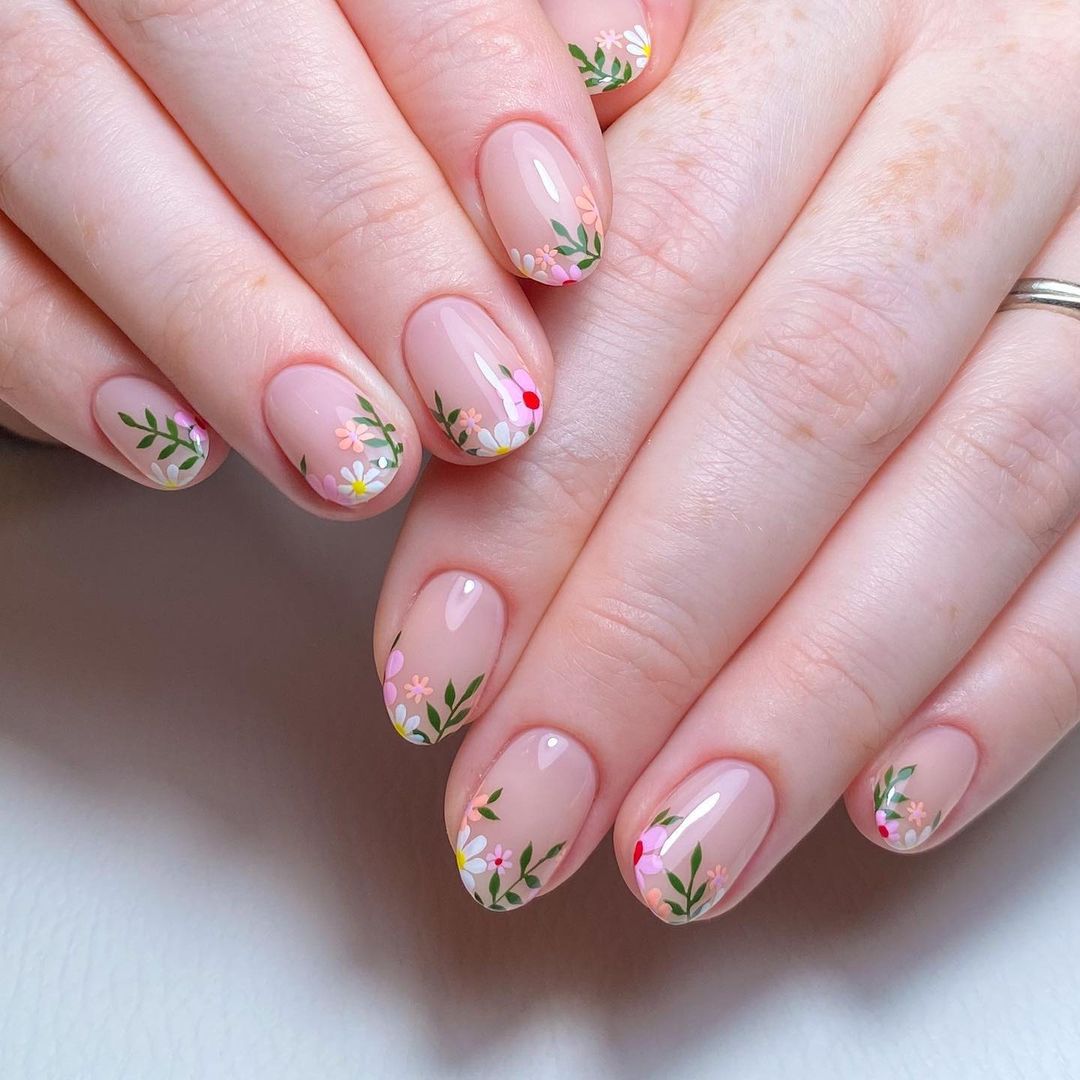
- Choose Your Color: Pick a gel polish that matches your style. Make sure it’s a high-quality product for a long-lasting finish.
- Apply Thin Coats: Start with one thin coat of gel color polish. Apply it evenly across the nail, avoiding the skin.
- Cure Each Coat: After each coat, cure the nails under the UV/LED lamp. Stick to the recommended curing time.
- Add Layers for Opacity: Add additional coats if you want a more opaque color. Cure after each layer.
- Keep Layers Thin: Even with multiple coats, keep each one thin. This helps the polish cure properly and prevents peeling.
- Avoid the Cuticle Area: Apply the polish close to the cuticles but not on them. This prevents lifting and peeling.
- Clean Up Edges: If you make a mistake, use a small brush dipped in acetone to clean it up quickly.
- Cap the Free Edge: Paint the tip of the nail to seal the color. This step is crucial for a chip-resistant finish.
Remember to take your time and work in a well-lit area for the best visibility. With each careful step, you’ll move closer to achieving a salon-quality gel color polish on your natural nails.
Sealing the Deal: The Gel Top Coat Application
The final step in your DIY gel polish routine involves applying a gel top coat. This seals in the color and gives your manicure a glossy, professional finish. Let’s walk through the process:
- Start with a Clean Nail: Make sure there’s no polish on your skin or cuticles.
- Apply a Thin Layer: Put on a thin, even layer of gel top coat on each nail.
- Seal the Edges: Just like before, remember to cap the free edge of your nails. This helps stop chips.
- Avoid the Skin: Keep top coat off your skin to prevent lifting and peeling.
- Cure Under UV/LED Lamp: Use your lamp to cure the top coat. Follow the timing guide from your gel polish brand.
- Wipe Sticky Residue: Some gel top coats leave a tacky layer after curing. Gently wipe this off with alcohol.
Proper application of the gel top coat is crucial to lock in your color choices and to achieve that much-desired chip-resistant durability. With your top coat applied and cured, your nails are ready to dazzle. Keep them looking great with regular nail care.
Nail Care and Maintenance Post Gel Polish Application
How to apply gel polish on natural nails?Maintaining gel polish’s beauty requires regular care. Here’s how to keep your nails looking fresh:
Daily Cuticle Oil Application
Use cuticle oil every day to keep nails flexible and skin soft. Apply after hand washing.
Gentle Hand Care
Avoid harsh tasks that might chip the polish. Wear gloves for chores when possible.
Touch-ups for Minor Chips
For small chips, apply a thin layer of the same gel polish and cure it under the UV/LED lamp.
Proper Polish Removal
When it’s time to remove the gel polish, follow the correct removal process. Do not peel or pick at the polish. Use acetone-soaked cotton balls and wrap in foil; this avoids damaging the natural nail.
Regular Nail Assessment
Check your nails weekly for any lifting or cracking. Address issues promptly to avoid further damage.
By following these maintenance tips, your gel polish can stay intact and look vibrant for weeks. Enjoy your beautiful, long-lasting gel manicure.
Tips for Applying Gel Polish on Acrylic and Tips with Gel Overlay
Applying gel polish on acrylic nails or tips with a gel overlay can be just as straightforward as applying it to natural nails, but a few key steps differ. Here’s how you do it effectively:
Preparing Acrylic or Tips
Before you start, ensure your acrylic nails or tips are clean, free of any oils or old polish. Gently buff the surface to create a smooth base for the polish.
Using the Right Base Coat
Opt for a base coat that’s compatible with acrylics. It will help the gel polish stick better and prevent peeling.
Apply Gel Polish Evenly
Carefully apply thin layers of the gel polish, just as you would on natural nails. Make sure not to flood the cuticle area to avoid lifting.
Curing Each Layer
Cure each layer of polish under your UV/LED lamp. Follow the curing times recommended by the polish manufacturer for the best results.
Cap the Tips
Don’t forget to cap the edges of the tips. This step is critical for a long-lasting finish and preventing premature peeling.
Seal with Gel Top Coat
Finish with a thin layer of gel top coat, cure it under the lamp, and wipe off any sticky residue with alcohol.
By following these tips, your gel polish application on acrylics or tips with an overlay will last longer and look fabulous.
Addressing Common Issues: Why Gel Polish May Peel Off
While gel polish offers longevity and a dazzling finish, sometimes it may peel off unexpectedly. Understanding the common reasons for peeling can help prevent this issue:
Painting Over the Cuticles
One mistake is applying polish over cuticles. As your skin grows, it can push the polish off, which allows water to get under the gel and peel it away.
Incomplete Coverage with Top Coat
If you miss covering any part of the nail with the top coat, that area isn’t sealed. As a result, the polish is more likely to chip.
Skipping Cap on Nail Tips
Without capping the nail tips, the most exposed part of your gel manicure is unprotected. This makes it prone to lifting from the nail’s edge.
To ensure a lasting gel manicure, be careful with cuticles, use top coat properly, and always cap your tips. By avoiding these pitfalls, you can reduce the risks of peeling and enjoy your beautiful gel nails for weeks.