A Guide to French Ombre Nails with Glitter: Adding the Glitter
A Guide to French Ombre Nails with Glitter
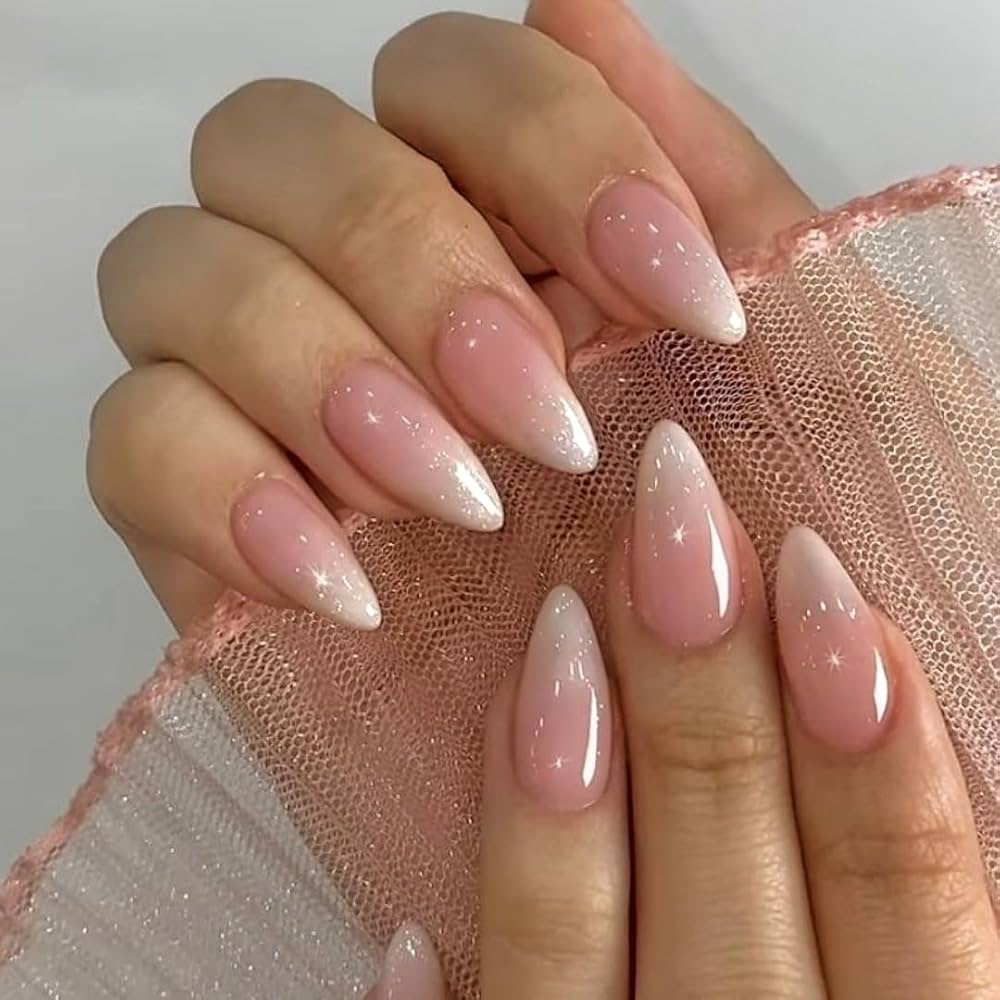
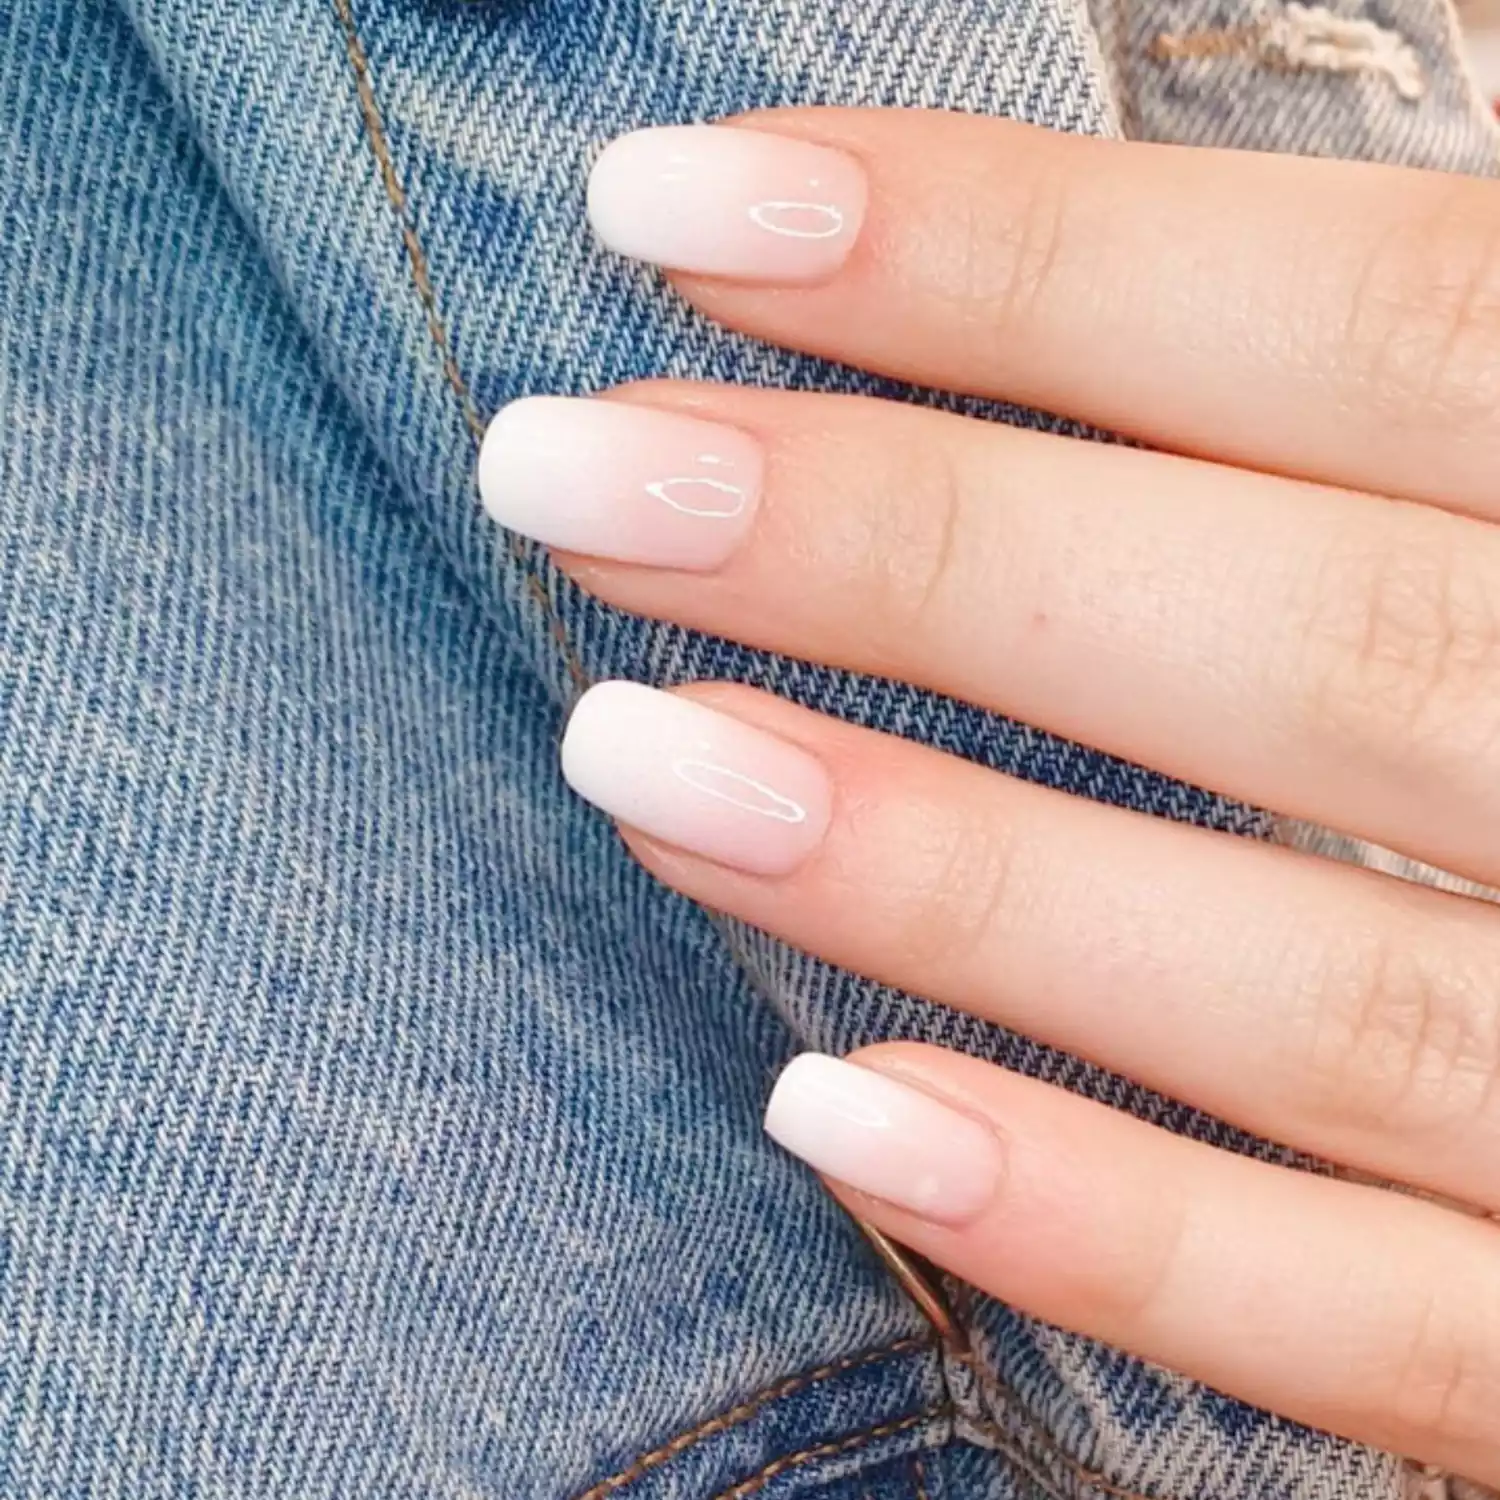
French ombre nails with glitter add a unique twist to the classic French manicure. The delightful blend of colors creates a beautiful gradient effect. This style incorporates shimmer, making nails look stunning and playful. In this guide, every detail about achieving this chic look will be explored.
Understanding French Ombre Nails
French ombre nails combine two styles: the classic French manicure and the gradient ombre technique. Traditionally, French nails feature a nude base with white tips. The ombre technique introduces a smooth gradient, blending colors seamlessly. These nails employ a combination of colors, often inspired by nature. The addition of glitter elevates the aesthetic. This innovation has become a popular trend. It allows for personalization and creativity.
Many people enjoy the versatility of French ombre nails. They can be achieved in various colors, catering to individual preferences. For a more sophisticated look, neutral colors work well. Alternatively, brighter and bolder shades can create a more playful vibe. Glitter can complement any color, adding an exceptional sparkle that attracts attention. Overall, this style offers numerous options to express oneself.
Choosing the Right Colors
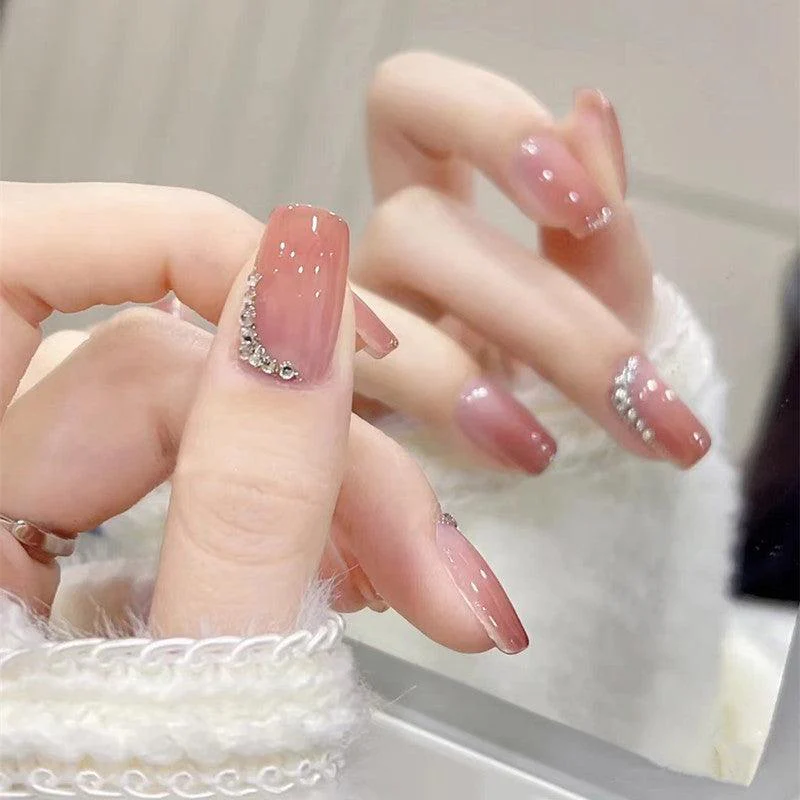
Picking the right colors is crucial for French ombre nails with glitter. Start by selecting a base color. Soft pastels or nude shades are great choices for a classic look. For a fun twist, consider vibrant shades like pink, blue, or lavender. After deciding on the base color, choose a complementary shade for the tips. This shade should harmoniously blend into the base color, creating a seamless ombre effect.
Glitter selection is equally important. Different glitters come in various sizes, shapes, and colors. Fine glitter provides a subtle shimmer effect, while chunky glitter creates a bolder appearance. Mixing different glitters can also yield striking results. Consider adding holographic or iridescent glitters for a unique touch. This step enhances the overall design and elevates the nail art to new heights.
Lastly, it is essential to think about the occasion for which the nails will be styled. For formal events, opt for classic colors with minimal glitter. For parties or fun gatherings, bold colors and heavy glitter can be chosen. Being mindful of the occasion ensures the nails complement the overall look. Ultimately, color choices should reflect personal style while considering the intended use.
Preparing the Nails
Preparation is vital for achieving stunning French ombre nails with glitter. Start by ensuring the nails are clean and healthy. Remove any existing nail polish and gently file the nails into the desired shape. Common shapes include square, oval, and almond. Each shape brings its unique charm, so choose one that fits personal style.
Next, gently push back the cuticles using a cuticle pusher. This step ensures a clean, polished look. Applying a base coat is necessary to protect the nails. The base coat also helps the polish adhere better, enhancing durability. Allow it to dry completely before proceeding to the color application.
Once the base coat is dry, apply the base color evenly. It might require two coats to achieve full opacity. After applying the base color, wait for it to dry completely. This step is crucial to prevent any smudges during the ombre application. After the base color dries, it’s time to start the ombre effect. Various techniques exist for this process, so choose one that fits preferences and skill level.
The Ombre Technique
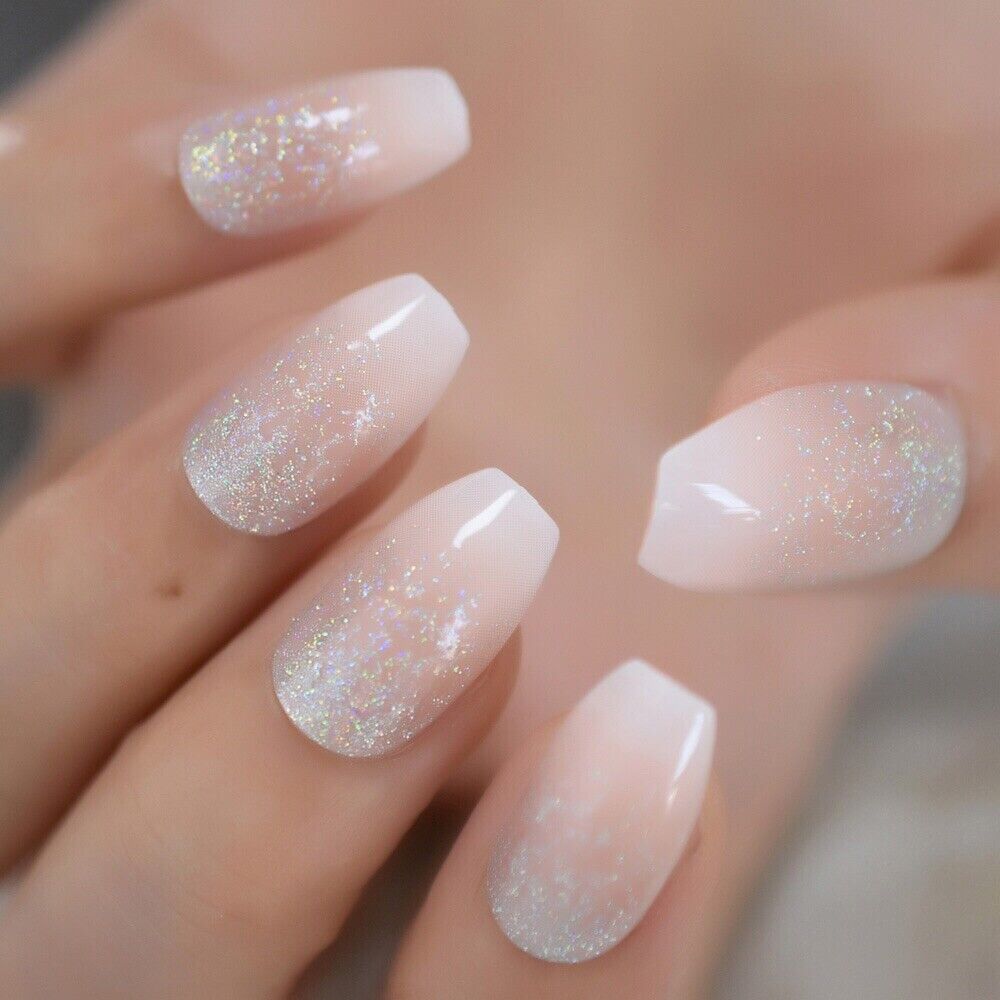
The ombre effect gives French ombre nails their unique appearance. It involves blending the base color into the tip color. The key to a seamless ombre is gradient blending. Start by applying the tip color to a makeup sponge. The sponge will help create that soft gradient look.
Dab the sponge onto the tips of the nails. Ensure to use a gentle motion for a smooth transition. Gradually increase the amount of product on the sponge for a more pronounced ombre effect. It’s crucial to blend the colors well. Avoid harsh lines between the base and tip colors.
After achieving the desired ombre, allow it to dry completely before adding glitter. The glitter application enhances the overall design. Fine glitter can be added directly onto the tips for a subtle sparkle. Alternatively, apply a layer of gel topcoat to adhere the glitter effectively. Ensure to distribute the glitter evenly, so no area appears too heavy.
Finally, once the ombre and glitter are in place, seal the look with a topcoat. This step not only adds shine but also protects the design. Ensure the topcoat covers all areas to prevent chipping. Allow it to dry completely for the best results.
Adding the Glitter
Adding glitter is where the magic happens in French ombre nails. Glitter brings excitement and glamour to the overall look. Start by choosing the preferred type of glitter. Options include fine, medium, and chunky glitter. Each variety offers a different effect and visual appeal.
Fine glitter is suitable for a subtle shimmer. Medium glitter provides added texture, while chunky glitter makes a bold statement. The intention behind using glitter should guide the choice. If a delicate effect is desired, opt for fine glitter. Conversely, for a daring look, incorporate chunky glitter.
After determining the glitter type, apply a layer of clear topcoat to the tips. This layer will help adhere the glitter, securing it in place. While the topcoat is still wet, sprinkle the chosen glitter onto the tips. Make sure to cover them evenly. Gently tap the nail to remove excess glitter, ensuring a neat finish.
For added sparkle, consider layering different types of glitter. This creates depth and dimension, attracting attention. After the glitter application, seal it with another layer of topcoat. This protects the glitter from chipping and enhances durability. The final result is a stunning set of French ombre nails that sparkle with every movement.
Maintenance Tips
Maintaining French ombre nails with glitter is essential for keeping them looking fresh. It is important to be mindful of daily activities that may chip or dull the design. Avoid using nails as tools, as this can lead to damage. When engaging in chores, consider wearing gloves to protect the nails.
Regular maintenance can extend the life of the manicure. It’s advisable to schedule touch-ups every two to three weeks. During touch-ups, assess the nails for any chips or wear. This is also the perfect time to change colors or refresh the ombre effect.
Proper care involves keeping the nails moisturized and healthy. Apply cuticle oil regularly to prevent dryness. Hydrated cuticles create a polished appearance, enhancing the overall manicure. Additionally, using a good nail strengthener can improve nail health over time.
When removing the polish, choose a gentle acetone-free remover. This type of remover will be less harsh on the nails and surrounding skin. Avoid soaking the nails for too long, as this can cause damage. After removal, take time to nourish the nails and cuticles again.
Special Occasions and Variations
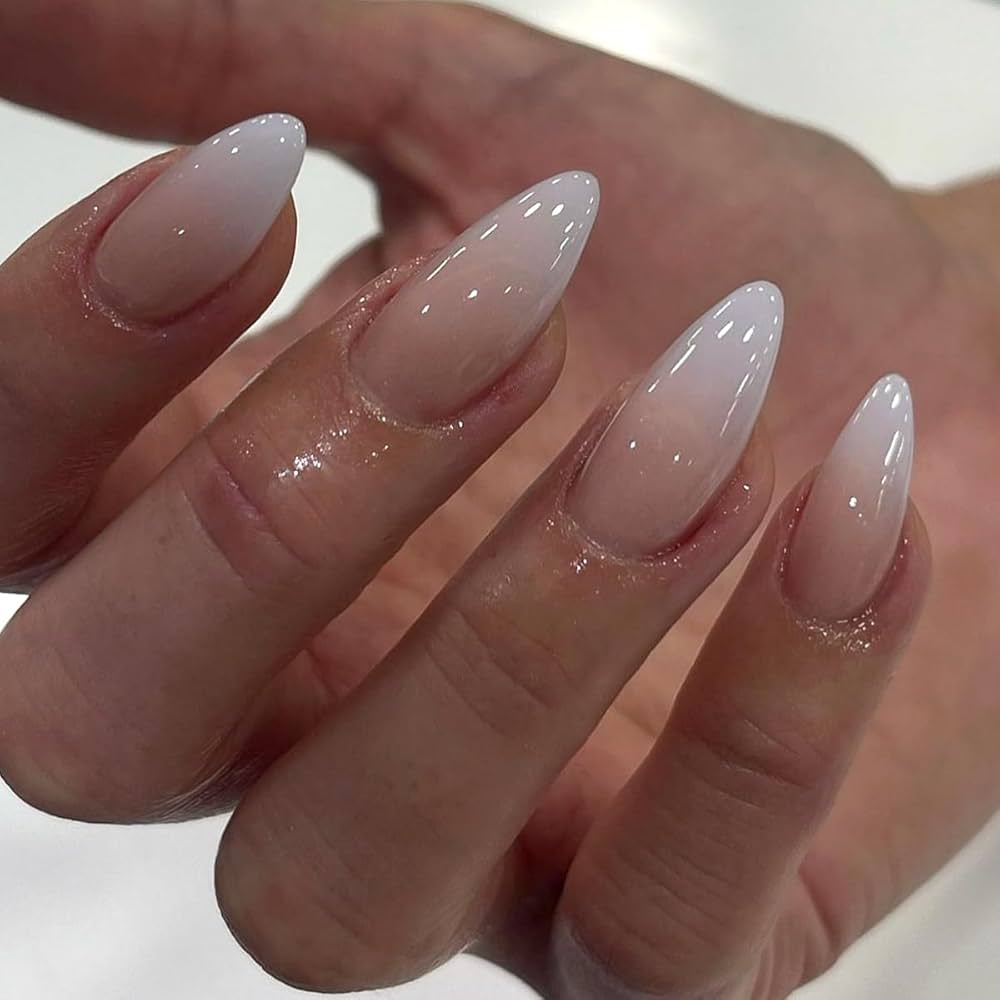
French ombre nails with glitter suit various occasions. The versatile design can be tailored to fit specific events or personal taste. For weddings, softer pastels with subtle glitter create an elegant look. This understated design complements bridal attire and enhances natural beauty.
Special events allow for room to experiment. Consider vibrant colors and bold glitter for parties. This fun approach attracts attention and stands out in a crowd. Glitter can be mixed and matched, creating unique designs. Design a set that reflects personal style while staying on-trend.
Seasonal variations can also be applied to nail designs. For summer, bright colors with iridescent glitter might work. In contrast, deeper shades with metallic glitter can be used in the fall. Adjusting nail art ideas according to specific seasons adds a personalized touch.
Different nail shapes can enhance the overall look as well. Square nails may lend a modern edge, while oval or almond shapes exude femininity. Exploring different shapes can enhance individuality. Overall, French ombre nails with glitter offer limitless possibilities for expression. They can be tailored for any event, season, or personal style preference.

Conclusion
French ombre nails with glitter provide an exciting and stylish way to express individuality. This manicure style blends classic elegance with a modern twist. Selecting the right colors and glitter can transform nails, enhancing overall appearances. The preparation process is crucial; clean, healthy nails serve as the foundation for any design.
Mastering the ombre technique takes practice but yields stunning results. The addition of glitter adds a delightful sparkle that completes the look. Maintaining these nails requires proper care and attention. Regular touch-ups and hydration can keep them looking fresh and beautiful.
Special occasions or seasonal themes allow for creative variations. The versatility of French ombre nails makes them an appealing choice. They can adapt to any style, ensuring everyone finds a way to enjoy this trend.
The personal touch in nail art fosters creativity and uniqueness. Everyone can experiment, mixing colors and glitters. The outcome will be an eye-catching display of style. In summary, French ombre nails with glitter are a chic way to express artistry. They can bring joy and confidence through beautiful nail art. Enjoy exploring this fabulous nail trend.
This blog sheds light on French ombre nails with glitter. By following the steps and tips detailed above, anyone can master this alluring nail design. It is all about choosing the right colors, maintaining the nails, and showcasing creativity. French ombre nails will always remain a popular choice for anyone looking to enhance their nail game.

