Safely Removing Gel X Nails at Home: Step-by-Step Guide
Introduction to Gel X Nails
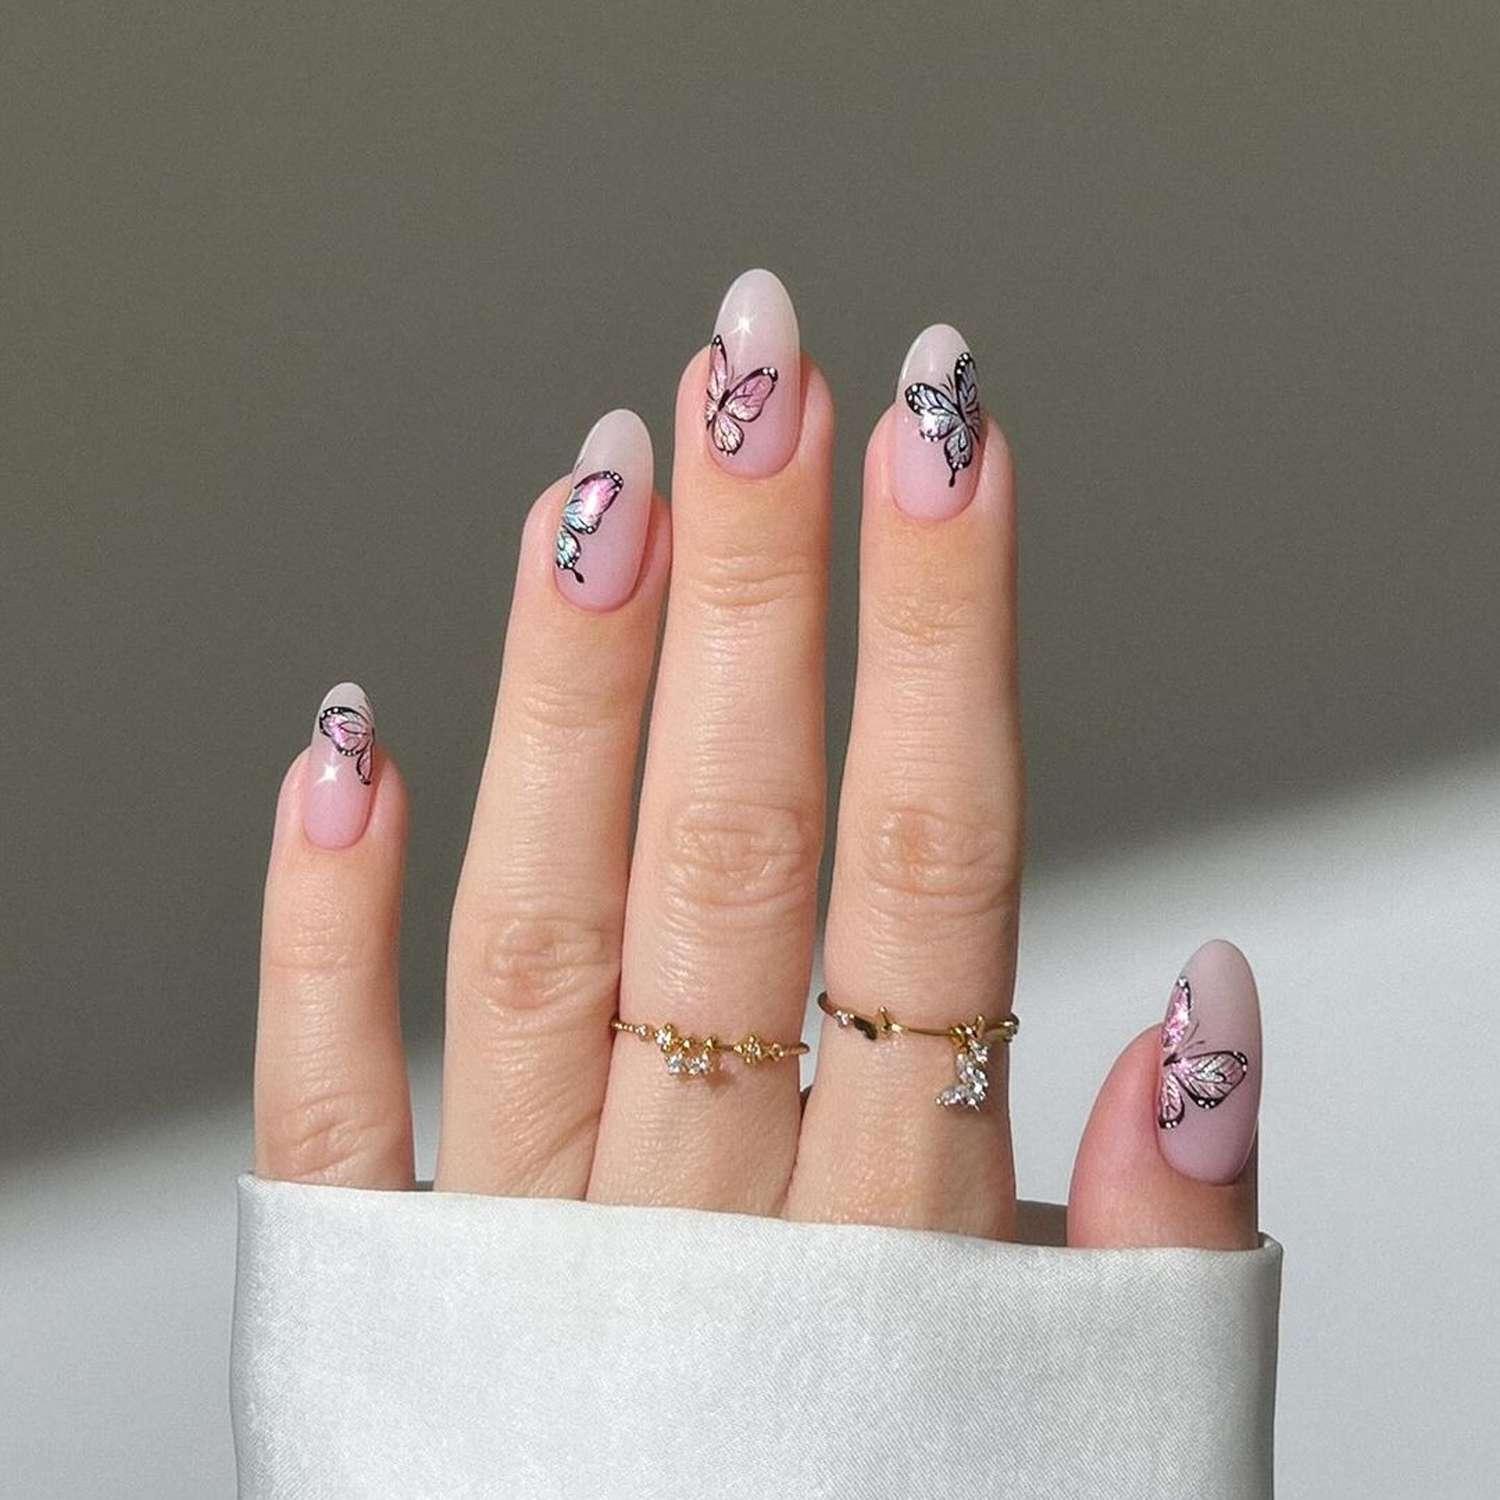
Gel X nails are a popular choice for achieving beautiful, long-lasting manicures. These nails involve applying a pre-shaped gel extension over the natural nail. This method is favored for its swift application process and seamless finish.How to remove gel x nails at home? Unlike traditional gel that is painted on, Gel X nails come ready to attach, reducing salon time significantly.
Overview of Gel X Nails
Gel X nails are essentially extensions made from gel. They can be quickly applied over your natural nails. The application does not require the lengthy sculpting and curing process that traditional gel applications do. This system provides length and shape instantly, which is perfect for those who desire a flawless look without spending hours in the salon.
Benefits and Drawbacks of Gel X Nails
Benefits:
- Time-efficient Application: You can achieve a full set of nails in much less time compared to traditional gels.
- No Damage to Natural Nails: When applied and removed correctly, Gel X nails can be less damaging than acrylics.
- Versatility in Design: The nails can be painted or accessorized just like natural nails, providing a variety of style options.
Drawbacks:
- Cost: Gel X nail applications can be pricier than regular gel or acrylic nails due to the materials and technology used.
- Removal Process: If not done properly, removing Gel X nails at home can damage your natural nails. It’s important to follow correct removal procedures or visit a professional.
- Requires Regular Upkeep: Like all artificial nails, maintaining Gel X nails involves regular filling and potential repairs to keep them looking their best.
Preparing to Remove Gel X Nails
Before you begin the removal process for Gel X nails, it’s vital to gather all necessary materials and prepare the space where you will perform the procedure. Having everything you need within reach will make the process more convenient and effective.
Materials Needed for Removal
To safely and effectively remove Gel X nails at home, you’ll require specific tools and materials:
- Acetone: Opt for 100% acetone as it is most effective for dissolving gel polish.
- Cotton Balls: These will be soaked in acetone and placed on your nails.
- Aluminum Foil: Small squares of foil will secure the cotton balls to your nails.
- Nail Clippers: To trim the Gel X nails down, easing the removal process.
- Nail File: For buffing the surface of the gel nails to break the seal.
- Cuticle Pusher or Manicure Stick: These tools will help gently scrape off the gel material.
- E-File or Nail Buffer (if available): For removing the top coat of the gel polish, should you choose the e-filing method.
Ensure you have these items on hand before you begin the process to prevent interruptions.
Setting Up Your Removal Space
Choose a well-ventilated area to work in, as acetone fumes can be strong. Lay down a protective covering, like a towel or paper towels, to safeguard your work surface from spills. Arrange all the materials neatly on the covering so you can access them easily during the removal process. If you’re sensitive to acetone, consider wearing a mask or gloves for added protection. Preparing your space this way will help create a safe and efficient environment to remove Gel X nails with as little hassle as possible.
Professional vs. Home Removal
Choosing the right method to remove Gel X nails is crucial to avoid damage to your natural nails. You can opt for professional removal at a salon, or do it yourself at home. Each method has its own set of pros and cons that you should consider before deciding.
Visiting a Nail Salon
For professional removal, visiting a nail salon is the safest option. Nail technicians have the skills and tools to remove Gel X nails with minimum risk to your natural nails. They use techniques designed to preserve nail health and prevent damage. The process is relaxing and you don’t have to worry about doing it right.
However, this service comes at a cost. You will need to pay for the removal, which varies by location and salon. Additionally, you should account for a tip. For those watching their budget, the cost can be a significant downside.
Comparing Costs and Benefits
When deciding between professional or home removal, weigh the costs against the benefits. Salon removal ensures safety and convenience but requires payment. Home removal is less expensive but comes with a higher risk of nail damage if not done carefully.
Consider your comfort level with handling the necessary tools, and the health of your natural nails. If you have sensitive nails or little experience, professional removal might be worth the extra cost. If you’re confident in your DIY skills, home removal can save you money. Just be sure to follow a step-by-step guide and use the right products to care for your nails after removal.
Step-by-Step Removal at Home with E-File
Gathering Your Tools and Materials
Before you start the gel X nails removal process with an e-file, gather these items:
- An e-file nail drill with a sanding band.
- Nail clippers for trimming the extensions.
- Cuticle pusher for peeling off the gel.
- Aluminum foil to wrap your nails.
- Cotton balls to soak in acetone.
- Pure acetone for dissolving the gel.
Having all these tools ready ensures a smooth removal process.
Detailed Step-by-Step Process
Here’s how to remove gel X nails at home using an e-file:
- Use the e-file to sand down the gel polish’s top layer. Avoid touching your natural nail.
- Clip the gel extensions down to match the length of your natural nails.
- Put acetone-soaked cotton on each nail, then wrap with foil. Wait for 15-20 minutes.
- Carefully remove the foil and cotton. Then, gently push off the gel with a cuticle pusher.
- Smooth out each nail with a buffer or file, removing any leftover gel.
- Lastly, apply a repairing polish to aid in nail recovery and promote healthy growth.
Proper technique and patience are key to avoiding damage to your natural nails during this process. Use these steps to take off gel X nails safely at home.
Manual Removal Method without Special Tools
Removing Gel X nails without specialized tools can be practical and straightforward with the right approach. This section guides you through the necessary tools and a step-by-step process to effectively remove Gel X nails at home, minimizing damage to your natural nails.
Necessary Tools and Setup
To remove Gel X nails without an e-file, gather the following items:
- Nail clippers: For trimming down the extensions to the length of your natural nails.
- Nail file: Essential for buffing the gel surface before soaking.
- Cotton balls: To be soaked in acetone for breaking down the gel polish.
- Aluminum foil: Helps hold the cotton balls in place over your nails.
- 100% acetone: This is critical as it efficiently breaks down the gel polish.
- Manicure stick or cuticle pusher: For gently scraping off the gel after soaking.
Setup your space in a well-ventilated area and protect your work surface. Organize your tools beforehand for a smooth process.
Step-by-Step Guide to Removing without an E-File
Here’s how you can manually remove Gel X nails at home:
- Trim Your Nails: Use the nail clippers to cut down the gel nails closely to your natural nails. This reduces the amount of gel to be dissolved.
- Buff the Surface: Use a nail file to gently buff the surface of the gel nails. This assists in breaking the seal for easier acetone penetration.
- Apply Acetone: Soak cotton balls in acetone and place them over your nails. Wrap each with a piece of aluminum foil to secure them.
- Wait: Allow the acetone to work for about 15-20 minutes. The waiting time is important for the acetone to fully dissolve the gel.
- Remove Gel: Unwrap the foil and use a manicure stick or cuticle pusher to gently scrape off the gel polish.
- Final Touches: Smooth out any remaining gel bits with your nail file and clean your nails.
This method offers a cost-effective way to remove Gel X nails and gives you control over the process, ensuring minimal risk to your natural nails.
Post-Removal Nail Care
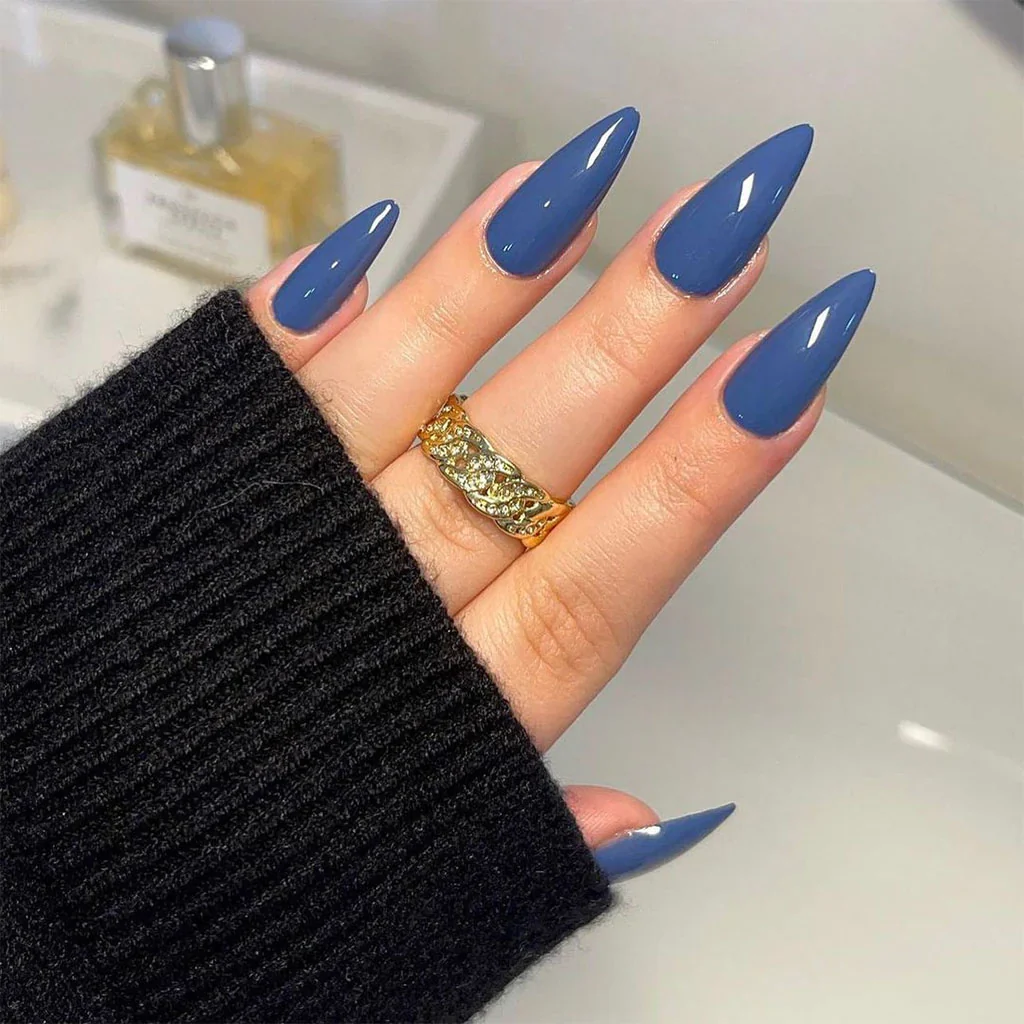
After removing Gel X nails at home, proper nail care is crucial. It ensures that your natural nails recover and stay healthy. This care prevents damage and maintains strong nails in the long run.
Importance of Nail Repair
Once Gel X nails are off, your natural nails might need repair. They have undergone stress from the gel product. It’s vital to help them regain strength. Applying nourishing treatments can restore their health. Otherwise, nails may grow back weak or become more prone to breakage.
Products for Healthy Nails Post-Removal
Choosing the right products is key to nail recovery. Look for treatments with nutrients like vitamins and proteins. A good nail repair polish can mend damage from gel application. Oils or creams can also moisturize cuticles and nails. Here are some helpful options:
- Rocket Nail Fuel Repair: Especially designed to fix nails after gel. This product can help nails grow back strong.
- Cuticle Oil: Keeps nail beds and the surrounding skin soft and healthy. Use it daily for the best results.
- Nail Strengthener: A polish that provides extra protection. It helps to prevent splitting and breakage as nails heal.
Using these products can lead to healthier nails after removal. Apply them as directed for the best outcome. Remember, patience and regular care are important for full recovery. Your nails will thank you by looking better than ever.
Frequently Asked Questions (FAQs)
Addressing Common Concerns About Gel X Nails
Many people have questions about Gel X nails, especially regarding their impact on natural nail health and the removal process. Here are some answers to common queries:
- Are Gel X nails safe for my natural nails? Yes, Gel X nails can be safe if applied and removed correctly.
- Can I remove Gel X nails at home? Yes, with the right tools and careful technique, you can remove Gel X nails at home.
- Do I need professional help for removal? While not necessary, professional help reduces the risk of damaging your natural nails.
Tips for Maintaining Healthy Nails Post-Removal
After removing Gel X nails, it’s vital to take care of your natural nails to ensure they remain healthy. Here are some tips:
- Moisturize your nails and cuticles regularly. Use cuticle oil daily.
- Use a nail strengthener. Applying a strengthener can help prevent splits and breaks.
- Keep nails trimmed and filed. Regular maintenance reduces the risk of breakage and snagging.
Implementing these post-removal tips can lead to stronger, healthier natural nails.
