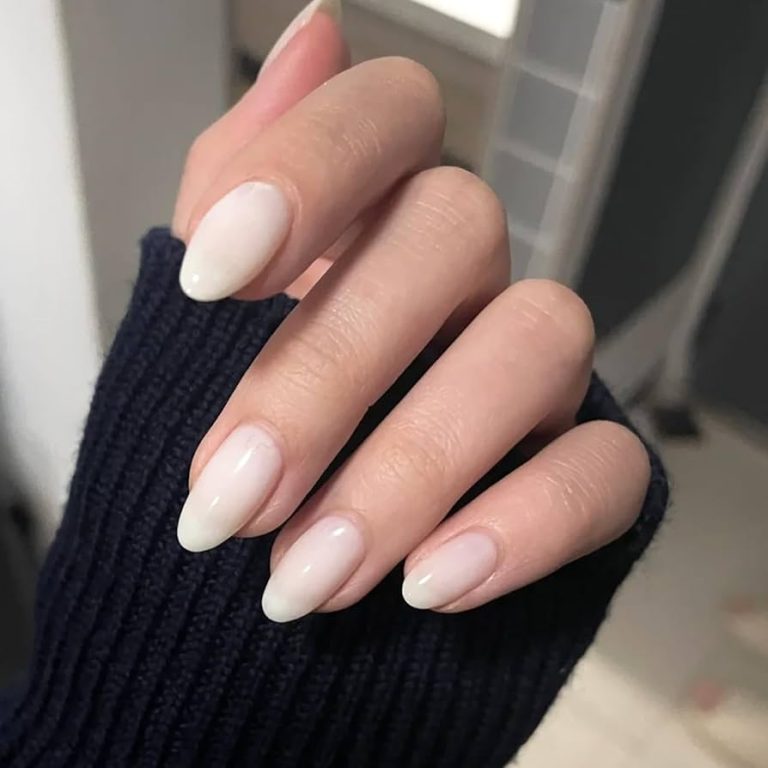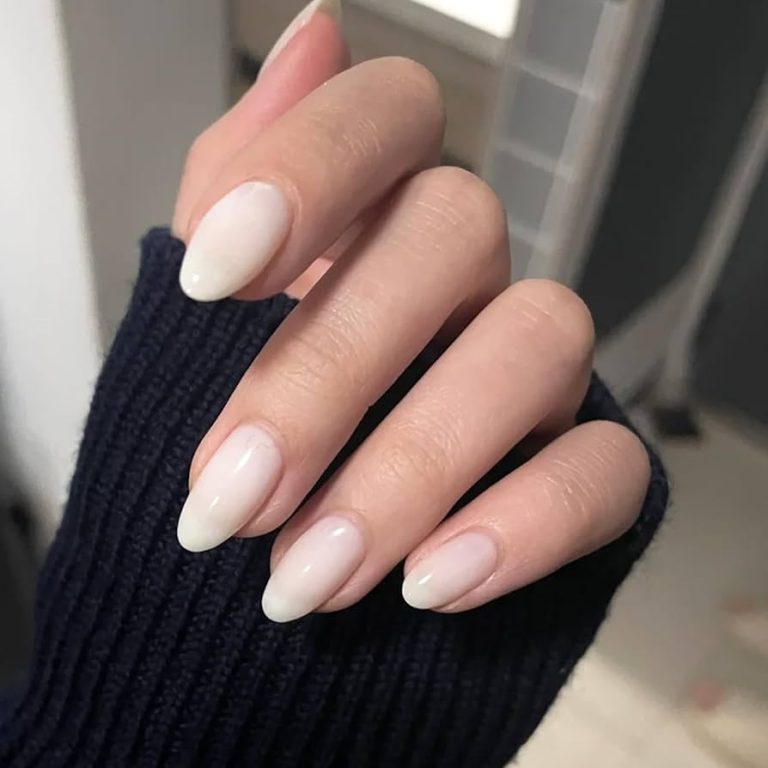
Guide to Doing Gel Nails at Home Efficiently
Essential Tools and Materials Needed for Home Gel Manicures
Before you start your home gel manicure, gather the right tools and materials.
List of Necessary Equipment and Supplies
Here’s what you’ll need for your DIY gel nail project:
- An LED or UV lamp for curing the gel polish.
- A good quality nail file to shape your nails.
- A nail buffer to smooth the nail surface.
- Cuticle oil and a cuticle pusher for nail prep.
- High percentage rubbing alcohol and lint-free cotton pads for cleaning nails.
- A base coat, gel polish colors, and a top coat for layering.
- Optional UV gloves to protect your hands during curing.
Each item plays a vital role in ensuring a smooth, long-lasting gel manicure.
Choosing the Right Gel Polish and Lamp
Selecting the right gel polish and lamp is key for a successful home manicure.
- Pick gel polish that’s long-lasting with a range of color options.
- Choose an LED lamp for quicker drying and less UV exposure, or a UV lamp if preferred.
- Ensure the lamp you choose is compatible with your gel polish brand.
With the correct lamp and polish, you can achieve a salon-quality finish at home.
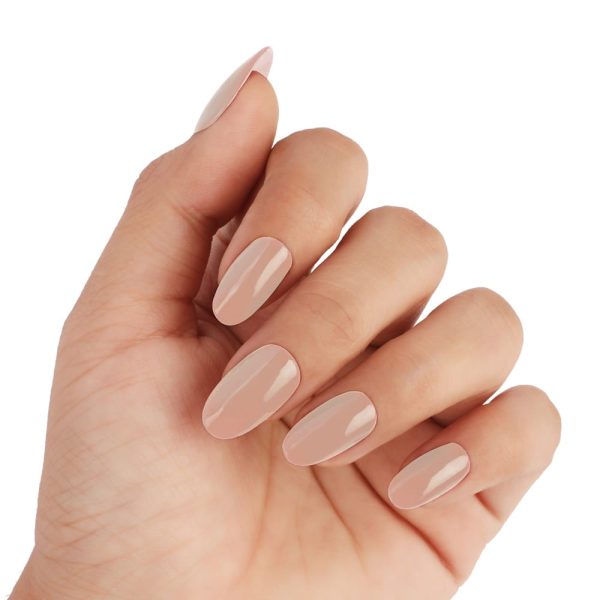
Step-by-Step Process to Apply Gel Nails
Perfecting the art of applying gel nails at home is straightforward with the right guidance. The steps outlined below will ensure that your DIY gel manicure looks professional and lasts long.
Nail Preparation and Shaping
Before applying gel polish, proper nail preparation is vital. Here’s how to get started:
- Clean your hands and nails thoroughly to remove any oils or dirt.
- Trim nails to the desired length with a nail cutter.
- File your nails into shape using a good quality nail file.
- Gently push back cuticles with a cuticle pusher.
- Use a nail buffer to smooth the nail surface for better polish adhesion.
- Cleanse nails with high percentage rubbing alcohol and a lint-free pad.
Applying Base Coat and Gel Polish
Once your nails are prepped, apply the base coat and gel polish as follows:
- Apply a thin layer of base coat to each nail; cure under LED/UV lamp.
- Choose your gel polish color and apply a thin layer carefully.
- Avoid getting gel polish on your cuticles to prevent lifting.
- Cure the gel polish layer under the lamp for the time recommended by the lamp’s manufacturer.
- If needed, apply a second thin layer of gel polish and cure again.
Sealing with Top Coat and Curing
The final steps involve sealing your gel polish with a top coat and curing it:
- Apply a thin layer of gel top coat over the cured polish.
- Seal the tips to prevent chipping and lifting at the edges.
- Cure the top coat under your LED/UV lamp for the required time.
- Once cured, if the top coat is tacky, wipe it gently with rubbing alcohol.
By carefully following these steps, your at-home gel manicure will not only look stunning but also stand the test of time. Remember to cure each layer properly and keep your movements steady for an even application.
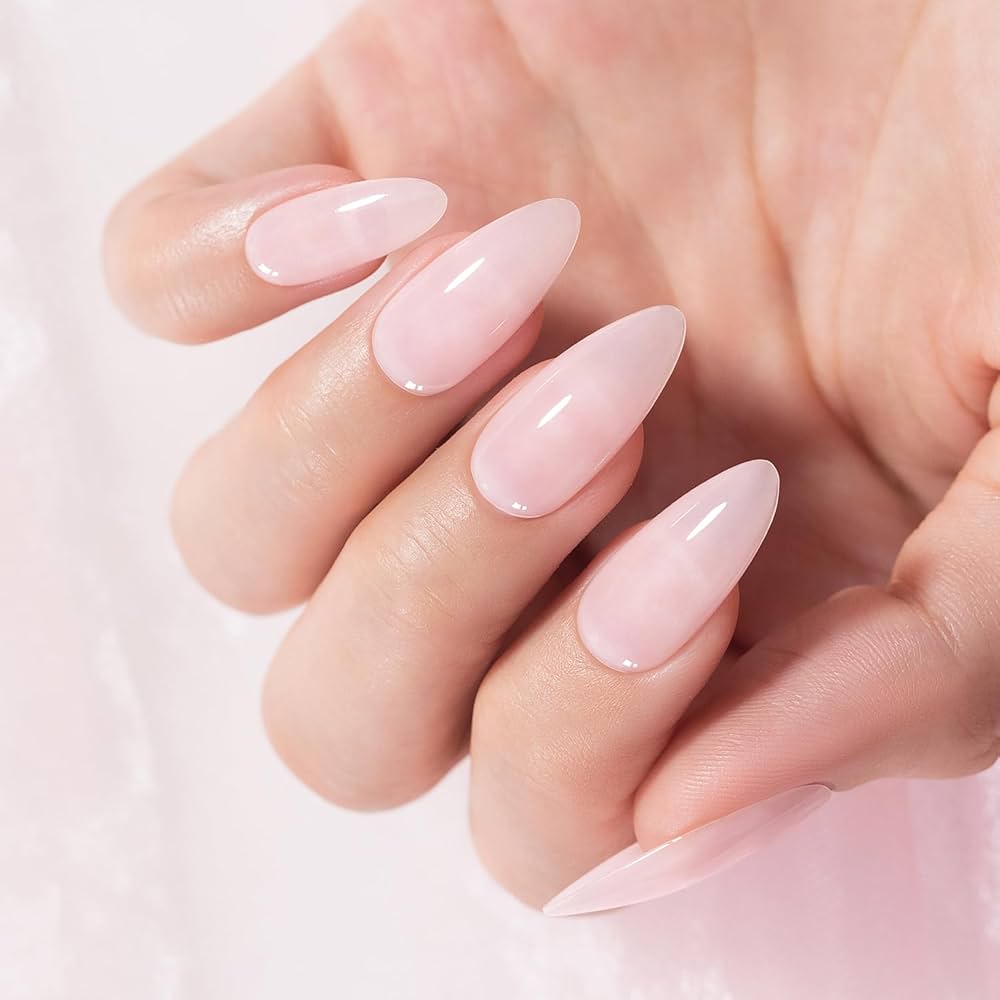
Tips for Maintaining and Extending the Life of Your Gel Nails
To keep your home-done gel nails looking fresh longer, follow these tips.
Regular Use of Cuticle Oil
Apply cuticle oil daily to keep your nails and skin hydrated. It helps prevent chipping and peeling. Choose a cuticle oil that sinks in well and doesn’t leave a greasy residue.
Protecting Nails from Harsh Conditions
Wear gloves when cleaning or doing dishes. Avoid long soaks in hot water or using harsh chemicals. These can weaken your gel nails and cause lifting. Always apply sunscreen on your hands when going out to protect against UV rays that can fade gel polish.
How to Safely Remove Gel Nails at Home
Removing gel nails at home is straightforward but requires specific tools. Here’s how to do it without damaging your natural nails.
Necessary Tools for Removal
To remove gel nails safely, you need several items:
- Acetone (pure acetone is most effective).
- Cotton balls or pads.
- Aluminum foil to wrap your nails.
- A nail file to break the seal of the gel polish.
- Orange sticks or stainless steel cuticle pushers to gently push off the polish.
- A nail buffer to smooth nails after polish removal.
- Cuticle oil to rehydrate nails and cuticles after the process.
Gathering these tools before starting ensures a smooth gel nail removal process.
Step-by-Step Gel Removal Process
Follow these steps to safely remove your gel nails at home:
- File the Nails: Use a nail file to gently remove the shiny top coat from the gel polish. This breaks the seal and makes the removal process easier.
- Soak Cotton Balls: Soak cotton balls in acetone. The acetone will dissolve the gel polish.
- Wrap with Foil: Place the soaked cotton balls on top of your nails and wrap them with aluminum foil. This keeps the cotton balls in place and ensures the nails are thoroughly soaked.
- Wait Patiently: Leave the wraps on for about 15-20 minutes. Time may vary based on polish thickness.
- Remove Foil and Gel Polish: Gently remove the foil and cotton. Use orange sticks or a cuticle pusher to push off any remaining gel polish.
- Buff Your Nails: Use a nail buffer to smooth out any residual polish or rough texture.
- Hydrate with Cuticle Oil: Finally, apply cuticle oil to moisturize and nourish your nails and cuticles.
By following these steps, you can remove gel nails safely at home, avoiding the cost and time of a salon visit.
Cost Comparison: Salon vs Home Gel Manicure
Undertaking gel manicures at home can yield substantial financial benefits compared to salon visits. This section explores both the initial and long-term cost implications of home versus salon gel manicures.
Initial Setup Cost for Home Manicure
Setting up for home gel manicures involves some initial expenses, which can be significant but are one-time investments. Here’s what typically makes up the startup costs:
- Purchasing a quality LED or UV lamp ranges from $20 to $100, depending on the model.
- A basic gel manicure kit, which includes gel polish colors, base and top coats, and application tools, can cost between $30 and $150.
- Additional tools like nail files, buffers, and cuticle pushers might cost up to $20.
While the initial setup cost might seem high, ranging from $70 to $270, these are durable investments. Most tools, like lamps and files, can be used for years with proper care.
Long-term Savings of DIY vs Salon Visits
While the start-up cost for home gel manicures might be higher, the long-term savings are significant. Consider these points:
- A typical salon gel manicure session costs between $40 and $70 and requires bi-weekly visits. That equates to an expenditure of $960 to $1680 annually.
- At home, the recurring cost is just for gel polish and occasional replacements of consumables like top coat or base coat. Yearly, this might be less than $100 if you’re using your polish judiciously.
By opting to do your own gel nails at home, you could be saving between $860 and $1580 each year after the initial investment. DIY gel manicures not only offer a chance to be creative with your nail art but also provide significant cost efficiency over time.

Creative Nail Art Ideas for Gel Manicures at Home
Experimenting with nail art can be fun and rewarding. It allows you to express your personal style. Below, you’ll find a couple of beginner-friendly techniques and inspiration sources.
Techniques for Beginners
Start with simple designs. Here are some ideas:
- Polka Dots: Use a dotting tool or the end of a bobby pin for perfect dots.
- Stripes: Use striping tape or a fine nail art brush for thin, straight lines.
- Ombre Effect: Blend two polish colors using a sponge for a gradient look.
- Stickers and Decals: Apply these on top of your gel polish for instant art.
- Glitter: Add sparkle with loose glitter or a glitter top coat.
Practice makes perfect. Don’t worry if your first attempts aren’t flawless. With time, your skills will improve.
Sources for Nail Art Inspiration
Looking for ideas? These sources will spark your creativity:
- Social Media: Browse Instagram or Pinterest for the latest trends.
- Fashion Magazines: Get ideas from pattern and color trends.
- Nature: Look around you. Flowers or landscapes can inspire unique designs.
- Seasonal Themes: Use holidays or seasons as guides for your nail art.
- Tutorial Blogs & Videos: Watch tutorials to learn new methods and styles.
Remember, gel manicures are not only a way to keep your nails looking great, they’re also a canvas for personal expression. So, go ahead and get creative!
Safety Measures for DIY Gel Nails
When doing your own gel nails, it’s essential to ensure a safe experience. Here are some key precautions to take.
Ventilation and Protective Gear
Make sure you work in a well-aired space. Open windows or use a fan to clear fumes. Wear UV gloves to protect your skin from UV or LED lamp rays. This step is vital for frequent gel nail enthusiasts.
Handling Chemicals and Equipment Safely
Handle all products with care. Follow the instructions on gel polish and lamps closely. Avoid skin contact with gel polish, and if it happens, wash it off immediately. Keep your tools clean to prevent the spread of germs. Don’t over-file your nails as it can weaken them. Choose high-quality gel polish brands to avoid harmful chemicals.
By considering these safety tips, you’ll enjoy a safer at-home gel nail process.
