DIY Guide: Safely Taking Off Hard Gel Nails
Introduction
Welcome to our DIY guide on safely removing hard gel nails at home. Many people enjoy the durability and shine of hard gel nails, but when it comes time to take them off, it’s important to do so without causing damage. Whether you’re preparing for a new set of nails or giving your natural nails a break, understanding the right techniques and tools is key. This guide will walk you through the process, from the essential tools you’ll need to the steps for removal. Plus, we’ll provide tips to maintain the health of your natural nails throughout the process. If you’re wondering how to take off hard gel nails, let’s dive in and learn how to do this safely and effectively.
Understanding Hard Gel Nails
Understanding hard gel nails is crucial for proper removal. Unlike their softer counterparts, hard gels are tougher and require specific removal techniques.
The Difference Between Hard and Soft Gel Nails
Soft gel nails are more flexible and can soak off in acetone. Hard gel nails, however, have tightly packed molecules that resist acetone. For removal, a file or a drill is necessary to grind down the gel before any soaking. This knowledge helps avoid damage and ensures a successful removal process.

Necessary Tools for Hard Gel Nail Removal
Before you begin the process of removing hard gel nails, gathering the right tools is essential. You’ll need to be equipped with not just patience, but also the specific equipment designed for this task. The proper tools will help prevent damage to your natural nails and cuticles during removal.
Choosing the Right Nail File or Drill
To effectively remove hard gel, choose an 80-grit coarse nail file or a nail drill with an appropriate bit. Opt for tools designed for safety and efficiency. Hand files should be used with care and cross-hatch strokes. Nail drills need to have a good grip, be adjustable in speed, and be used with a safety bit to protect natural nails and skin.
A high-quality nail drill can make the removal go faster. Look for one with minimal vibration to help maintain control. For example, a professional-grade nail drill with a forward/reverse switch and variable speed is ideal. It should be user-friendly, even for beginners, to avoid any accidental damage.
The Importance of Acetone and Cuticle Oil
While hard gels are resistant to acetone, it’s still a necessary tool for after you file down the bulk of the gel. After filing, acetone can be used to remove any remaining gel. Always protect your skin and cuticles from dryness caused by acetone by applying cuticle oil or a hand cream around the nails before soaking.
For the acetone soak, use saturated cotton balls wrapped in foil rather than dipping your fingers directly in acetone. This method is more efficient and less harsh on the skin. Remember, patience is key as you may need to soak for around 15 minutes before the gel starts to lift.
By preparing these tools and products in advance, you set the stage for a safer and more effective removal process, helping to keep your nails healthy and strong.
Step by Step Hard Gel Removal Process
Following a structured approach will ensure your hard gel nails are safely and effectively removed.
Step 1: Filing Down the Gel
Start by using an 80-grit coarse nail file or a well-equipped nail drill. If manually filing, use cross-hatch strokes specifically towards the direction where the gel starts to flake. For a nail drill, ensure it has a suitability rated bit and a good control speed to minimize damage to the natural nail. Remember to remove most of the gel but avoid going too deep to protect your nail bed.
Step 2: The Acetone Soak Technique
Once the hard gel is substantially filed down, begin the acetone soak. First, prep your skin with cuticle oil or hand cream to protect against dryness. Then, place acetone-soaked cotton balls on your nails, securely wrapping them with foil. This method avoids direct skin contact with acetone and focuses the effects on the gel. Let it sit for about 15 minutes, then check if the gel starts to lift off.
Step 3: Scraping Off the Gel
After soaking, the gel should be soft enough to gently scrape off. Use an orange stick or a cuticle pusher for this purpose. Be gentle and work slowly to remove the gel without scraping the natural nail surface underneath.
Step 4: Nourishing and Strengthening the Nail
Finally, wash and dry your hands thoroughly. Apply a nourishing cuticle oil to rehydrate the nail bed and surrounding skin. Consider using a nail strengthener or hardener to provide extra protection and strength to your natural nails, preparing them for a new coat of polish or for a period of rest.
Tips for Safe Hard Gel Nail Removal at Home
Efficient and safe removal of hard gel nails at home requires attention to detail. These tips will help minimize risks and ensure your nails stay healthy.
Protecting Your Cuticles and Skin
Before starting the removal process, safeguarding your cuticles and skin is crucial. Apply cuticle oil or a thick hand cream around your nails. This preparation prevents dryness from acetone exposure during the soak. Instead of immersing your fingers in acetone, opt for an application method that isolates the nails. Wrap your nails with acetone-soaked cotton balls enclosed in aluminum foil. This method focuses the treatment on the nails and spares your skin unwanted contact.
Avoiding Damage to the Natural Nail
Preserving the integrity of your natural nails is a primary objective when removing hard gel. Begin by using an 80-grit, coarse nail file. Apply cross-hatch strokes, and be gentle to avoid filing too deep. When using a nail drill, select a safety bit with extra-coarse texture. It helps to avoid cutting into the natural nail. Remember, the goal is to remove most of the hard gel while maintaining a thin layer to protect your natural nail underneath.
Alternatives to Hard Gel Nails
For those seeking other options, there are alternatives to hard gel nails.
Strengthening Polishes and Builder Gels
If you want a break from hard gels, consider strengthening polishes. These can reinforce natural nails without the toughness of hard gel. They are applied like regular polish and cured under a lamp.
Builder gels are another alternative. They’re more flexible than hard gels and apply smoothly. They come handy in bottles with brushes for easy use. Unlike hard gels, some builder gels can soak off in acetone, making removal simpler.
Many brands offer these products, which cater to different needs. For example, IBD’s Natural II is toxin-free and cures quickly under LED lights. It’s a popular choice for its ease of use and durability.
Lavis Builder Gel is odorless, glossy, and lasts up to three weeks. It suits professionals but is beginner-friendly too. LDS offers a gel strengthener that works with other gel polishes. It acts as a fortifier and primer for nail layers above.
These options can offer extra care for your nails while still giving you the look and strength you desire.
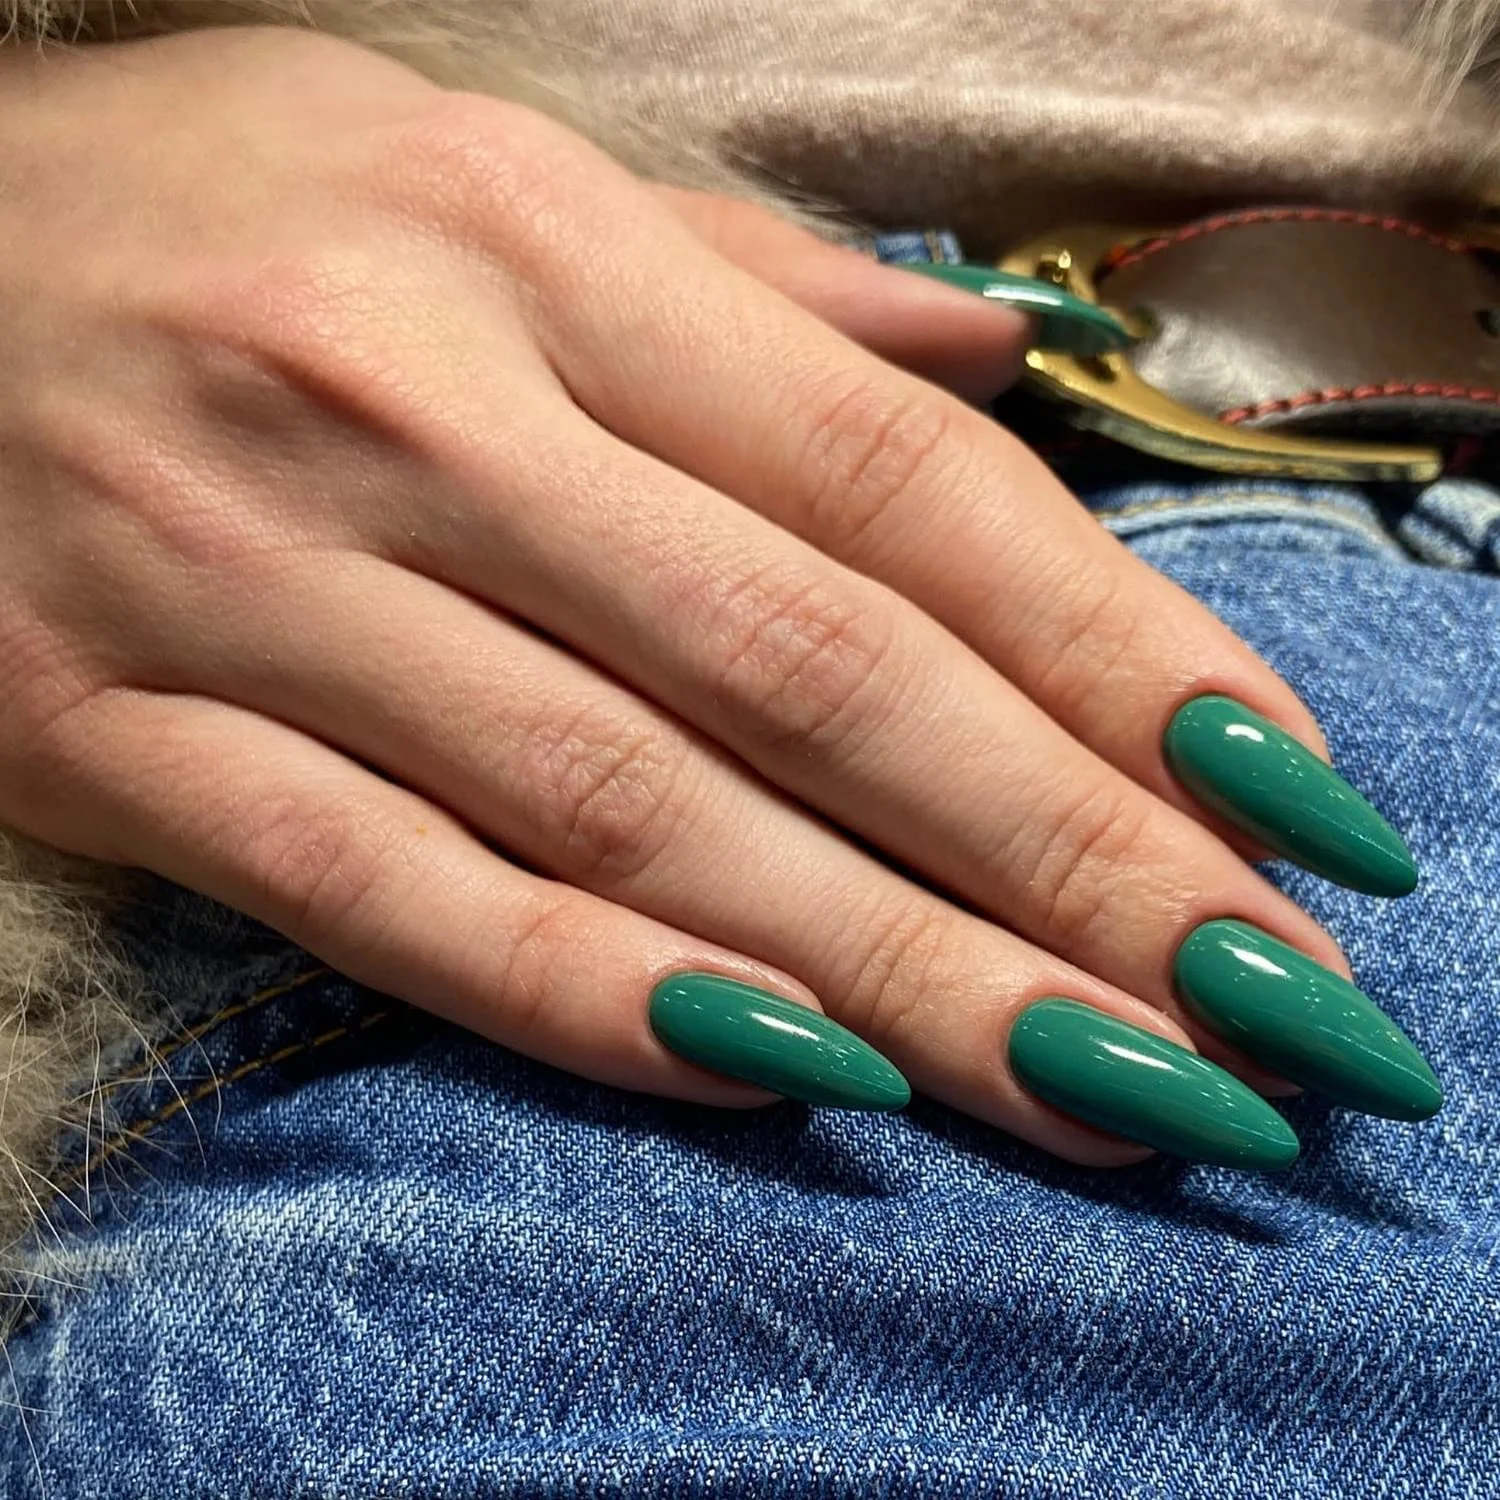
Wrapping Up: Post-Removal Care and Manicure Suggestions
After safely removing hard gel nails, post-removal care is crucial for maintaining healthy nails. Here’s what you can do to pamper your nails post-removal and ideas for your next manicure.
Post-Removal Nail Care
Once you have taken off hard gel nails, it’s time to focus on care:
- Hydrate your nails: Apply cuticle oil generously to moisturize the nails and cuticles.
- Strengthen your nails: Use a nail strengthener or hardener to give your nails additional protection.
- Rest your nails: If possible, give your natural nails a break before the next manicure.
- Be gentle: When shaping your nails, file gently to prevent splits or cracks.
This post-removal routine ensures nails stay strong and healthy and are ready for a new look.
Manicure Suggestions After Hard Gel
Thinking about your next nail adventure? Here are some suggestions:
- Try a new polish: Go for a fresh coat of traditional nail polish in a fun color.
- Experiment with nail art: Use this time to play with different nail art designs.
- Opt for a softer gel: Choose a soak-off gel for easier removal in the future.
- Keep it simple: Sometimes, a clear coat is all you need to make your nails look neat and tidy.
Remember, your nails might need some time to recover after the hard gel removal. Choose a manicure that makes you happy but doesn’t stress your nails too much. Keep it light, and enjoy your new, refreshed nails!
