Why Are My Gel Nails Peeling? Quick Fixes Revealed
Cuticle Preparation: The Foundation of a Good Gel Manicure
Proper cuticle care is essential for a long-lasting gel manicure. Neglecting cuticle preparation can lead to your gel nails peeling. Start by gently pushing back your cuticles. Make sure they are clean and free of any oils or debris. Avoid cutting your cuticles, as this can cause damage and lead to infections. Instead, trimming excess tissue with a cuticle nipper is safer and less harmful. Before applying any gel polish, ensure your cuticles are well-prepped; it’s the key to a smooth foundation.
Use a cuticle remover if necessary. This softens them and makes pushing them back easier. After pushing them back, use a buffer to smooth the nail surface. This helps the gel polish adhere better and reduces the chance of peeling. Remember to clean off any dust or residue before moving on to polish application. It’s also a good idea to avoid water and keep your hands dry for a while before your manicure. Excess moisture can cause lifting and peeling of the polish.
Nail Moisture Levels: Ensuring the Right Balance for Adhesion
Maintaining the correct moisture level in your nails is crucial for gel polish adhesion. Excess moisture can cause the gel polish to peel prematurely. Follow these steps to ensure that your nails are ready for a lasting gel manicure:
- Dry Your Nails Properly: Before applying gel polish, make sure your nails are thoroughly dry. Avoid washing your hands or soaking them in water immediately before your manicure.
- Use a Dehydrator: Applying a nail dehydrator can help remove any remaining moisture on your nail beds. This step is especially important if your nails are naturally oily or after you’ve washed your hands.
- Limit Water Exposure: After your gel manicure, try to reduce the amount of time your nails are exposed to water. This helps maintain the integrity of the gel polish and prevent peeling.
- Check for Signs of Overhydration: If your nails feel too soft or bend easily, they might be overhydrated. Allow them to dry and harden naturally before applying gel polish.
- Acetone Prep: Some technicians use acetone to prep the nails, as this can further dehydrate the nail surface, providing a better foundation for the gel polish. However, use this method with caution and moderation.
By carefully monitoring and adjusting the moisture levels of your nails, you can enhance the durability of your gel manicure and enjoy beautiful, long-lasting results.
The Role of Curing Lamps in Gel Polish Durability
Curing lamps are crucial for gel polish to last. A good lamp ensures gel polish sets properly. If the bulb is weak or broken, gel polish might not cure well. This can lead to peeling. It’s important to check the curing lamp’s power. Old or damaged bulbs should be replaced. Adjust the curing time if the lamp is not that strong. This makes sure all layers of polish cure evenly. Make sure your hands are well-placed under the lamp. The light should cover your nails completely. This step can stop your gel nails from peeling early. In short, a functioning curing lamp is key for long-lasting gel nails.
Biting and Picking: Enemies of Long-Lasting Gel Nails
Gel nails are not invincible against biting and picking. Habits like these quickly ruin a perfect manicure. Here are tips to help you break the habit and keep your nails intact.
- Keep Your Hands Busy: Find something to fiddle with instead of your nails. Stress balls or fidget spinners work well.
- Apply Bitter Nail Polish: Some clear polishes taste bitter and can deter you from biting.
- Moisturize Your Nails: Dry, brittle nails tempt you to pick. Use cuticle oil and lotion to keep them strong.
- Wear Gloves: When doing tasks, wear gloves to protect your nails from damage and temptation.
- Trim Hangnails Carefully: Snip any hangnails with a clean, sharp tool to avoid the urge to pick.
- Positive Reinforcement: Reward yourself for not biting or picking to encourage good habits.
- Stick to Regular Maintenance: Regular touch-ups can prevent chips that might tempt you to start picking.
By taking these steps, you can avoid damaging your gel nails and enjoy their lasting beauty.
At-Home Gel Removal Techniques: Best Practices
When you’re ready to bid farewell to your gel manicure, proper removal at home is crucial to prevent damage. Follow these best practices for safe and effective at-home gel polish removal:
- Gather the Right Tools: You’ll need cotton balls, aluminum foil, a nail file, acetone, and a cuticle pusher.
- File the Surface: Gently file the topcoat of your gel nails. This breaks the seal and allows acetone to penetrate.
- Use Soaked Cotton Balls: Soak cotton balls in acetone and place them directly on your nails.
- Wrap with Foil: Wrap your fingertips with foil to keep the cotton balls in place. This traps the heat and speeds up removal.
- Wait Patiently: Leave your nails wrapped for about 15 minutes. This gives the acetone time to work.
- Gently Push Off Gel: Use a cuticle pusher to gently remove the gel. If it doesn’t come off easily, rewrap and wait a little longer.
- Hydrate After: Once all the gel is off, wash your hands and apply cuticle oil. This helps to hydrate and restore your nails.
By practicing these steps, you can safely remove your gel polish at home without peeling or scraping, protecting your nail health.
Correct Polish Application: The Importance of Thin Layers
Applying thin layers is crucial for gel nails. Thick layers can cause peeling. Here’s how to apply:
- Start with a Tiny Amount: Put a small drop of polish on the nail. Spread it evenly across.
- Apply in Strokes: Use smooth, even strokes. This avoids thick spots that don’t cure right.
- Cure Each Layer: After each thin coat, cure it under the lamp. Don’t rush this step.
- Repeat if Needed: Add layers only if necessary. More layers mean longer curing time.
- Avoid Skin Contact: Keep polish off the skin. It can lead to lifting and peeling.
By following these steps, your gel polish can last longer. Thin layers are key to avoiding early peeling. Always be patient with curing. It ensures every layer sets firmly. Remember to keep it simple for the best hold.
Filing nails right is important for gel nail polish to stick. Use the correct file grain. Coarser grains shorten nail length fast. Finer grains smooth the nail’s edge. Avoid filing back and forth. This can lead to splitting. File in one direction for a clean line. Don’t make nails too smooth though. Gel needs a bit of texture to hold on to. Aim for a slightly matte finish. This grip helps stop peeling. Be gentle near the cuticle. Rough handling can lift the polish later. Dust off any filings before applying polish. A clean nail bed is essential for adhesion. Remember, good filing sets the stage for long-lasting gel nails.
Base and Top Coats: Essential Steps for Gel Longevity
Using a base coat and a topcoat is vital for your gel nails’ lifespan. These coats act as a protective layer and enhance polish adhesion. Here’s why they are non-negotiable in your gel manicure routine:
- Base Coat Application: Apply a thin base coat first. This step forms a sticky layer for the color to cling to. It protects your nails from staining. It also prevents chipping by creating a smooth nail surface for the gel polish.
- Top Coat Seal: After coloring, use a topcoat. It locks the color in and adds gloss. A topcoat also shields against nicks, chips, and peeling. It acts like a shield for your nail art.
- Use Matching Brands: Stick to the same brand for both base and top coats. This can help prevent peeling. Brands formulate their products to work well together.
- Curing Both Coats: Don’t forget to cure your base and top coats properly under the lamp. This ensures they set and hold the colored polish securely.
- Regular Reapplication: Touch up with a topcoat every few days. This will help keep the gel looking fresh and prolong its life.
Regular use of these coats is a simple way to keep your gel nails looking great. Skipping them increases the chance of peeling. Invest in good base and top coats to see and enjoy the difference.
Choosing Quality Gel Polish Products
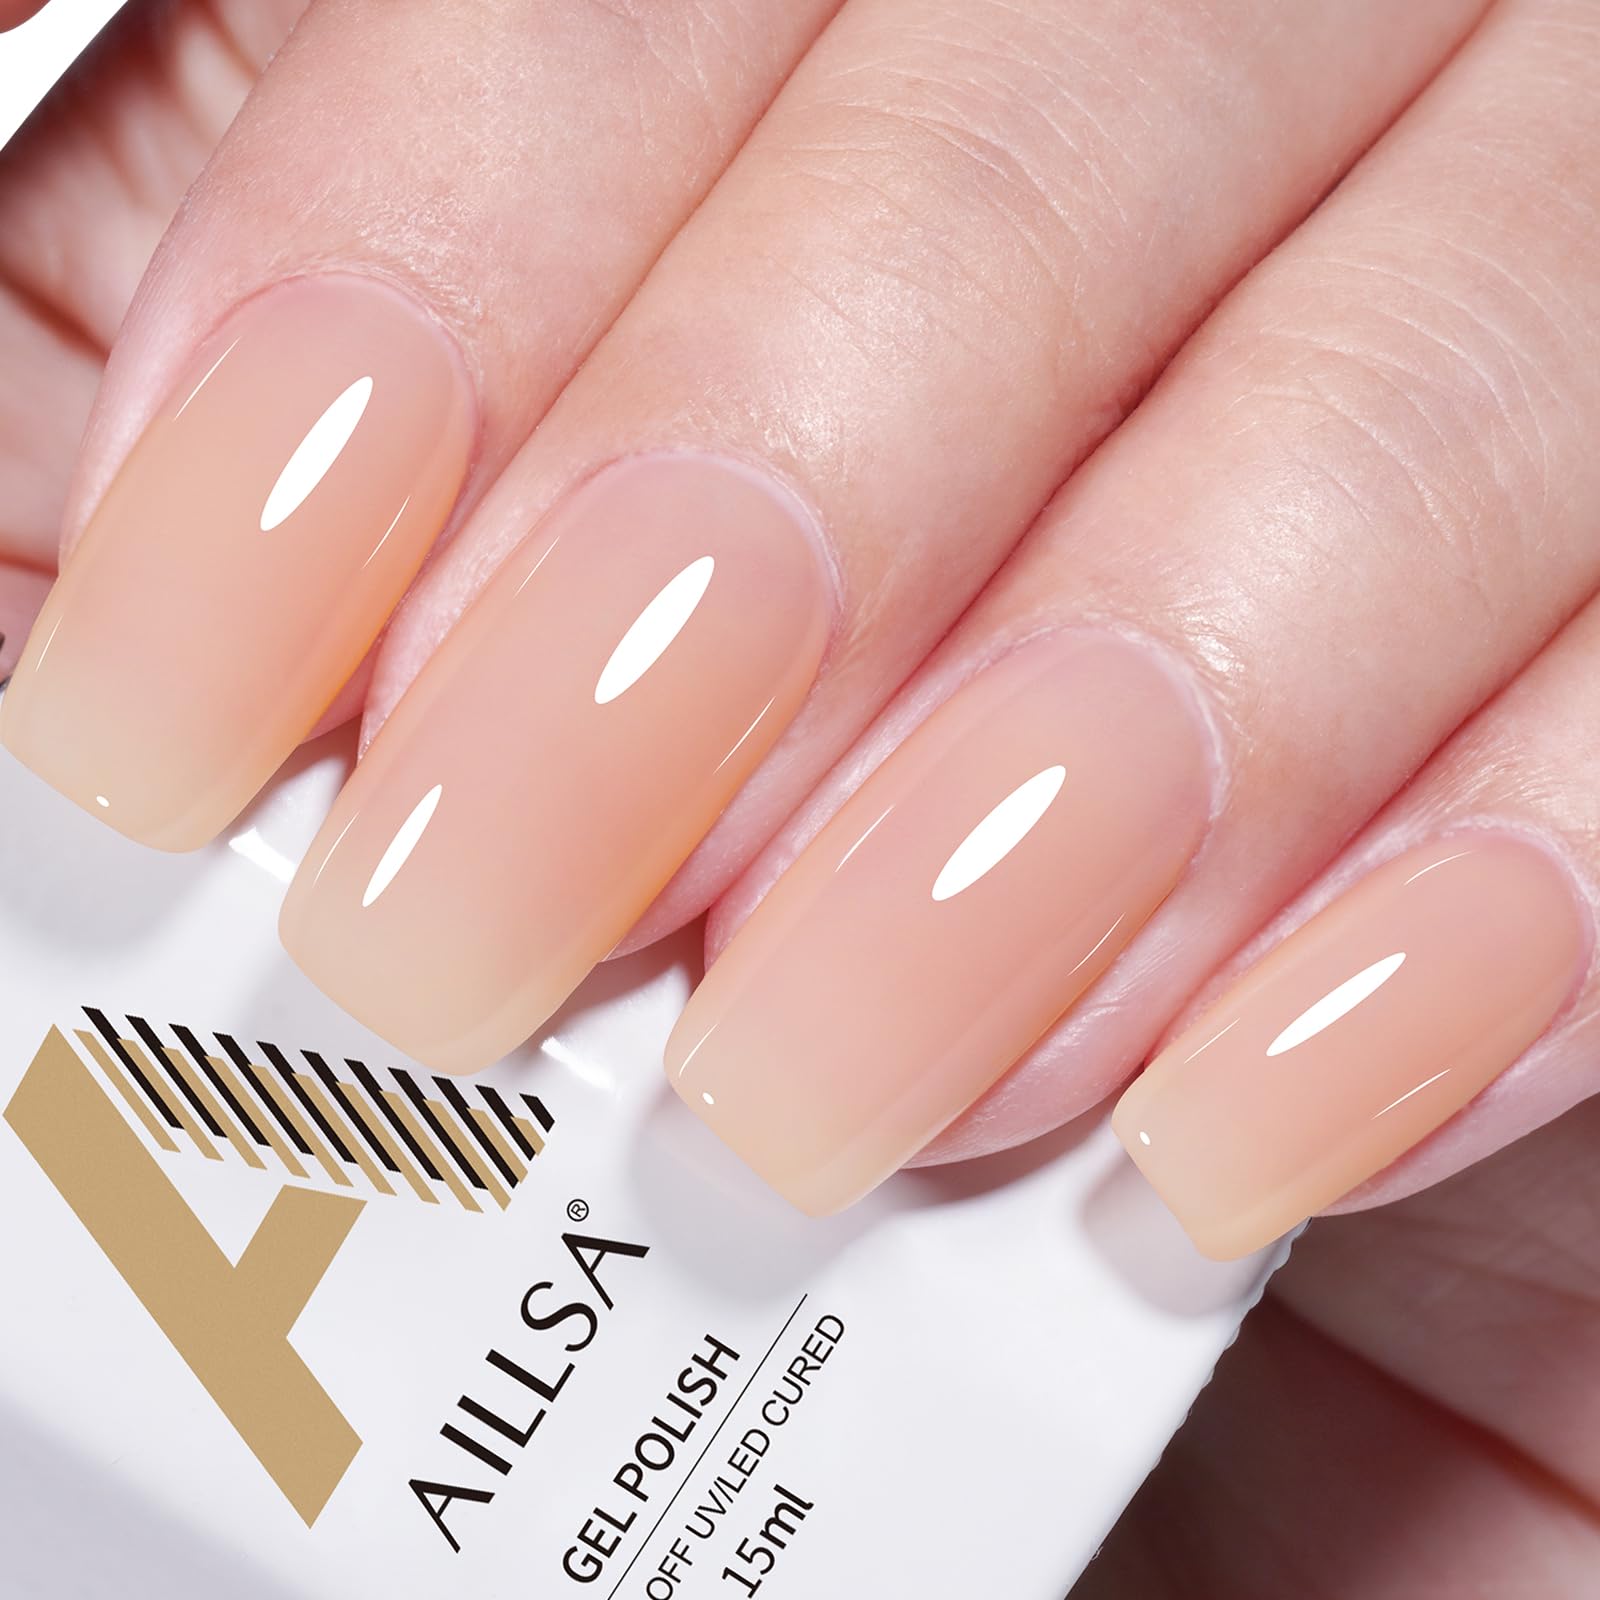
Quality gel polish is key to avoiding peeling. When shopping for gel polish, price can signal quality. Cheap gel polish often chips faster. Seek out reputable brands for your manicure. Good gel polish doesn’t need frequent touch-ups. This saves both time and money. Always check polish ingredients. Avoid harmful chemicals that could weaken your nails. Good gel products have a smooth application. They provide vibrant color with just a thin layer. Make sure the polish is compatible with your base and top coats. Good gel polishes cure well and last long. Remember, investing in quality means fewer manicure problems. With these tips, enjoy a durable and beautiful gel finish.
Cuticle Oil: Nourishment for Healthy Nails
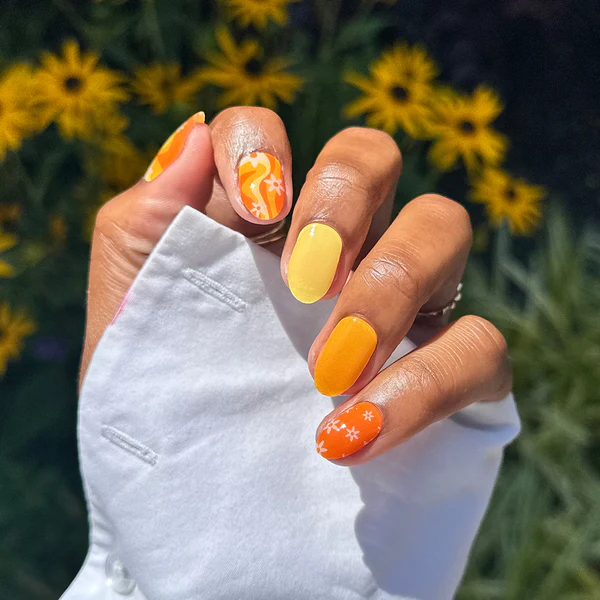
Cuticle oil is a must for healthy nails. It keeps nails and cuticles moisturized. Moisturized nails prevent peeling and cracking. After a gel manicure, wait until nails are fully dry. Then apply cuticle oil to avoid polish lifting. Cuticle oil should not touch wet gel polish, as it may not cure well. Apply cuticle oil every day to keep nails strong. Use it after your gel polish has set. This nourishes your nails and keeps them flexible. It also gives your nails a nice shine.
Remember to buy good quality cuticle oil. Cheap oils may not give lasting effects. Look for oils with vitamins and natural ingredients. These nourish nails better. Jojoba oil, Vitamin E, and almond oil are great choices. They absorb well and don’t leave a greasy feel. Applying cuticle oil is simple. Just put a drop on each nail and rub it in. Cover the nail bed and the cuticle. Regular use keeps your nails in top condition. With these tips, you can enjoy strong, beautiful nails that don’t peel.
Environmental Factors: Protecting Your Gel Nails from Peeling
Environmental elements can play a big role in why your gel nails might start to peel. To maintain your gel manicure’s longevity, it’s important to shield your nails from certain factors that could affect the adhesion and appearance of your polish. Here are some tips to keep in mind:
- Avoid Hot Water: Hot water can make gel polish lift and peel off. Try to use cooler water when washing your hands, and wear rubber gloves if you need to handle hot water for chores.
- Wear Gloves for Chores: When doing dishes or cleaning, always wear gloves. This will protect your gel nails from harsh chemicals and excessive moisture which can cause peeling.
- Limit Exposure to Sunlight: UV rays can break down the gel polish over time, causing it to peel. When possible, keep your nails covered or in the shade.
- Be Gentle with Your Hands: Rough activities can chip or peel your gel polish. Try to be mindful and gentle to extend the life of your manicure.
- Use Cuticle Oil: Keep your nails and cuticles hydrated. Dry nails can cause the gel to crack and peel. Apply high-quality cuticle oil regularly after your manicure has set.
- Hydrate Your Hands: Moisturize your hands often. It keeps the skin supple and helps prevent the polish from peeling at the edges where dry skin can catch.
- Avoid Hand Sanitizers: Alcohol-based hand sanitizers can dry out the gel polish and your nails, leading to peeling. Use soap and water for cleansing when possible.
By considering these environmental factors and following these preventative measures, you can help ensure that your gel nails remain sleek, shiny, and intact for as long as possible.
