Gel Nails Done Right: Techniques and Tips
Introduction to Gel Nails
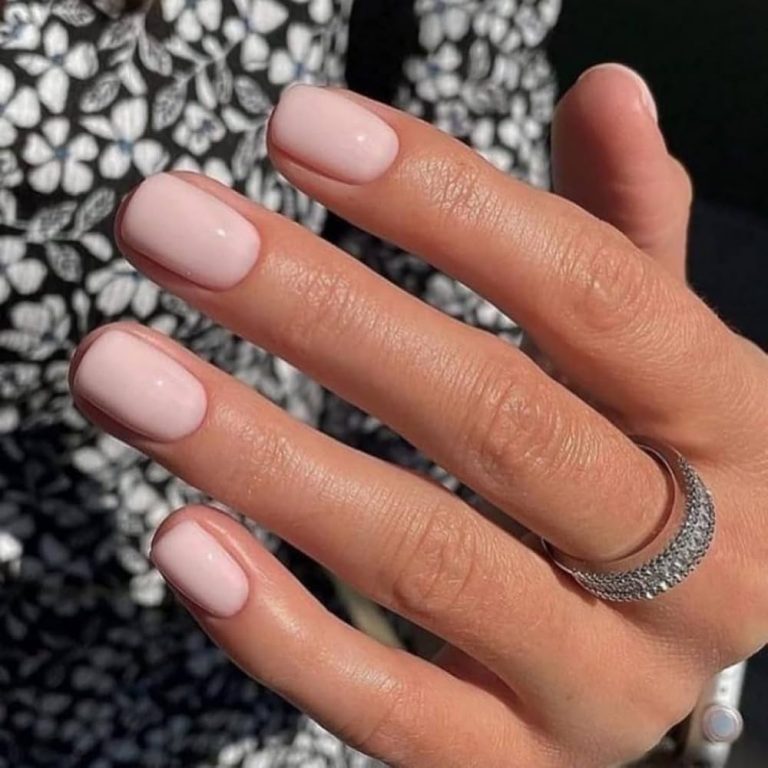
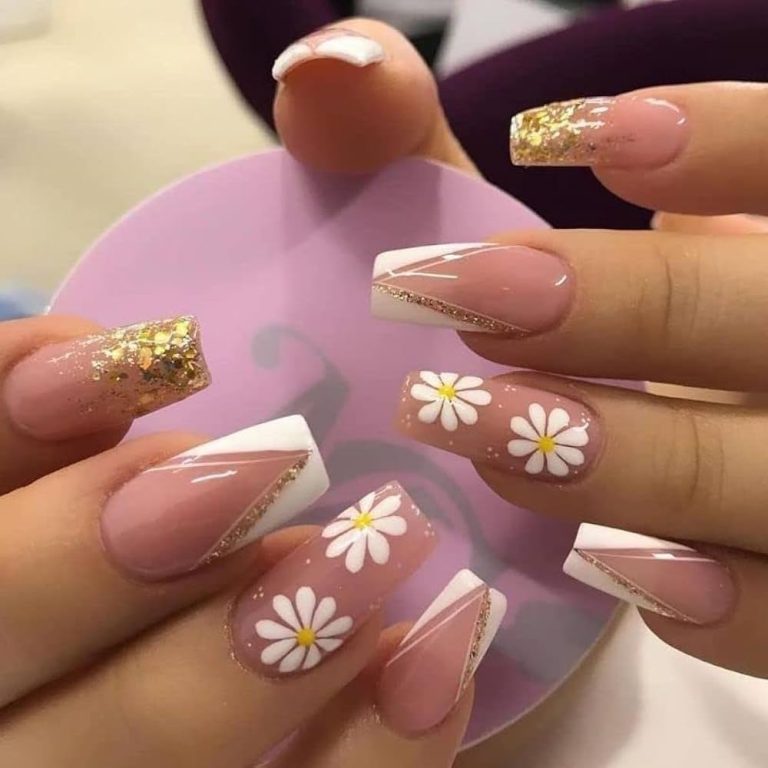
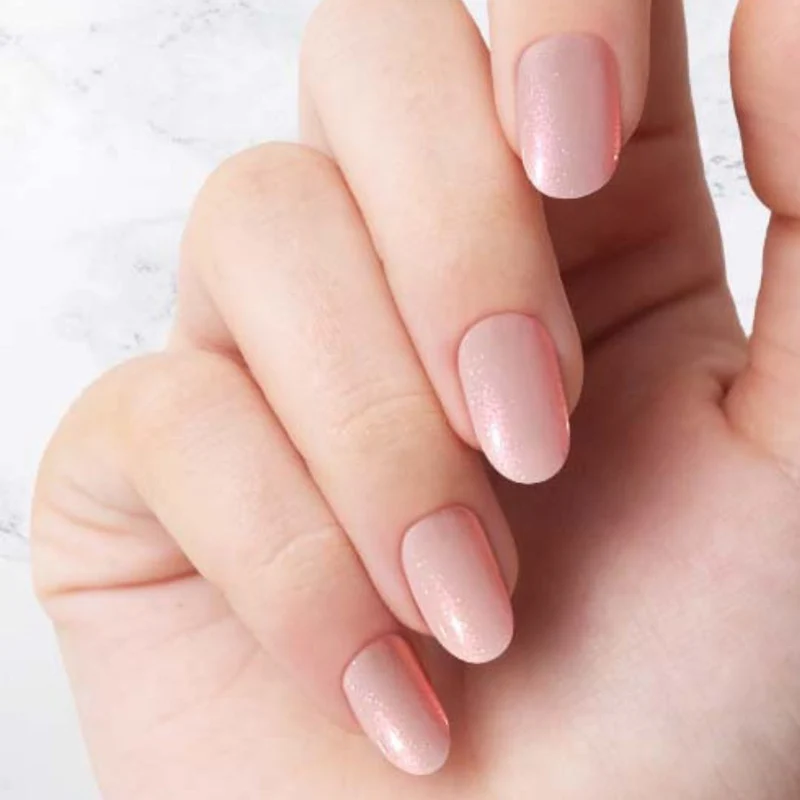
Gel nails are a popular choice for those seeking durable and glossy manicures. Unlike traditional polish, gel nails require curing under specific lamps, such as UV or LED, to set the polish. This process results in a longer-lasting manicure that resists chips and scratches, making it a favorite for both everyday wear and special occasions.
Benefits of Gel Manicures
Gel manicures offer several advantages over traditional nail polish. First, they provide a stronger, chip-resistant finish that can last up to three weeks without needing a touch-up. Additionally, gel manicures are known for their brilliant shine and depth of color, which remain vibrant throughout their lifespan. They also dry instantly under the curing lamp, which means no waiting around and no accidental smudges.
Gel Nails Versus Traditional Polish
When comparing gel nails to traditional polish, the differences are quite significant. Gel nails offer superior durability and longevity, typically lasting two to three times longer than regular nail polish. Moreover, traditional polish might chip or peel within days, while gel nails maintain their impeccable appearance for weeks. The removal process also differs; gel polish requires soaking in acetone and gentle filing, whereas regular polish can be removed with simple nail polish remover.
The Gel Nail Application Process
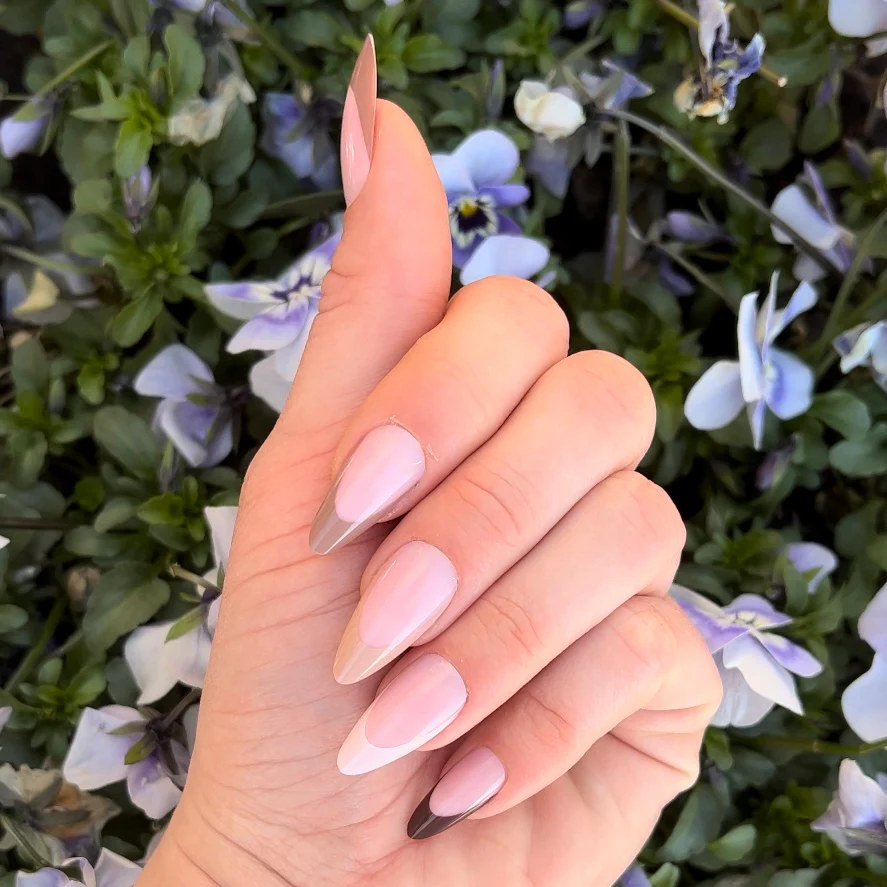
To achieve the perfect gel manicure, knowing the steps and techniques for the application process is essential.
Preparing Your Nails for Gel Polish
First, start by cleaning and shaping your nails. Remove any old polish or debris. Push back cuticles gently. Then, buff your nails slightly. This makes the gel adhere better. Clean nails again, preferably with an alcohol-based wipe, to remove any dust or oil.
Applying the Base, Color, and Top Coats
Apply a thin base coat; cure it under a lamp. Next, put on a thin layer of gel polish; cure it too. Repeat with another coat for depth of color. Finally add a top coat. This seals the color and provides shine. Cure it under the lamp as well.
Curing Under UV/LED Lamps
Place your nails under a UV or LED lamp. Time varies by lamp type. UV typically takes 2 to 3 minutes. LED is faster, about 30 to 60 seconds. Curing hardens the polish, making it last. Always use the lamp according to the gel polish instructions. Proper curing ensures durability and the beauty of your gel manicure.
Popular Gel Nail Polish Brands
Choosing the right gel polish brand can make a significant difference in the appearance and longevity of your manicure. The market offers a variety of brands, each with their individual benefits and color selections. Let’s take a look at some popular options that gel nail enthusiasts swear by.
Top Picks for Gel Nail Enthusiasts
For those who love gel nails, several brands stand out from the rest. Brands like S&L Beauty Company, OPI, Gelish, Bio Seaweed Gel, and CND Shellac are among the favorites. S&L Beauty Company is known for its professional-grade gel polishes at reasonable prices. OPI boasts a vast color palette and easy removal, while Gelish shines for its great coverage and durability. For those interested in nail health, Bio Seaweed Gel offers a water-based option enriched with vitamins. CND Shellac combines the best traits of traditional and gel polishes, providing an easier removal process.
What Makes a Quality Gel Polish?
A quality gel polish is defined by several key factors. It should be long-lasting, resisting chips and wear for weeks. A wide range of deeply pigmented colors allows for creative expression. Removal should be straightforward and not damaging to the nails. Good gel polish has a consistent thickness and smooth application. The top coat should dry to a bright, glossy shine. Lastly, the cost should reflect the quality, offering good value for the price. When choosing a gel polish brand, these are the aspects to consider for the best manicure experience.
Safety Considerations for Gel Manicures
As with any beauty treatment, gel manicures come with safety considerations. While gel nails offer a durable finish, understanding the associated risks is crucial for maintaining healthy nails and skin.
Understanding the Risks of UV Exposure
UV exposure during gel nail curing can pose risks. These lamps emit ultraviolet light, similar to that from the sun. Prolonged exposure can lead to skin aging and may increase the risk of skin cancer. Always take precautions when using UV or LED lamps.
Tips for Protecting Your Skin and Nails
To minimize the risks, consider these tips:
- Use UV-blocking gloves that expose only your nails.
- Apply a broad-spectrum sunscreen to your hands before starting.
- Opt for LED lamps; they emit less UV light and cure polish faster.
- Keep your skin and nails hydrated after removing gel polish.
- Choose soak-off gel polishes for easier and less abrasive removal.
By following these safety tips, you can enjoy your gel manicures with peace of mind.
Maintaining and Removing Gel Nails
How to Extend the Life of Your Gel Manicure
To keep your gel manicure looking fresh and lasting longer, follow these practical tips:
- Apply thin layers of gel polish. This helps avoid peeling.
- Ensure each coat is cured fully under UV or LED lamps. This strengthens the manicure.
- Avoid harsh chemicals and excessive water contact. Wear gloves when necessary.
- Use cuticle oil daily. This keeps your nails hydrated.
- Avoid picking or peeling your gel nails. This can cause damage.
Following these steps will help your gel manicure stay pristine for 2-3 weeks.
Proper Gel Removal Techniques to Protect Your Nails
Removing gel polish carefully is essential to maintain healthy nails:
- Start by gently filing off the top coat. This breaks the seal.
- Soak a cotton ball in acetone and place it on your nails.
- Wrap each nail and cotton with foil. Wait for about 15-20 minutes.
- Gently push the gel polish off with a wooden stick.
- Immediately moisturize your nails and skin around them.
Using these steps avoids damaging the underlying nail and keeps your nails healthy.
Alternatives to Gel Manicures
Gel nails are popular but there are other choices. Powder dip and acrylics offer different looks and benefits. Powder dip nails use colored powder on nails. They are strong and last up to three weeks. Acrylics are sculpted on nails. They are thick and durable. Both can be less costly than gel. Each has its pros and cons.
Comparing Gel Nails to Powder Dip and Acrylics
Gel nails are unique. They cure under light and last long. Powder dip doesn’t need a lamp. It is faster and takes less skill. But, hygiene is a concern. Many people dip in the same powder, which could spread germs. Acrylics give a thicker nail shape. They are good for those who bite their nails. Yet, they can be hard to remove and may damage nails.
When to Consider Taking a Break from Gel Nails
It’s good to rest your nails. If you notice weakness or white marks, pause gel nails. Breaks prevent nails from getting thin and help them recover. Try to wait a few weeks between manicures. If nails break or change color, it’s time for a break. Give nails time to strengthen before another gel manicure.
Cost and Time Factors
An Overview of the Costs for Gel Manicures
The cost of gel manicures varies widely based on location and salon. Typically, you can expect to pay $35-$60 for a gel manicure at a professional salon. Higher-end salons or those located in expensive cities might charge more, potentially up to $100. Meanwhile, DIY gel manicure kits for home use range from $30-$150, depending on the quality and brand.
In terms of maintenance, most salons charge $10-$20 for gel removal. This is because removing gel polish involves specific steps and can’t be rushed without damaging the nails. DIY removal kits cost between $10-$25 and include essential items like foil, remover solution, and wooden sticks for pushing off the gel.
How Much Time to Allocate for Application and Removal
When planning for a gel manicure, timing is crucial. The application process at a salon can take about 30-60 minutes. This includes preparing the nails, applying coats of gel polish, and curing each layer under a lamp.
Removal also requires time and should not be rushed. Salon removal typically takes about 15-30 minutes. At home, using a dedicated removal kit, you might take about 5 minutes to apply the remover and another 15-20 minutes waiting for the gel to soften enough to be removed safely.
Overall, whether you opt for a salon or DIY approach, both cost and time considerations are essential for an effective gel manicure routine.
Advancements in Gel Nail Technology
Gel nail technology has seen great advancements recently. These advancements include better gel formulas and improved lamp technology.
Innovations in Gel Formulas and Lamps
New gel formulas are now more durable and friendly to nails. They have vitamins to strengthen nails. LED lamps now cure gels faster and safer than old UV lamps. Some even come with timers and motion sensors.
The Future of At-Home Gel Manicure Kits
At-home gel kits are becoming more popular. They are getting easier to use with better results. Soon, they might match salon quality. This could save time and money on gel manicures.
