Achieve Durable Beauty: Gel Polish on Natural Nails Guide
Introduction to Gel Polish
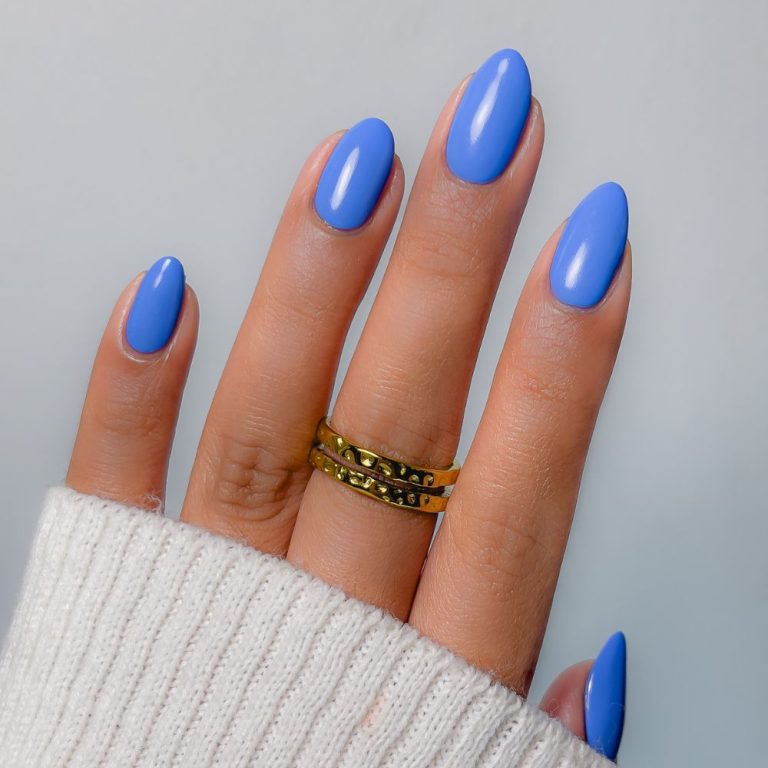
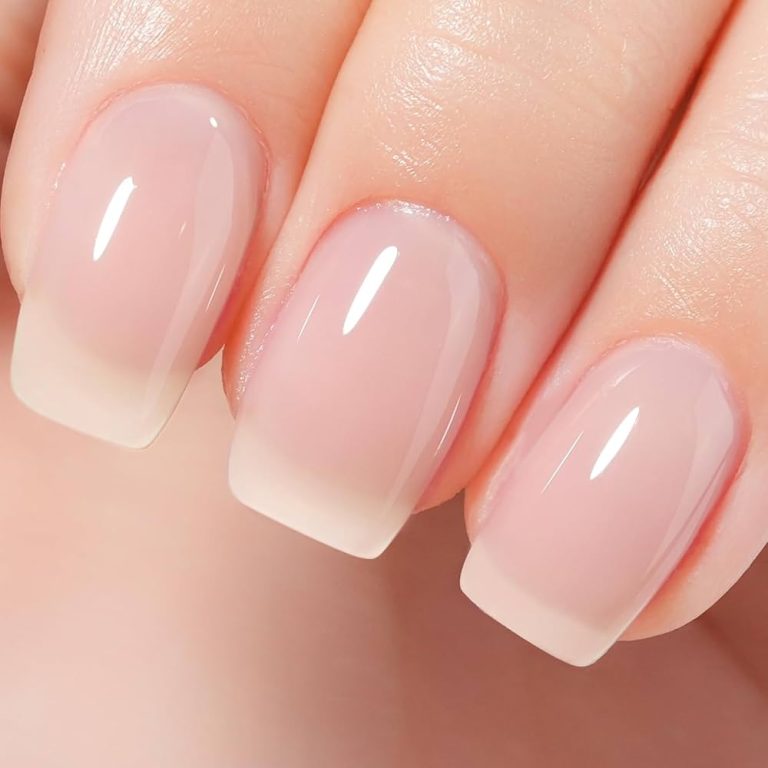
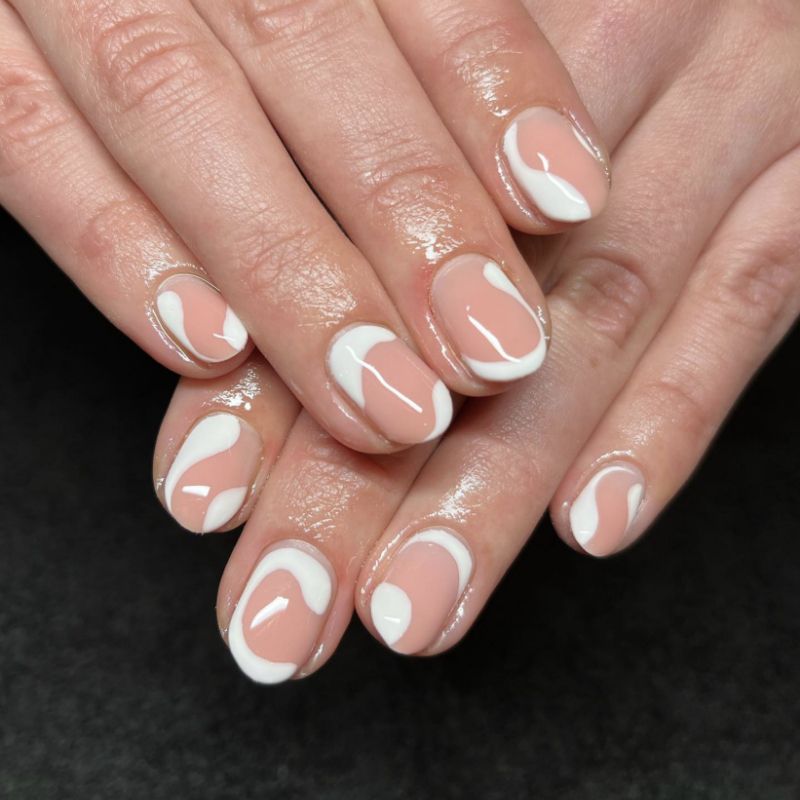
Gel polish has revolutionized nail care with its durability and shine. Unlike regular polish, it cures under UV or LED light. This process forms a hard, protective layer over natural nails. The result? A long-lasting manicure that resists chips and scratches. People love gel polish for its glossy finish and minimal maintenance.
This guide will explore how to apply gel polish on natural nails. We’ll provide tips for preparation, application, and removal. This technique is perfect for those who want a salon-quality look from home. With proper use, gel polish can even aid in strengthening your natural nails. Let’s begin our journey to achieving durable beauty with gel polish.
Preparing Your Natural Nails for Gel Application
Preparing your natural nails properly is key to a flawless gel manicure. Here’s a step-by-step guide to ensure your nails are ready for gel polish application.
Clean and Shape Your Nails
Begin by cleaning your hands with soap and water. Dry thoroughly. Use a nail file to shape your nails to your desired style. Short, even strokes work best to prevent splitting.
Push Back Cuticles
Gently push your cuticles back with a cuticle pusher. Do not cut them, as this can lead to infection.
Buff the Nail Surface
Using a polishing block, lightly buff the surface of each nail. This roughens up the surface, allowing the gel polish to adhere better.
Cleanse Nails
Once buffed, cleanse your nails with a nail cleanser. Use dust-free pads to avoid leaving residue.
Apply Primer
After cleansing, apply an acid-free primer. This dehydrates the nail, ensuring better adhesion for the gel. Let it air dry for a moment.
Use High-Quality Tools and Products
Select hypoallergenic tools and high-quality gel products. These items make a significant difference in the longevity and safety of your manicure.
Follow these steps to prep your nails. They’ll be in the best condition to receive gel polish, laying the foundation for a durable, beautiful finish.
Step-by-Step Guide to Applying Gel Polish
Applying gel polish at home can seem daunting at first. However, with the right technique and a bit of practice, you can achieve a salon-quality manicure. Here’s a straightforward guide to help you apply gel polish on your natural nails step by step.
Gather Your Supplies
Start by collecting all the necessary items. You’ll need a UV or LED lamp, gel polish base coat, color, and top coat. Make sure you also have a cuticle pusher, nail file, buffing block, nail cleaner, acid-free primer, and dust-free pads on hand.
Base Coat Application
After prepping your nails, apply a thin layer of gel base coat. Use even strokes and avoid the cuticle area. Cure the base coat under your UV or LED lamp as directed by the product’s instructions.
Color Coat Application
Once the base is set, apply your chosen gel polish color. Again, keep the layer thin to avoid any lumps. Cure the color coat under the lamp. You may apply a second coat for more opaqueness, making sure to cure again after application.
Top Coat for Shine and Protection
To seal in the color and add shine, apply a gel top coat. Ensure you cover the entire nail and cap the edges. The final cure under the lamp will set the topcoat. This step gives your manicure durability and a high-gloss finish.
Final Touches
After curing the top coat, wipe any sticky residue with a nail cleanser. Use a dust-free pad to leave nails clean and shiny. Now, admire your shiny, durable, and beautifully done gel manicure!
With these steps, you can apply gel polish on your natural nails confidently. The process may take some time, but the long-lasting results are well worth the effort.
Tips for a Long-Lasting Gel Manicure
To keep your gel manicure fresh and long-lasting, consider these tips:
Choose Quality Products
Invest in high-grade gel polishes and cleansers. Quality products prevent chipping and last longer.
Apply Thin Layers
Use thin coats of polish. Thick layers may peel or chip easily.
Protect the Cuticle Area
Avoid gel polish on cuticles. This helps prevent lifting and ensures clean edges.
Cap the Nail Tips
When applying polish, brush the tips of your nails too. This seals the edges, preventing chips.
Avoid Heat and Moisture After Application
After your manicure, avoid heat and water. They can weaken the polish bond.
Use Gloves for Chores
Wear gloves when doing housework or dishes. They protect your gel manicure from damage.
Regular Maintenance
Check your manicure regularly for any chips or lifting. Repair issues quickly to maintain integrity.
Avoid Harsh Chemicals
Keep your nails away from strong chemicals. They can break down the gel polish.
Implementing these tips will help your gel manicure stay impeccable for weeks.
The Benefits of Using Gel Polish on Natural Nails
Gel polish provides many advantages for natural nails. Let’s dive into some of its benefits:
Long-Lasting Wear
Gel polish offers durability unlike traditional polish. It stays chip-free for weeks. This saves time and hassle.
Extra Protection
A gel manicure forms a protective layer. It shields natural nails from breaks and splits. This can lead to stronger, healthier nails over time.
Professional Look
Gel polish gives a glossy, smooth finish. It looks professional and high-quality. Even at home, you can achieve the salon look.
Variety of Choices
There is a vast range of gel colors and finishes. You can choose glossy, matte, or glitter options. This variety allows personal style expression.
Safe for Most
Gel polish is generally considered safe for use. Most brands now offer non-toxic formulas. Hypoallergenic options are also available.
Quick Drying Time
Gel polish cures quickly under UV or LED lights. There’s no lengthy wait for nails to dry. This eliminates the risk of smudges.
Low Maintenance
Once applied, gel polish needs little upkeep. There’s no need for frequent touch-ups. It remains flawless through daily activities.
Using gel polish on natural nails is a smart choice for lasting beauty. It also saves time and helps maintain nail health.
Common Questions and Concerns about Gel Polish
Many people have questions about using gel polish on their natural nails. Here are common concerns and their answers.
Is Gel Polish Safe for My Nails?
Gel polish is generally safe for most users. Choose high-quality, non-toxic brands for the best care.
Can Gel Polish Damage My Natural Nails?
Proper application and removal ensure it doesn’t harm your nails. It can even protect and strengthen them.
Will Gel Polish Peel Off Easily?
If applied correctly, gel polish should not peel. Make sure each layer is thin and properly cured.
Do I Need a UV or LED Lamp?
Yes, curing gel polish requires a lamp. LED lamps are faster and often safer than UV.
How Long Does Gel Polish Last?
When done right, gel polish can last up to two to three weeks without chipping.
Can I Do Gel Polish at Home?
Absolutely, with the right tools and some practice, you can achieve salon-quality results.
Is There a Risk of Allergies?
While rare, allergies can occur. Hypoallergenic options are best for sensitive individuals.
Address these concerns before applying gel polish. With careful application, you can enjoy beautiful, long-lasting results.
Removing Gel Polish Safely
Ensuring safe removal protects natural nails during the gel polish process. This section details the steps.
Gather Removal Tools
Use a file, cotton pads, foil, and acetone for removal. Gentle, careful use is essential.
File the Top Coat
Gently buff the gel’s shiny surface. This breaks the seal and aids in acetone penetration.
Acetone Soak
Saturate cotton pads with acetone. Place on nails and wrap securely with foil.
Wait Patiently
Allow nails to soak for about 10-15 minutes. This time varies by product thickness.
Gently Remove Gel
After soaking, remove foil. Use a cuticle pusher to peel the gel off softly.
Avoid Force
If gel doesn’t come off easily, reapply acetone-soaked pads rather than forcing it.
Moisturize Afterward
Nail hydration is vital after acetone use. Apply cuticle oil and hand cream generously.
Advanced Techniques: Using Builder Gel for Added Strength
For those seeking extra durability and strength for their natural nails, builder gel is a fantastic option. Builder gel is a thicker type of gel that, when applied, adds a robust layer to your natural nails. This not only helps in preventing breaks and chips but also allows nails to grow longer without damage. Here’s how to use builder gel to reinforce your natural nails.
Choose the Right Builder Gel
Select a high-quality builder gel that suits your nail’s needs. If your nails are particularly weak or flexible, a soft builder gel is ideal. It moves with your nails, reducing the chance of lifting or popping off.
Preparation is Key
Follow all the nail prep steps outlined earlier in this guide. Clean, shape, file, and buff your nails for the best adhesion of builder gel.
Application Process
Apply a thin layer of your base coat and cure it. Then, spread a thin layer of builder gel over the entire nail. Pay special attention to the apex – the nail’s natural arch – for added strength. Cure under a UV or LED lamp, following the gel’s instructions.
Shape and Refine
After curing, file the nails to shape them perfectly. Be gentle to avoid damage to the natural nail underneath.
Seal with Top Coat
Finish with a top coat to seal the builder gel. This also adds a glossy look to your manicure. Cure one last time and cleanse any tacky residue.
Builder gel enhances nail strength and can turn weak, brittle nails into durable, long-lasting beauties. With careful application, you can achieve professional-level results that endure daily wear and tear. Always use gel polish on natural nails responsibly to maintain nail health.
