How to Perfectly Combine Acrylic Nails with Gel Polish
Contents
hide
Introduction to Acrylic Nails and Gel Polish
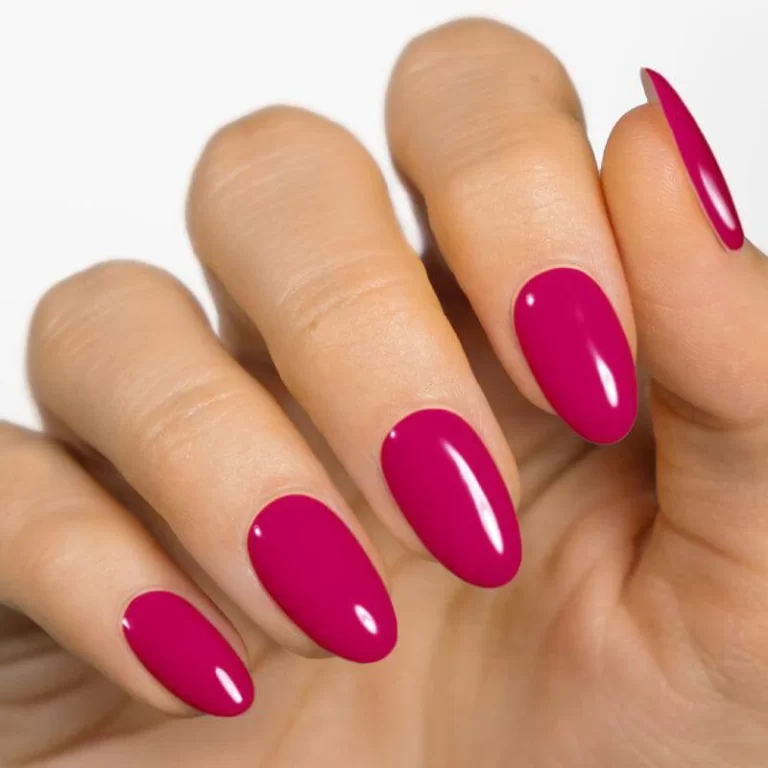
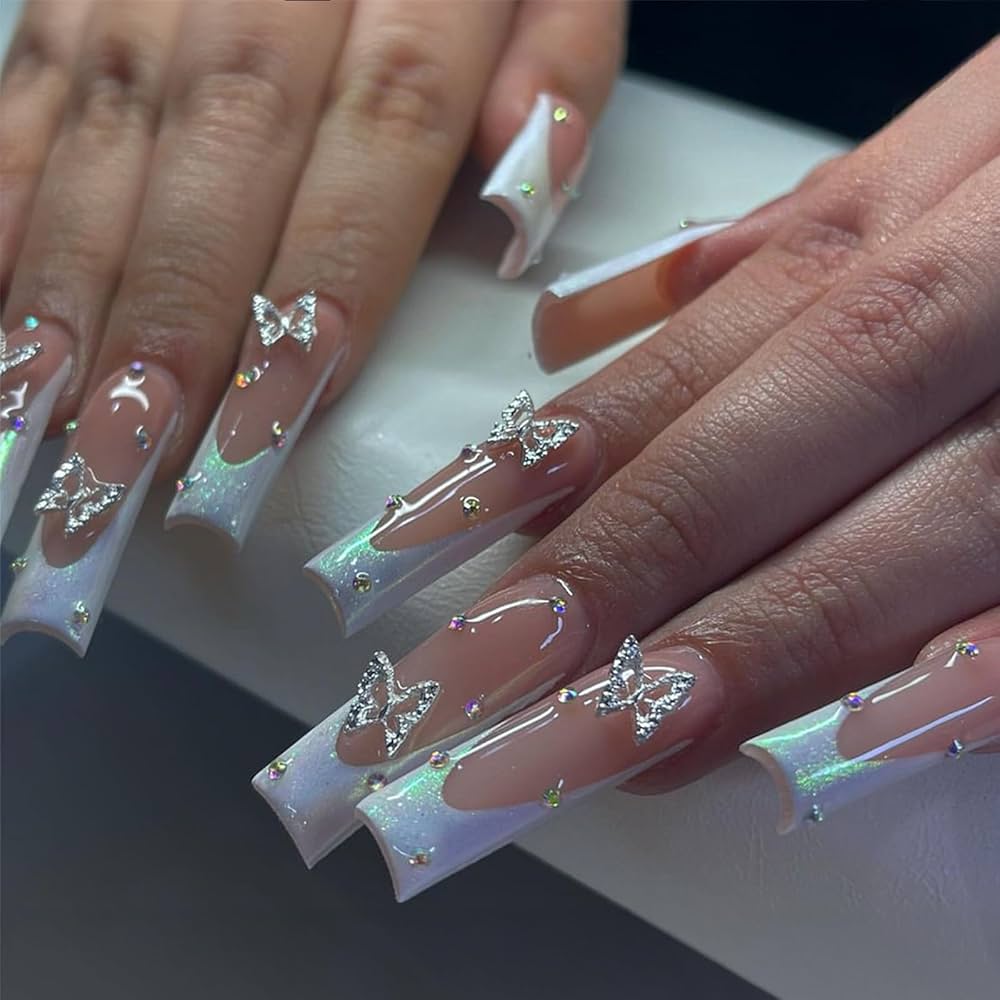
Acrylic nails offer a way to achieve long, strong nails. They serve as a durable extension to natural nails. Gel polish is another popular choice for a manicure. It gives a high-shine finish that lasts. Putting gel polish on acrylic nails is a common practice. It combines the strength of acrylics with the long-lasting color of gel. This post will explore how to use gel polish on acrylic nails effectively.
Advantages of using gel polish on acrylic nails include long-lasting wear and an attractive finish. Preparing acrylics correctly is key to a smooth gel polish application. We will look at the preparation process step by step. Proper maintenance can extend the life of your gel polish on acrylics. Avoiding common mistakes helps maintain nail health and appearance.
When it’s time for a color change, removing gel polish safely is critical. Doing it the wrong way could damage the acrylics. Alternatives to gel polish will also be discussed for those seeking variety. Let’s dive into the world of acrylic nails with gel polish, starting with what they are and how they work together.
Advantages of Using Gel Polish on Acrylic Nails
Considering a fresh manicure that combines both acrylic nails and gel polish? This pairing is winning for several reasons. Here we detail the benefits that make gel polish on acrylic nails a popular choice.
- Longer Duration: Gel polish is known for its lengthy stay. When applied to acrylics, it can last even longer.
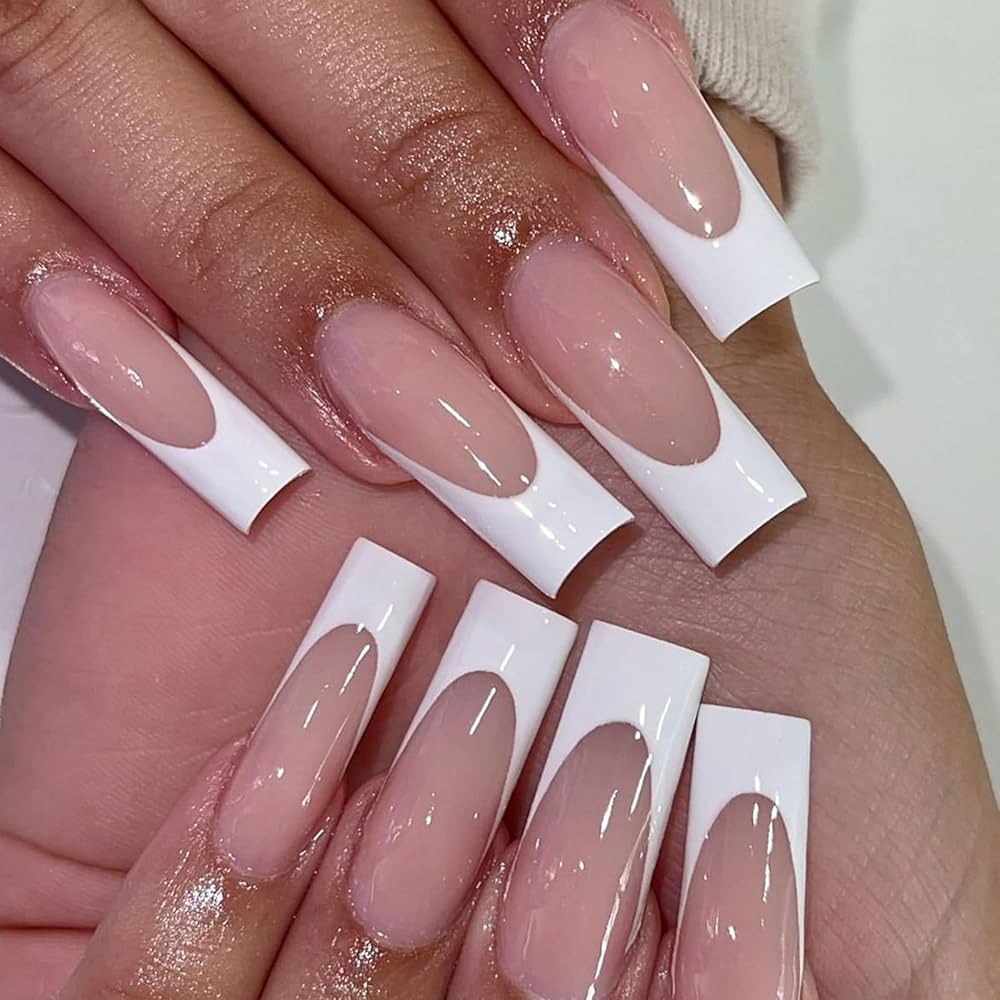
- Sophisticated Shine: With gel polish, expect a gleaming, glossy finish.
- Extra Strength: Gel polish adds another layer of protection to sturdy acrylic nails.
- Variety of colors: There’s a wide range of gel polish hues to choose from.
- Protection: Gel polish shields the acrylics from scratches and chips.
- Quick Dry Time: No long waits, as gel polish sets fast under UV/LED light.
- Safe Removal: With the right approach, gel polish can come off acrylics without harm.
In summary, combining gel polish with acrylic nails elevates your manicure. It offers long wear, a shiny finish, and an extra protective layer with quick drying times. Just remember, correct application and removal are crucial for keeping your nails in top shape. Enjoy the variety and feel confident about the safety and durability of your manicure.
Preparing Your Acrylic Nails for Gel Polish Application
Proper preparation of acrylic nails is crucial for a flawless gel polish application. Skipping this step can lead to peeling or chipping, reducing the longevity of your manicure. Let’s go through the steps to ensure your acrylic nails are ready for gel polish.
- Clean Your Nails: Start by cleansing your nails with alcohol or a nail prep solution. This removes any oils or debris.
- Buff the Surface: Gently buff the surface of the acrylics. This creates a rougher surface for the gel polish to adhere to.
- Avoid Over-Buffing: Be careful not to buff too hard. Over-buffing can weaken the acrylics and cause damage.
- Apply a Primer: Some gel polish requires a primer for better adhesion. Apply as directed if your chosen gel polish needs this.
- Avoid the Cuticles: When applying primer or base coat, stay clear of the cuticles. This prevents lifting and potential infections.
- Let Primer Dry: If you’ve applied primer, make sure to let it dry thoroughly. The base coat should only go on dry nails.
- Base Coat Application: Apply a thin, even base coat of gel polish. Cure under UV/LED light as directed by the polish instructions.
By following these straightforward steps, you’re setting yourself up for a longer-lasting, more durable manicure. Preparing your nails correctly helps protect both the acrylic and gel layers, ensuring a sleek, professional look.
Step-by-Step Guide to Applying Gel Polish on Acrylic Nails
To achieve a flawless gel polish application on your acrylic nails, follow this guide. Begin with the right preparation (as discussed in previous sections), and then dive into these steps:
- Apply Base Coat: Start with a thin layer of base coat. Cover every part of the nail.
- Cure Under Light: Place nails under UV/LED lamp. Cure as the base coat brand recommends.
- Gel Polish Color: Apply your chosen color. Make sure the layer is even and thin.
- Cure Again: Put your nails back under the lamp. Follow the time guideline per polish instructions.
- Second Coat Option: If needed, apply a second color coat. Some colors need it for full coverage.
- Cure as Needed: Repeat the curing step if you added another polish layer.
- Top Coat for Shine: Add a top coat for a glossy finish. This seals in the color.
- Final Cure: Give your nails one last cure under the lamp to set the top coat.
- Cleanse If Needed: Some products leave a tacky layer. If so, cleanse it with a nail wipe.
We made this process simple, with clear actions and easy-to-follow steps. Achieving a salon-quality look with gel polish on acrylic nails is within reach. Perfect your manicure and enjoy the beauty and durability that this combination offers.
Tips for Maintaining and Extending the Lifespan of Gel Polish on Acrylics
Making your gel polish on acrylic nails last is all about maintenance and care. Here are some top tips to ensure that your manicure stays perfect for longer:
- Avoid Water and Heat: Prolonged exposure to water and high temperatures can weaken the gel polish bond. Wear gloves when cleaning or using hot water.
- Gentle Use: Treat your nails with care. Avoid using your nails as tools to prevent chips.
- Moisturize Regularly: Keep your cuticles and the skin around your nails moisturized. This prevents hangnails and keeps the nail bed healthy.
- Touch-ups: If you notice a chip, apply a small amount of the same gel polish and cure it under the lamp.
- Wear Gloves for Chores: Cleaning chemicals can strip your nails of their shine. Gloves are your best friend for chores.
- Limit Exposure to Chemicals: Harsh chemicals in cleaning products can damage the polish. Limit contact with them.
- Regular Top Coat Application: Applying an extra layer of top coat every week can protect the color and add shine.
By following these simple tips, you can enjoy a beautiful gel polish look on your acrylic nails for weeks to come.
Common Mistakes to Avoid with Acrylic and Gel Nails Combination
Achieving the perfect manicure can be tricky when combining acrylic nails with gel polish. There are some common mistakes you’ll want to avoid to ensure longevity and a professional appearance. Here are the key errors and how to steer clear of them:
- Skipping Nail Prep: Always clean and buff your nails before applying gel. Skipping this can lead to chipping.
- Applying Thick Layers: Use thin coats of gel polish. Thick layers may not cure properly and peel off.
- Over-Curing Under Lamp: Overexposure to UV/LED light can make gel brittle. Stick to recommended curing times.
- Neglecting Cuticle Care: Avoid applying polish on your cuticles. It can cause lifting and potential infections.
- Using Old Polish: Outdated gel polish may not adhere well. Ensure your polish is within its shelf life.
- Forgetting Base and Top Coats: Never skip the base and top coats. They help gel adhere and prevent chipping.
- Ignoring Repair Signs: If you notice lifting or damage, repair it promptly. Ignored issues can worsen.
By being mindful of these common errors, you’ll maintain the beauty and integrity of your acrylic nails with gel polish. Your manicure will thank you for the extra attention to detail.
Safely Removing Gel Polish from Acrylic Nails
When the time comes to take off gel polish from acrylic nails, it needs special care. Doing it the wrong way can damage the acrylics. Here’s a safe method to remove gel polish:
- Gentle Filing: Start by gently filing the top coat of the gel polish.
- Acetone Use: Soak cotton pads in acetone and place them on your nails.
- Wrapping Nails: Wrap each nail with foil to hold the cotton in place.
- Waiting Time: Wait about 15 minutes for the gel polish to soften.
- Removing Gel: Gently push off the gel polish with a cuticle pusher.
- Moisturizing: After removal, apply cuticle oil to nourish your nails.
By following these steps, you can remove gel polish without harming your acrylics. Keep in mind, regular moisturizing after removal helps maintain nail health.
Alternatives to Gel Polish for Acrylic Nail Enhancement
Exploring other options besides gel polish for your acrylic nails can offer flexibility and novelty. If you decide to switch things up, here are a few alternatives to consider for decorating your acrylic nail enhancements:
- Regular Nail Polish: It’s a traditional choice that provides a vast array of colors. It’s easy to apply and remove but doesn’t last as long as gel polish.
- Nail Wraps: These are thin layers of vinyl that stick to your acrylic nails. They come in various designs and are easy to apply at home.
- Dip Powder: This long-lasting nail technique involves dipping your nails into colored powder. It requires no light to cure and offers added strength to your acrylics.
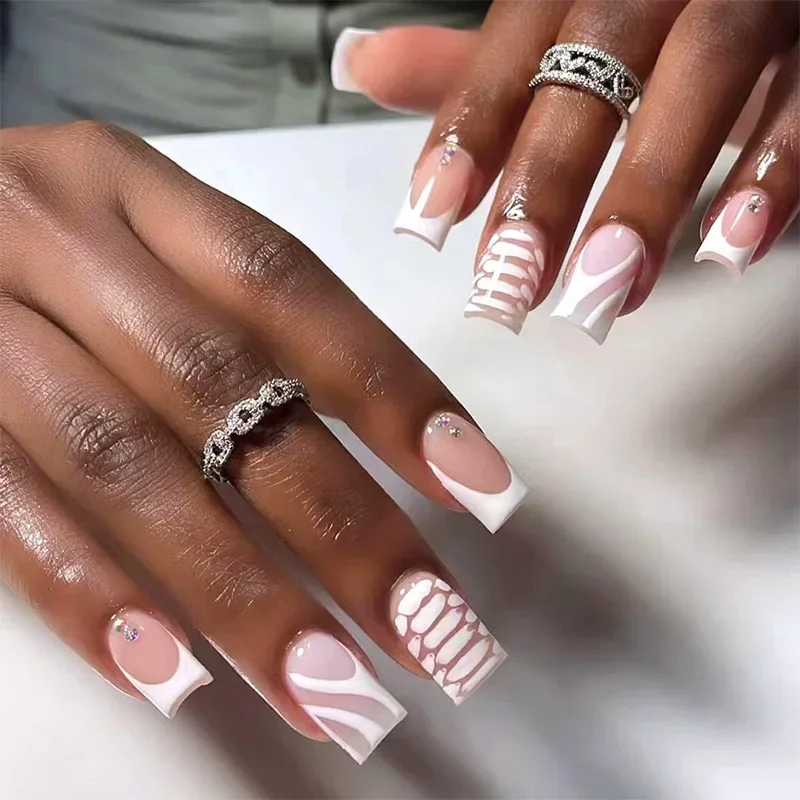
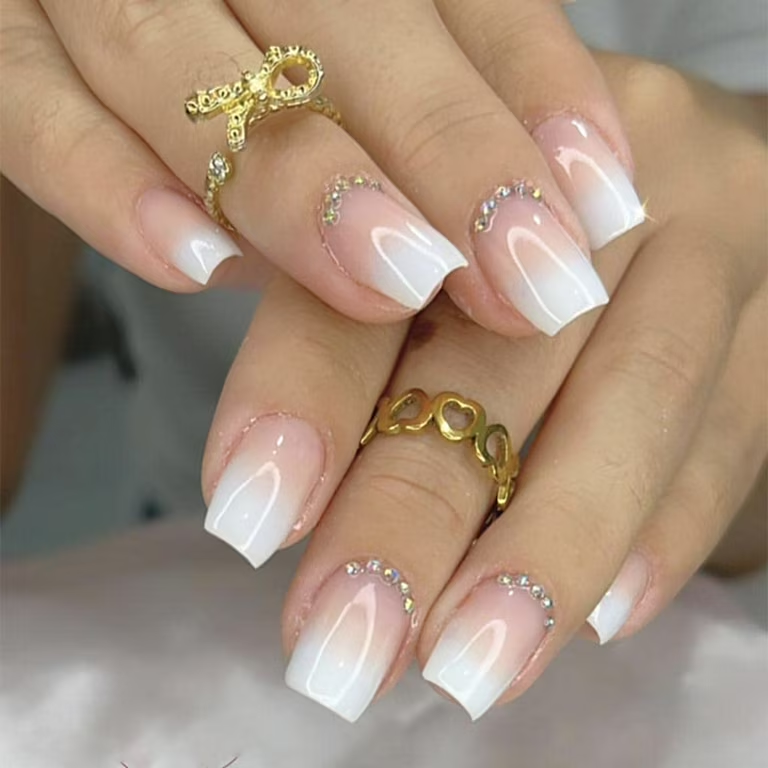
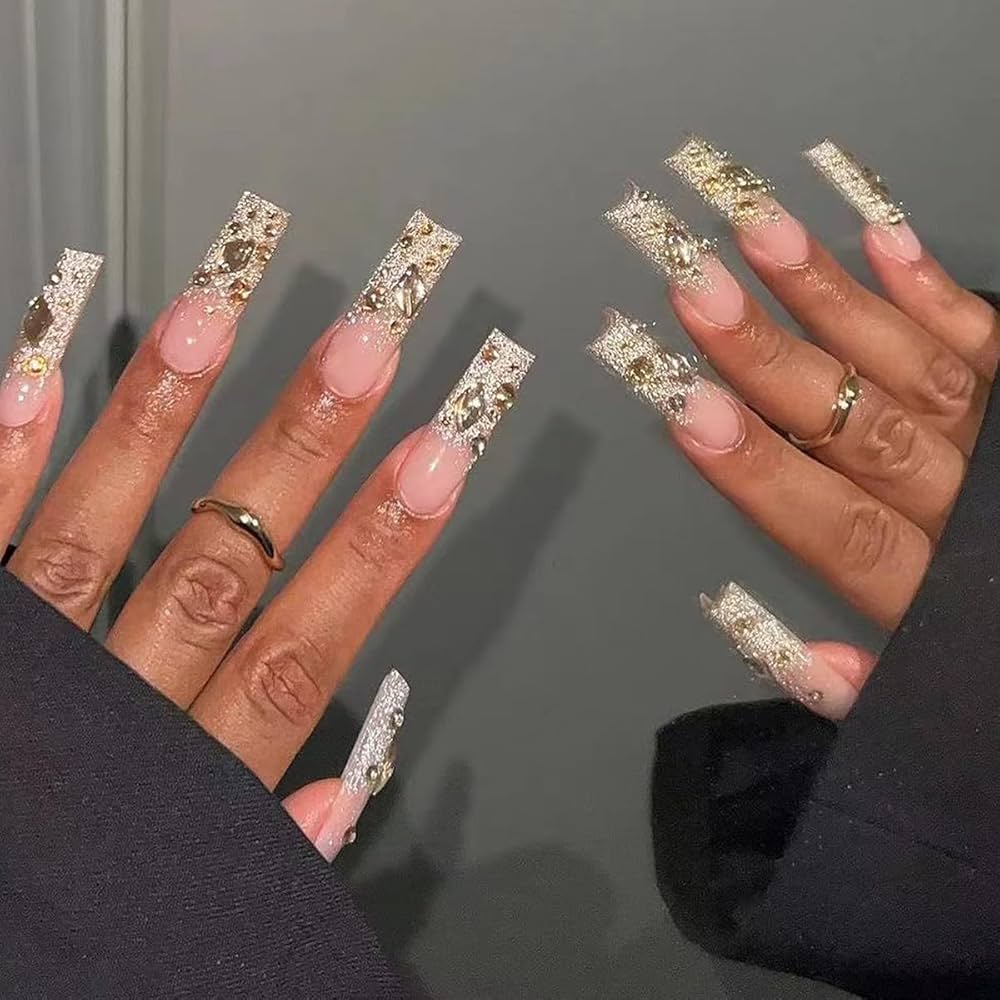
- Nail Art: Get creative with hand-painted designs or small embellishments like rhinestones and stickers.
- Matte Topcoats: For those who prefer a non-shiny finish, a matte topcoat over any polish changes the look and feel of your nails.
- Chrome Powders: These powders are rubbed onto the nail to give a shiny, mirror-like finish that works well with the strength of acrylics.
Experimenting with these different finishes and styles can freshen up your manicure without being tied down to gel polish alone. Each alternative offers its own unique benefits and can be tailored to match your personal style. Don’t be afraid to try out new looks and find what works best for you!