
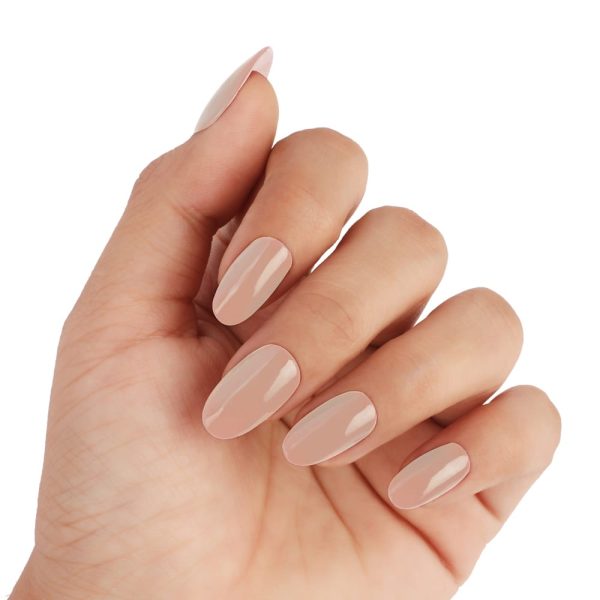
Gel Polish on Natural Nails: A How-To Guide
Contents
hide
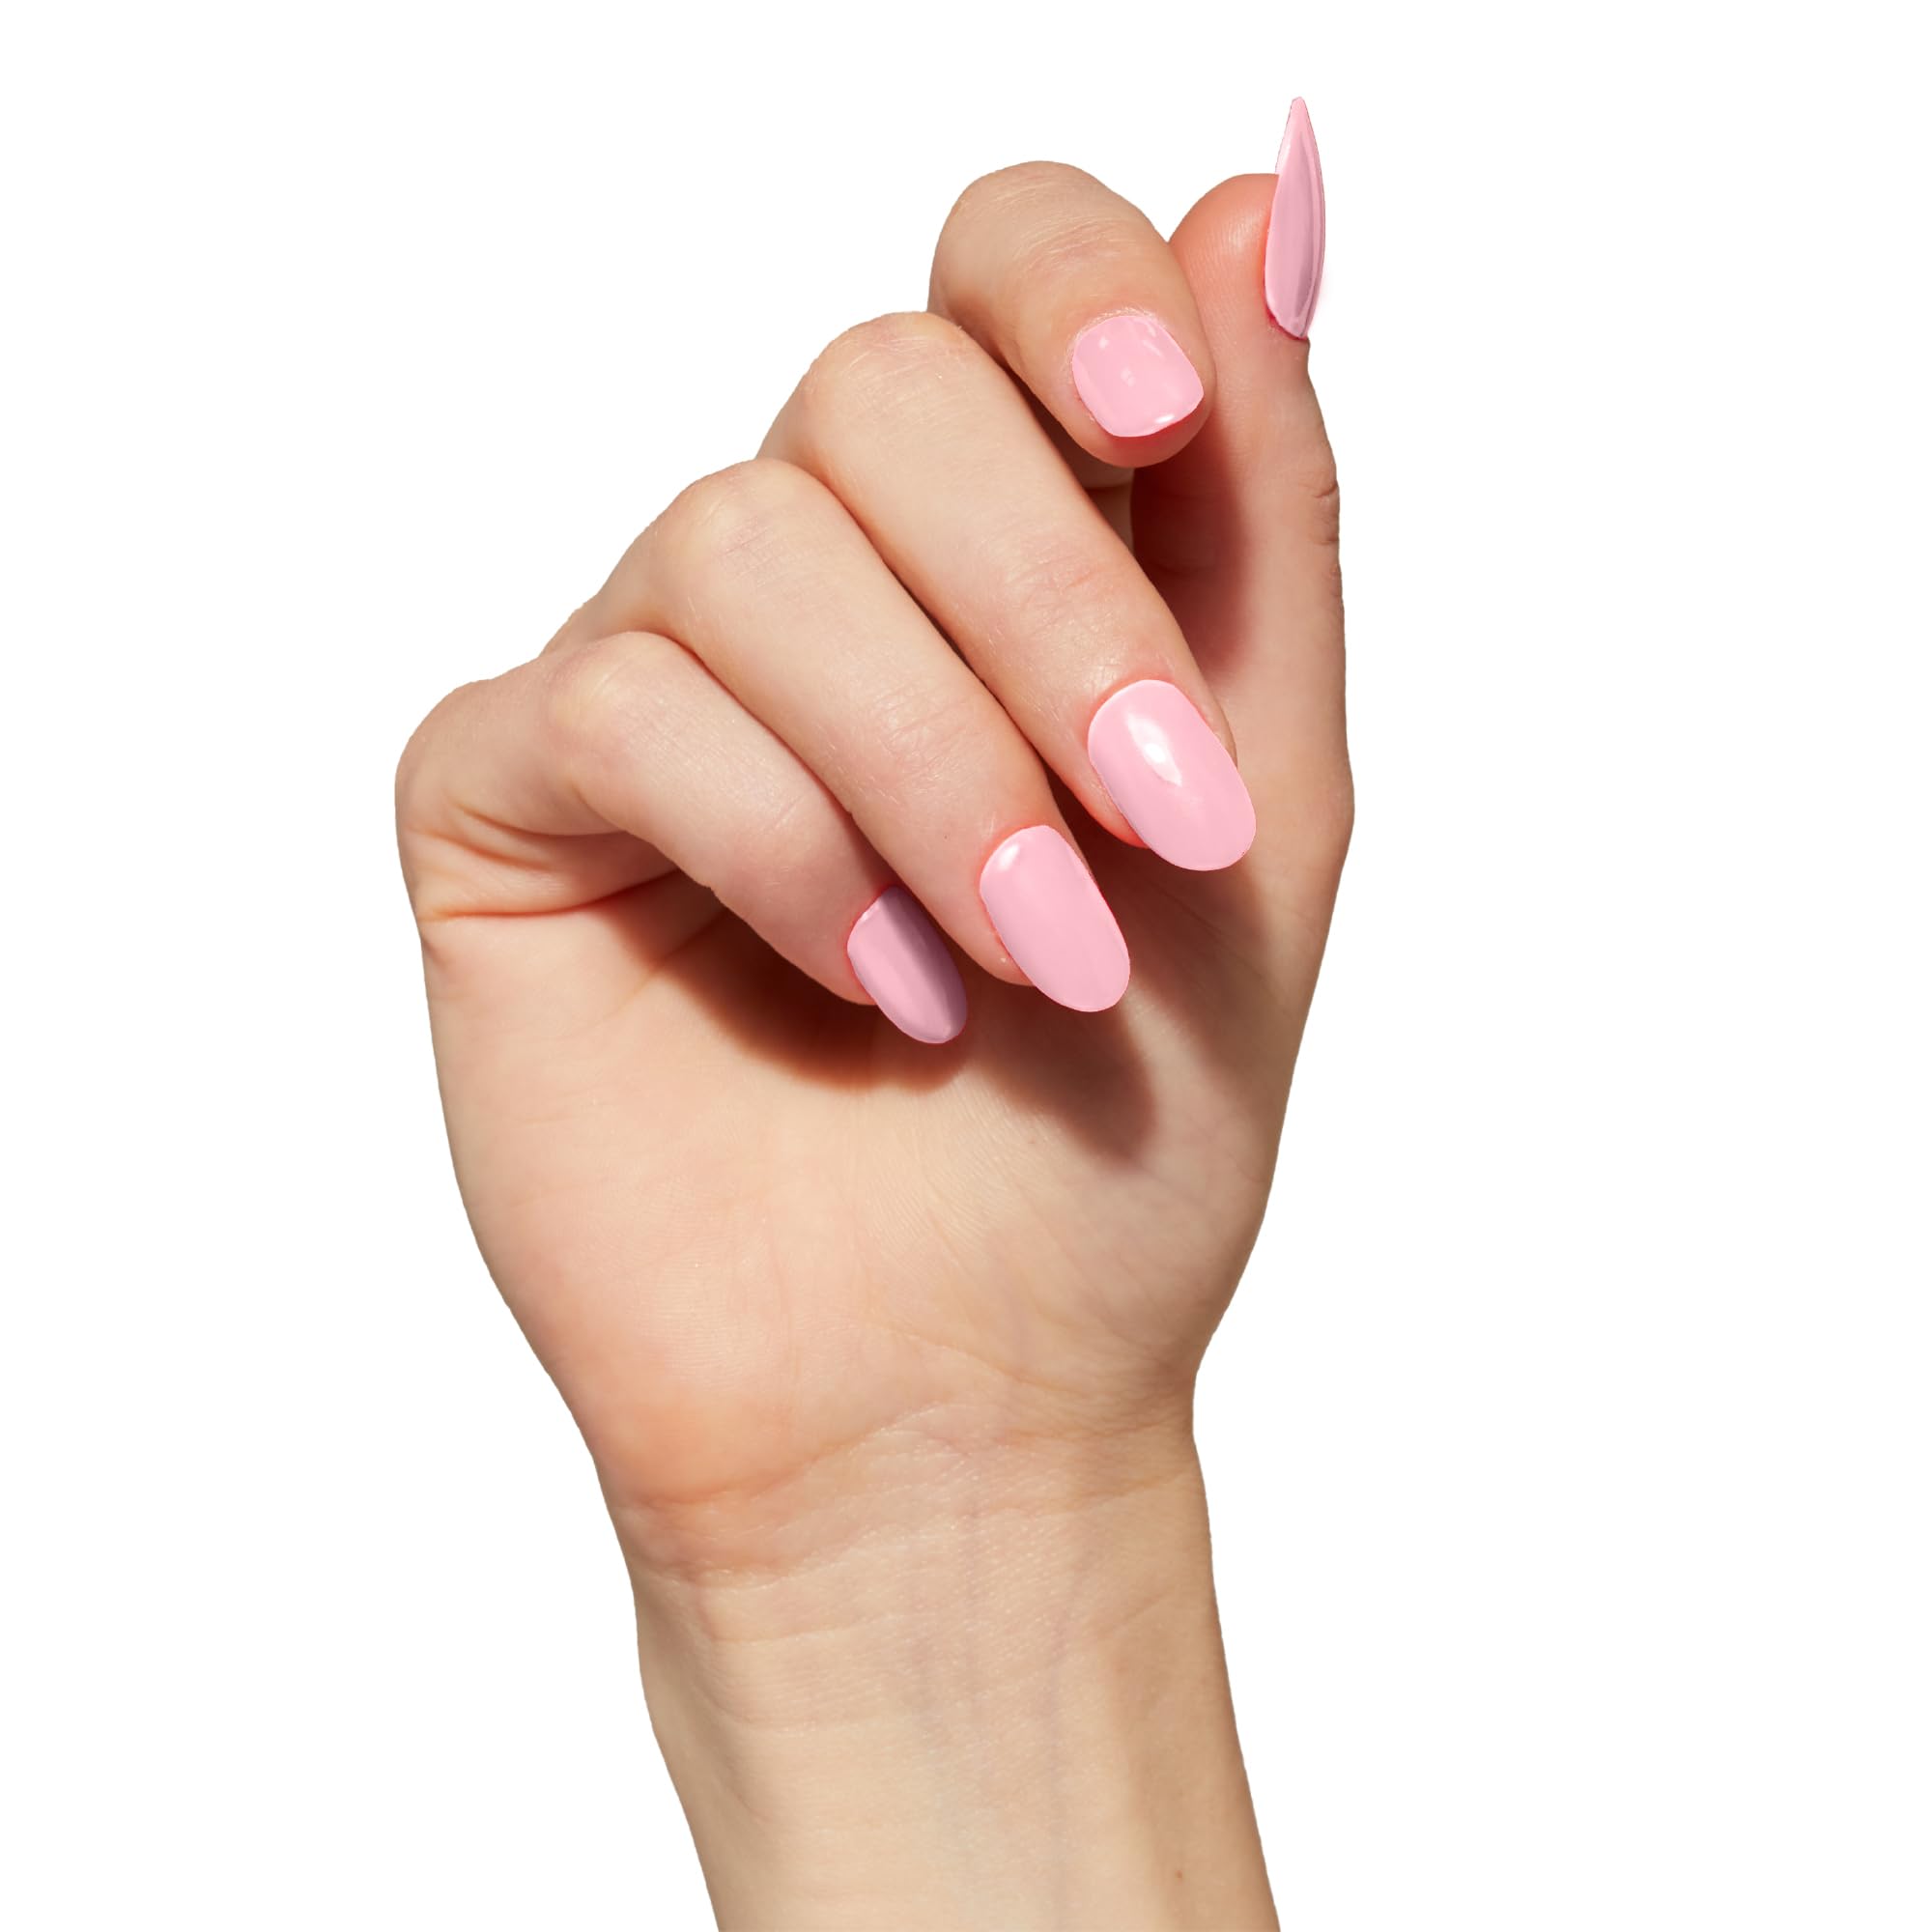
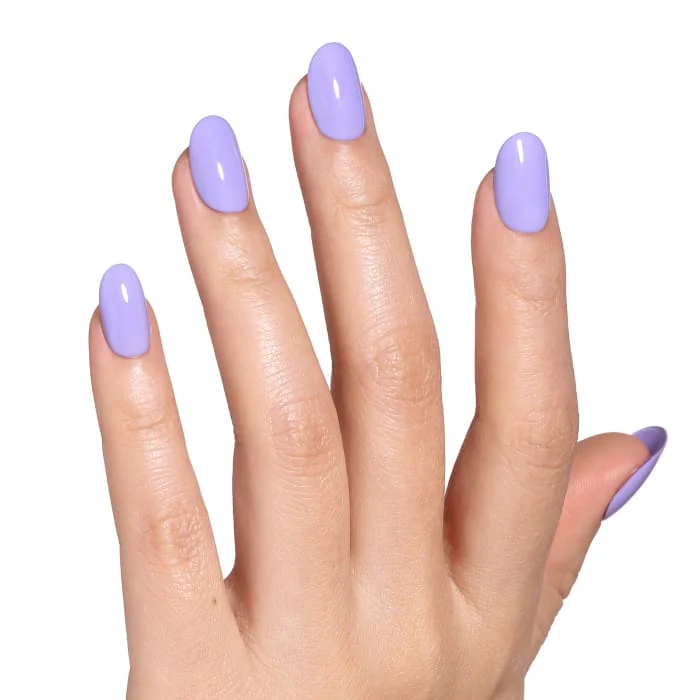
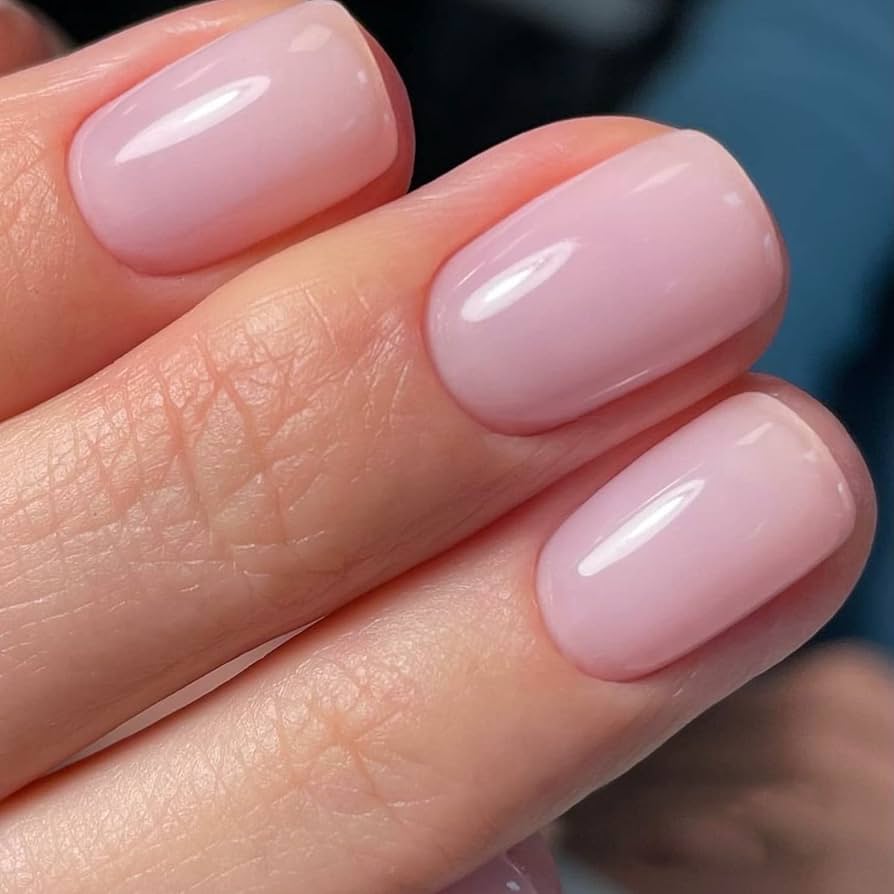
Benefits of Gel Polish for Natural Nails
Applying gel polish to natural nails offers many advantages. This method is becoming increasingly popular due to the following benefits:
- Durability: Gel polish outlasts traditional nail polish. It can endure daily activities without chipping for weeks.
- Protection: Your nails gain an additional protective layer, which can prevent breakage and splitting.
- Glossy Finish: Gel gives a glossy and smooth appearance that stays shiny much longer than regular polish.
- Quick Drying: Once cured under a UV or LED lamp, gel polish is completely dry and smudge-proof.
- No Harmful Fumes: Gel polish does not emit the strong odors associated with some traditional polishes.
- Creative Freedom: It allows for a wide range of colors and intricate nail art designs that last.
For women seeking nails that are both beautiful and sturdy, gel polish is an excellent choice. It stands up to the challenges of everyday life and keeps nails looking professionally done. This makes it ideal for anyone, whether you’re busy at work or enjoying leisure activities.
Essential Tools for DIY Gel Manicure
To execute a DIY gel manicure successfully, having the right tools is critical. Here is what you need:
- UV or LED Lamp: Essential for curing the gel polish and locking it in place.
- Gel Polish: Select colors of your choice, including a base and top coat for a complete set.
- Cuticle Pusher: To tidy the nail bed and push back cuticles gently.
- Nail File: A 100/180 grit file shapes the nail and prepares the surface for the gel.
- Dust-Free Wipes: To clean the nail surface without leaving behind any fibers.
- Nail Cleanser: An alcohol-based cleaner that removes oils and residue prior to application.
- Polishing Block: To even out the nail surface, creating a perfect foundation for the polish.
- Primer: It acts as an adhesive layer between your natural nail and the gel polish.
- Gel Brushes: For accurate and smooth application of the gel polish.
It is important to opt for high-quality tools to ensure the best results and avoid any allergic reactions or damage to your nails. Gel on natural nails:Hypoallergenic materials, like surgical steel for the cuticle pusher, are advisable. Always remember to clean and maintain your tools properly to prolong their life and performance.
Preparing Your Nails for Gel Application
Before you start applying gel on natural nails, prep work is crucial for longevity and protection. Follow this step-by-step guide:
- Clean Your Nails: Remove any old polish with remover and wash hands thoroughly.
- Shape Your Nails: Trim nails if necessary and shape them using the 100/180 grit file.
- Push Back Cuticles: Use the cuticle pusher gently to push back your cuticles.
- Buff Nails: Smooth out the nail surface with the polishing block to remove shine.
- Cleanse Nails: Wipe nails with the dust-free wipes and nail cleanser to remove oils.
- Apply Primer: Brush on a thin layer of primer for a strong adhesion of gel polish.
Prepping your nails properly ensures the gel adheres well and reduces the risk of lifting. It can prevent premature chipping of your gel manicure. Each step is essential for professional-quality results. Remember, do not soak nails before gel application; this can cause them to expand and later contract, leading to peeling polish.
Step-by-Step Gel Application Process
Applying gel polish at home can be straightforward. The process involves several key steps. Each step must be done carefully to ensure your manicure lasts. Here’s how to do it:
- Apply Base Coat: Start with a thin layer of base coat. Cure it under your UV or LED lamp according to the time specified by the product.
- Apply Gel Polish: Next, apply a thin layer of your chosen gel color. Avoid the skin and cuticle. Cure under the lamp. For a rich color, apply two coats, curing after each.
- Apply Top Coat: Finish off with a top coat. This layer gives your nails a glossy finish and added protection. Cure it as well.
- Wipe Nails: Use a dust-free wipe soaked in nail cleanser. Gently remove the sticky layer on top if your top coat requires it.
- Cuticle Oil: Once nails are cured and cleaned, apply cuticle oil. This will rehydrate your cuticles and skin.
Repeat these steps for each nail. Work on one nail at a time for best results. Take your time to cure each layer properly. This will prevent smudging and ensure longevity. If using color, make sure to seal the edges of your nails during the application. This helps prevent chipping.
Having the right gear, like a high-quality lamp and gel products, is crucial. Gel manicure durability depends on accurate application and correct curing time. Consider this a crafting project for your nails with beautiful results. Patience and precision are your allies here.
Tips for a Long-lasting Gel Manicure
To maximize the longevity of your gel manicure, follow these practical tips:
- Cap the Nail Edges: After applying each gel layer, always brush the tip of the nail. This helps to seal the gel.
- Avoid Water and Heat: For the first few hours after application, stay clear of hot water and excessive heat to prevent lifting.
- Use Gloves: When doing household chores, especially washing dishes or cleaning with chemicals, wear gloves to protect your manicure.
- Moisturize Regularly: Keep your nails and cuticles moisturized with oil or cream. This supports nail flexibility and prevents chipping.
- Gentle Use: Don’t use your nails as tools. Open cans and other objects with care to avoid damage.
- Touch Up with Top Coat: If you notice any wear, apply an extra layer of top coat to extend the manicure’s life.
- Proper Lamp Curing: Ensure the lamp you use cures gel efficently. Follow the manufacturer’s recommended curing times.
Following these tips can make your gel polish last longer and keep your nails looking fresh.
Avoiding Potential Damages During Gel Manicure
To keep your nails healthy, avoid damages when doing a gel manicure. Follow these simple steps:
- Gentle Filing: File nails with care. Avoid harsh or speedy filing to prevent thinning nails.
- Proper Tool Use: Use clean and correct tools. Dirty or incorrect tools can cause nail damage.
- Avoid Cuticle Cutting: Push back cuticles gently. Cutting can lead to infections and damage.
- Balanced Application: Apply thin gel layers. Thick layers can cause heat spikes under the lamp and damage.
- Safe Curing: Do not over-cure. Follow lamp instructions to avoid nail weakness or burns.
- Allergy Awareness: Know the products you use. Some gels cause allergic reactions, so choose hypoallergenic options.
- No Picking or Peeling: Resist the urge to pick at polish. This can strip layers from your nails.
Following these tips will help maintain nail health and reduce the risk of damage during your gel manicure.
Removing Gel Polish Safely at Home
Removing gel polish at home can be simple if you use the right technique. Here’s a safe and effective process:
- Wrap in Acetone: Soak a cotton pad in acetone, place it on your nail, and wrap with foil.
- Wait Patiently: Leave the wraps on for about 10-15 minutes or as the product directs.
- Gentle Removal: Use a cuticle pusher to ease the polish off. If it’s stubborn, rewrap it for a few more minutes.
- Nail Care: After removing the polish, wash your hands and apply a moisturizer to your nails and cuticles.
Be sure not to rush the process to avoid damaging your nails. Also, never peel off gel polish, as it can take layers of your nail with it. Follow these steps, and you can keep your natural nails healthy while enjoying the benefits of gel polish.
Using Gel Polish for Nail Strengthening and Growth
Gel polish is not just for looks; it also strengthens nails. Applying gel polish helps nails grow by adding a protective layer. This layer guards against daily wear and tear. Nails become less prone to breaking and peeling with gel polish. To strengthen nails, follow these tips:
- Consistent Application: Regular use of gel polish can help. Keep nails coated for protection.
- Gentle Removal: Take care when removing gel. Do it gently to avoid nail damage.
- Balanced Diet: Eat well for healthy nails. Nutrients support nail growth and strength.
- Hydration: Drink plenty of water. Hydrated nails are less likely to break.
- Oils and Creams: Use nail oil and creams regularly. They keep nails and cuticles healthy.
As you continue with gel polish, you may notice improvements. Nails often grow faster and stronger. Remember, healthy nails start with good care. Keeping nails moisturized and protected is key. With the right upkeep, you can enjoy your gel manicure and healthier nails.

