Master Gel Manicures at Home with UV Light
Benefits of Doing Gel Nails at Home
Creating gel nails at home with a UV light kit can save you money and time. Salons often charge high prices for gel manicures that you can do yourself for a fraction of the cost. The expenses mainly come from the initial purchase of the kit and polishes, but once acquired, you can use them multiple times. How to do gel nails at home with UV light? Additionally, it saves the time spent on salon visits, which can be a significant advantage during a busy week.
Flexibility and Customization
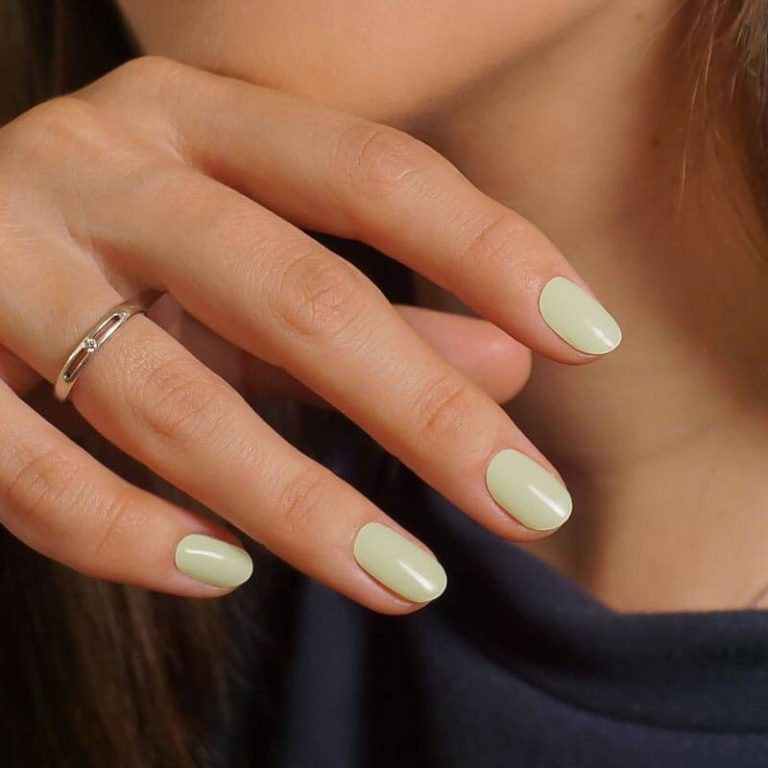
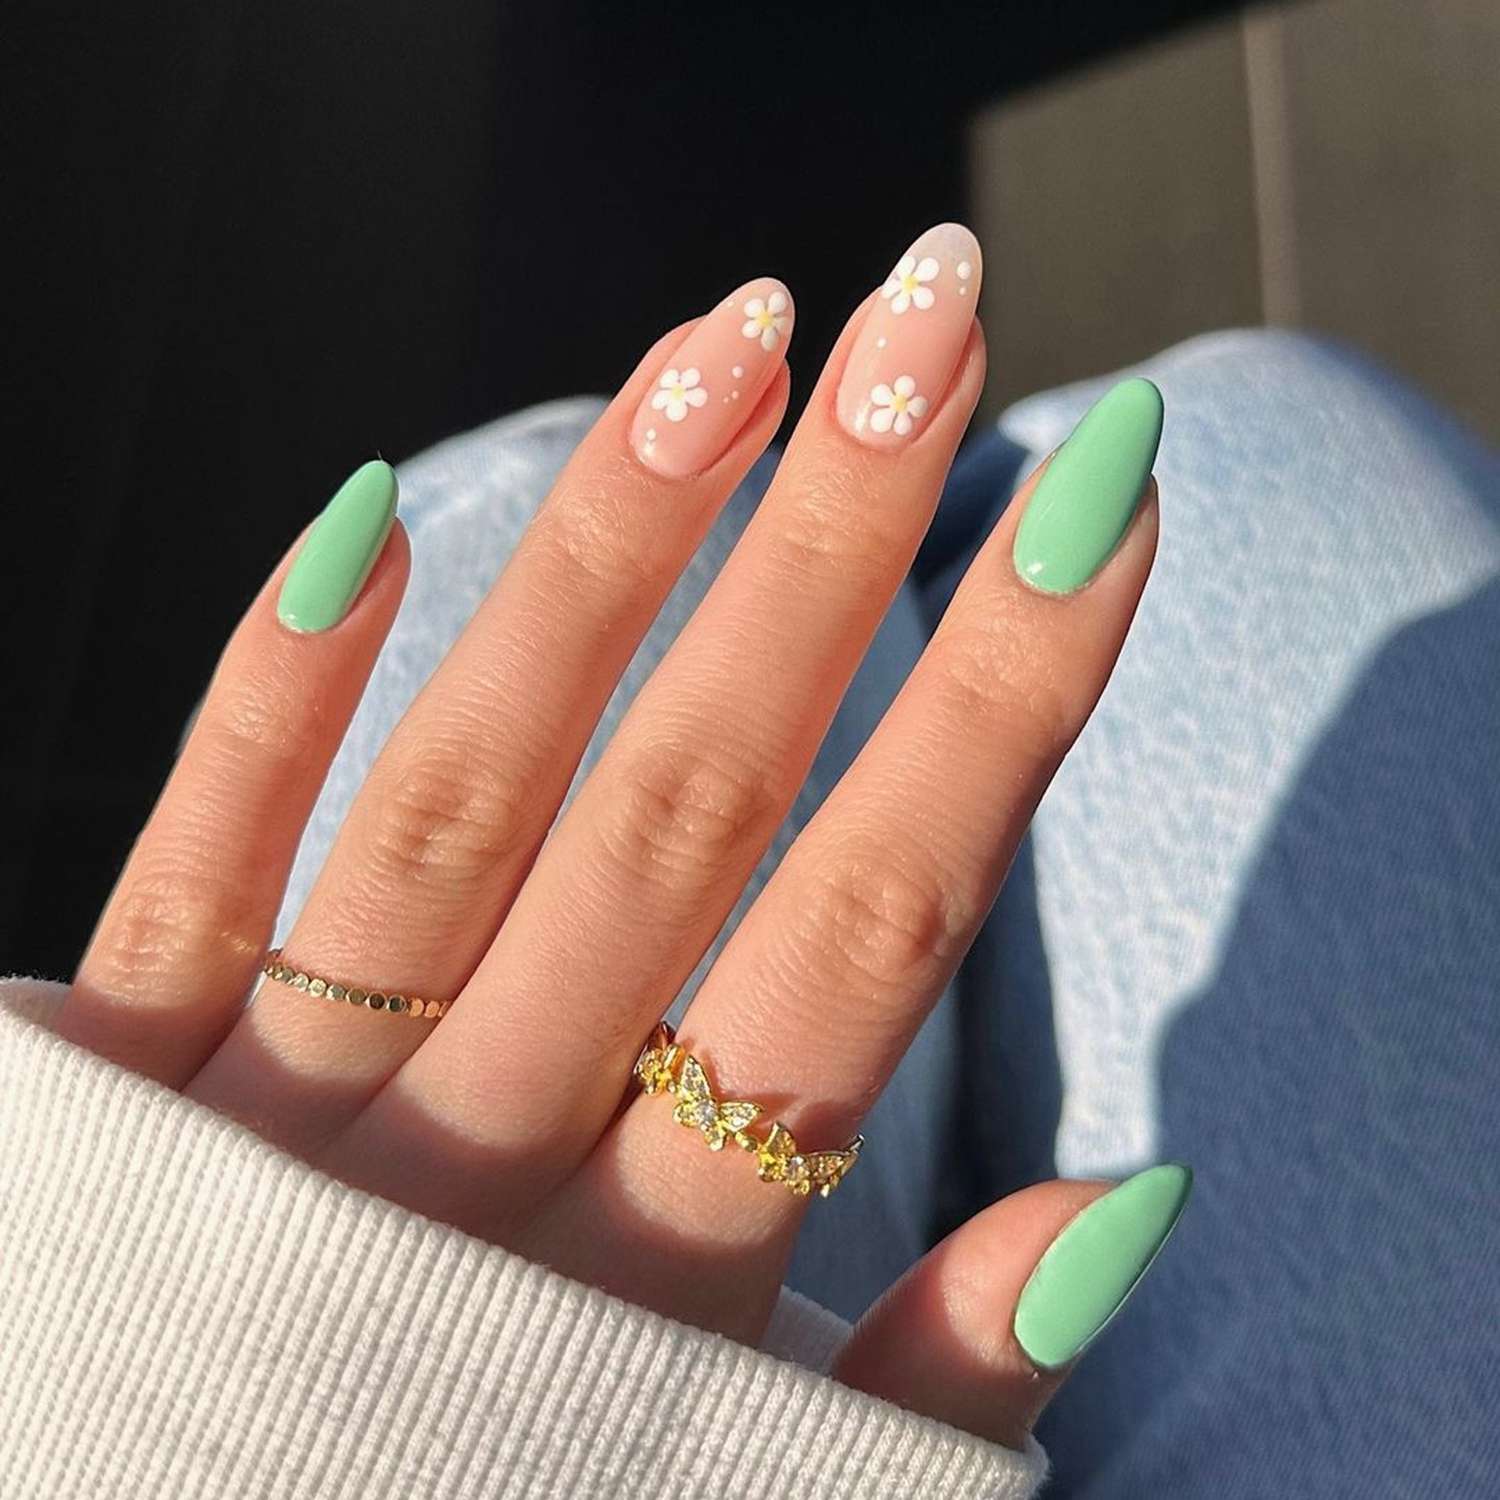
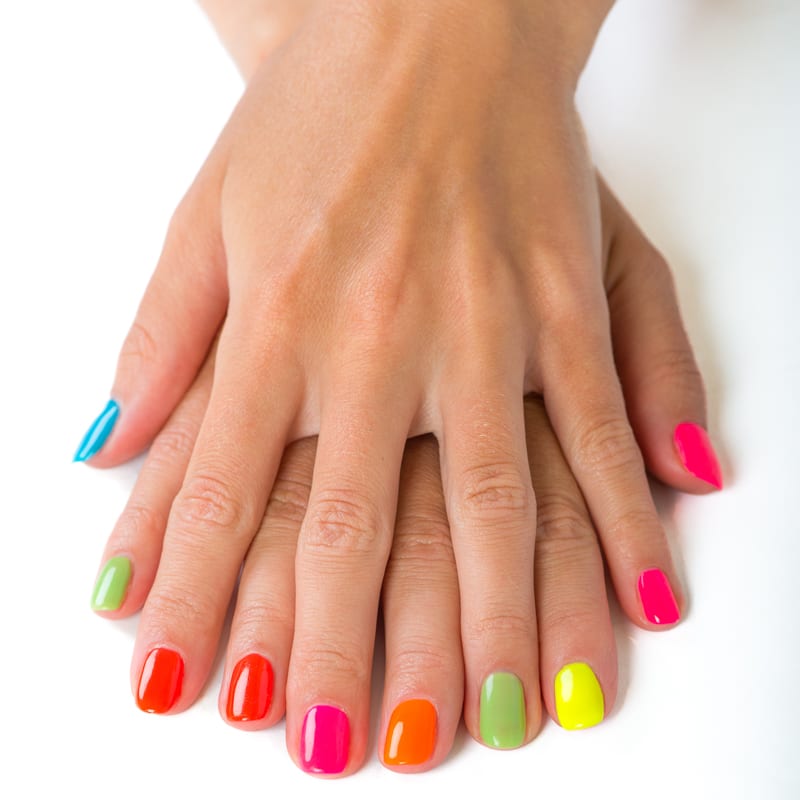
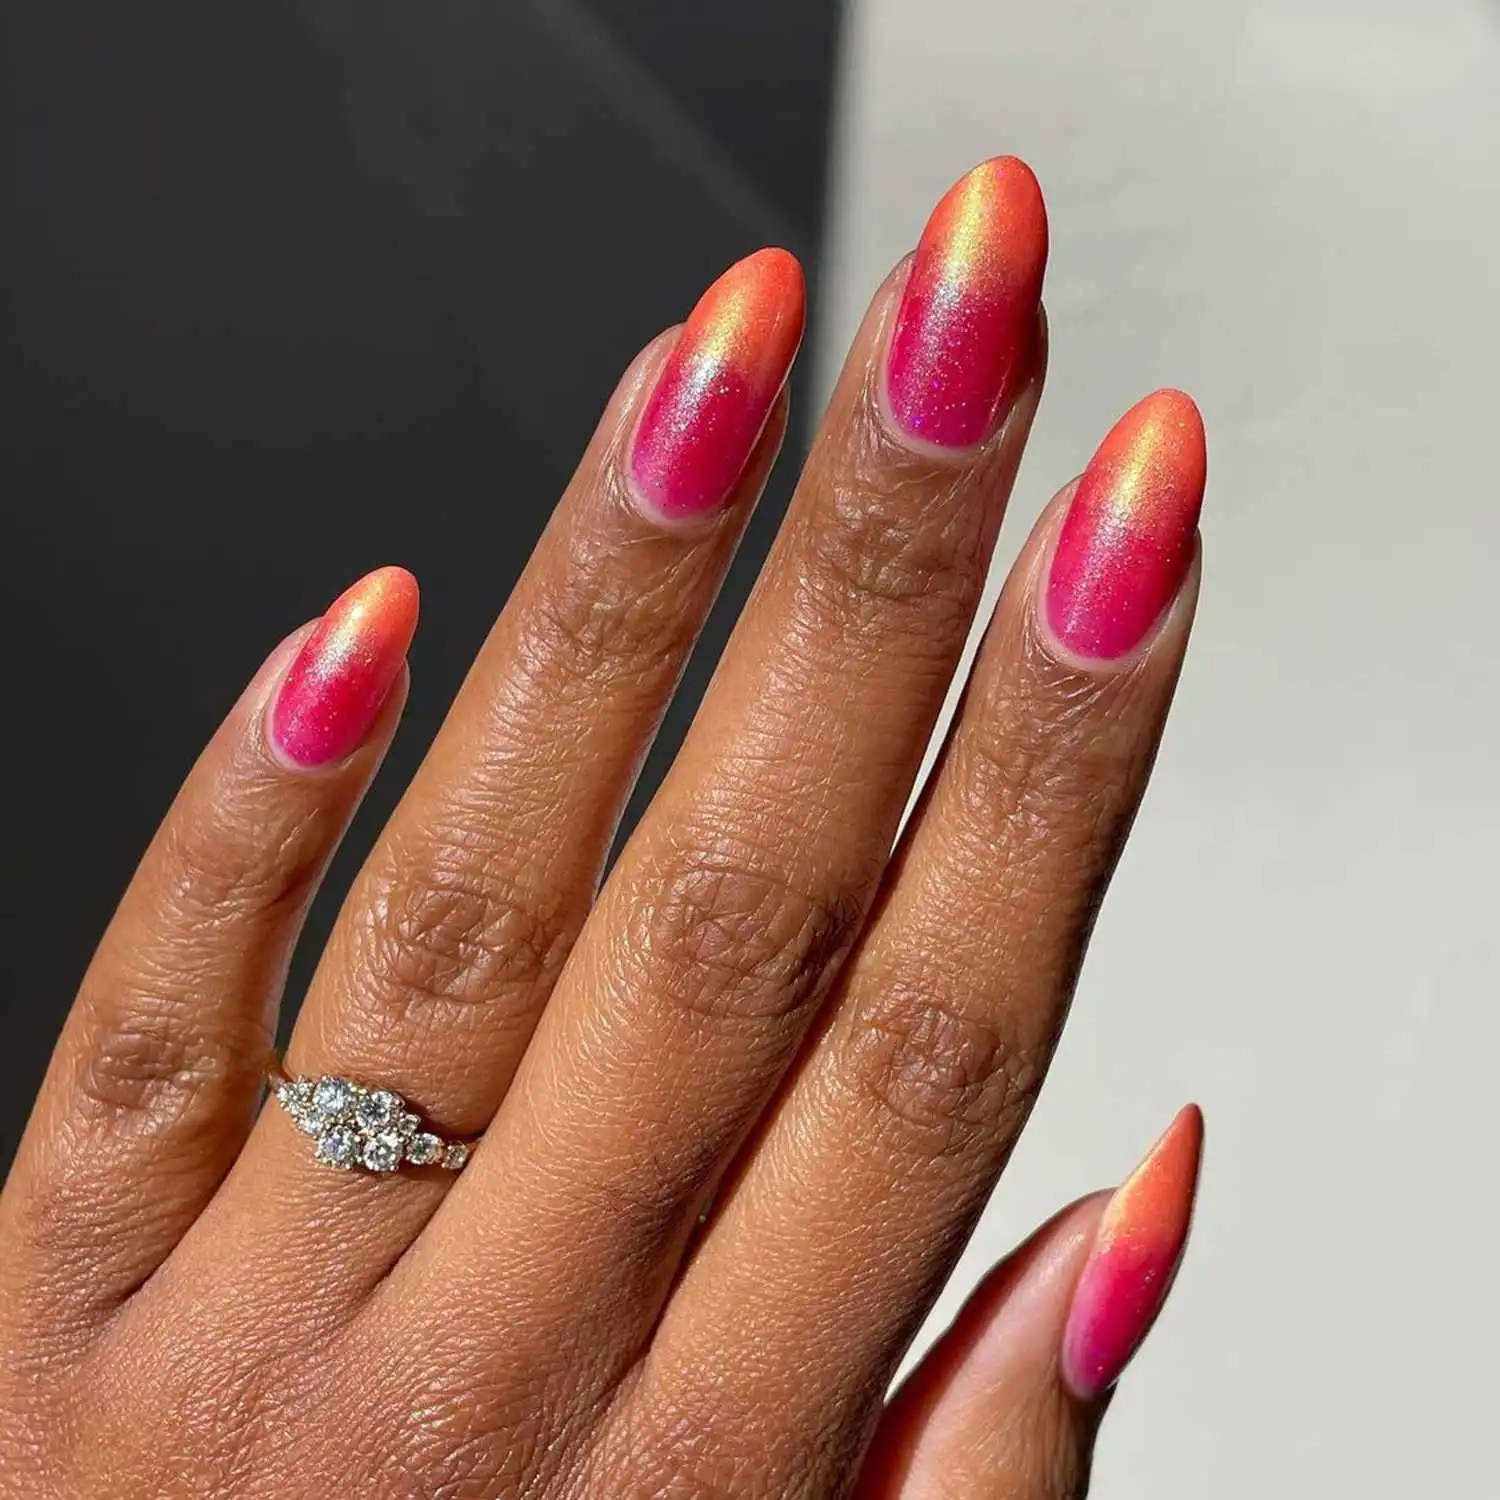
DIY gel nails grant you the freedom to experiment with colors and designs at your own pace. There’s no need to choose from a limited salon selection when you can mix, match, and try out every shade and technique at home. This flexibility allows you to stay on-trend or create unique, personalized nail art that perfectly matches your style or occasion.
Healthier Nail Care
Performing gel manicures at home also means you can take better care of your nails. The rush in salons might lead to undercuring or overfiling, both of which can damage your nails. By doing it yourself, you can ensure each step is done with care, use high-quality products, and even opt for non-toxic gel polishes. Plus, you control the sanitation of your tools, significantly reducing the risk of infections.
Equipment and Supplies Needed
How to do gel nails at home with UV light? To successfully do gel nails at home with UV light, you’ll need particular equipment and supplies.
Overview of At-Home Gel Manicure Kit
An at-home kit typically includes a UV or LED lamp, nail files, buffers, cuticle oil, and a range of gel polishes.
Detailed List of Essentials
UV or LED Lamp: The lamp cures the gel polish, creating a durable coat.
Gel Nail Polishes: Select your desired colors along with a base and top coat.
Nail File and Buffer: These tools shape and smooth your nails before application.
Cuticle Oil: Moisturizes and prepares the nails and cuticles for polish.
Rubbing Alcohol or Cleanser: Cleans the nail surface to ensure polish adhesion.
Cotton Pads: Used with alcohol to clean the nails or remove gel polish.
In addition, you may need UV gloves to protect your skin during curing and orange wood sticks or cuticle pushers to tidy your cuticles.
Preparing for Your Gel Manicure
Preparing your nails is the first critical step in the gel manicure process.How to do gel nails at home with UV light? Clean and well-prepped nails are the foundation for a smooth, long-lasting gel manicure. Proper preparation prevents lifting and peeling, enabling better polish adhesion and a professional-looking finish.
Nail Preparation Steps
Begin by cleaning your nails with a polish remover to eliminate any old polish residue. Wash hands with soap and water. Next, gently push back the cuticles with an orange wood stick or stainless steel pusher. Avoid cutting cuticles to prevent infection. Trim and shape your nails using a nail file—aim for a consistent length and shape across all nails. Use a nail buffer to smooth out your nail bed, creating an even surface. Cleanse nails with rubbing alcohol on a cotton pad to remove oils and moisture, ensuring a clean canvas for polish application.
Importance of Nail Preparation
Nail preparation is crucial for a flawless gel manicure. It aids polish adhesion, resulting in a longer-lasting manicure, and helps prevent nail damage. Skipping preparation may cause early chipping or lifting, leading to an unsatisfactory manicure. It also reduces the risk of infection and promotes healthy nail growth by keeping the nails and surrounding skin clean.
Step-by-Step Application Process
After preparing your nails, follow these steps for a perfect gel manicure at home.
How to Apply Base Coat Correctly
First, apply a base coat thinly and evenly over the entire nail surface. Avoid touching the skin around the nails, as this can lead to lifting. Cure the base coat under your UV lamp for the specified time—usually around 30 seconds.
Techniques for Applying Gel Polish
For the gel polish, use thin layers to ensure even curing and long-lasting wear. Start from the nail’s base and brush towards the tip, capping the edges. Cure each coat separately under the UV light, typically for 60 seconds.
Sealing with a Gel Top Coat
Finish with a gel top coat for a shiny, chip-resistant seal. Apply as thin as the base coat, covering the entirety of the polish. Cure one last time under the UV lamp to set your manicure firmly in place.
Curing Gel Nails with UV Light
Explanation of UV Curing Process
Curing gel nails transforms the liquid gel into a hard coat. This happens when you use a UV light, which releases energy that causes a chemical reaction in the gel. The reaction is known as photoinitiation, where photoinitiators in the gel polish absorb the UV light. This triggers the polymers in the gel to link together, creating a tough, durable finish. The curing process is vital as it ensures your manicure is set correctly, allowing for a chip-resistant and long-lasting result.
Tips for Properly Curing with UV Light
For effective curing, follow these tips:
- Use the right lamp: Match your lamp’s UV wavelength with the gel polish’s requirements.
- Thin layers work best: Apply gel polish in thin layers to cure evenly and thoroughly.
- Cure each layer: After applying each coat, cure your nails under the UV light for the recommended time, usually around 30 to 60 seconds per layer.
- Avoid smudges: Keep your hands steady to prevent smudges before curing.
- Cover edges: Cap the free edge of your nails with polish to seal the tips for extra protection against chipping.
- Follow instructions: Stick to the curing times specified by your gel polish and lamp brands.
- Do not rush: Curing cannot be sped up, so give each layer the time it needs.
- Check for dryness: After curing, your nails should feel dry to touch. If they’re still tacky, they may need more time under the lamp.
By adhering to these tips, you’ll help ensure a solid, glossy finish that can stand up to the rigors of daily life.
Maintenance and Upkeep
Maintaining your gel manicure is key to keeping it looking fresh and lasting longer. Adhering to a few simple tips can extend the life of your manicure by several days or even weeks.
Tips for Making Your Gel Manicure Last
To ensure your gel nails stay chip-free and glossy, follow these tips:
- Avoid water right after application: Keep your nails dry for at least an hour after your gel manicure.
- Wear gloves for chores: Protect your nails when cleaning or washing dishes by wearing rubber gloves.
- Moisturize regularly: Use cuticle oil daily to hydrate your nails and cuticles.
- Keep hands clean: Wash your hands regularly to prevent dirt buildup under your nails.
- Avoid harsh chemicals: Limit exposure to harsh chemicals, including acetone, by using gentle nail care products.
- File any snags: If you notice a snag, carefully file it down to prevent further chipping.
- Touch up as needed: Apply an additional top coat after a week to freshen up the shine.
- Be mindful of nail use: Avoid using your nails as tools which can damage the gel.
Routine Care for Gel Nails
Daily care helps your manicure stay perfect. Here’s how to do it:
- Hydrate often: Keep your nails and cuticles moisturized.
- Stay gentle: Treat your nails gently when typing or doing tasks.
- Maintain nails: Keep your nails at a manageable length to minimize breakage.
- Assess frequently: Check your nails regularly for any lifting or chipping.
- Manage cuticles: Gently push back cuticles weekly to maintain a tidy nail bed.
Following these maintenance and routine care tips can keep your gel nails looking as good as new and help prevent damage, ensuring that your at-home manicure remains stunning in between applications.
Safe Removal of Gel Nails
Properly removing gel nails preserves nail health and prevents damage. Explore methods ranging from gel polish removers to the traditional acetone approach.
Different Methods to Remove Gel Polish
There are two main approaches to take off gel polish at home: using a specialized gel nail polish remover or soaking in acetone. Gel polish removers tend to work faster and require fewer tools. Acetone removal involves cotton, foil, and a bit more time.
Step-by-Step Guide for At-Home Removal
Here’s how to remove gel nails safely at home:
- File the Nail Surface: Use a nail file to gently break the shiny topcoat layer.
- Apply Soaking Agent: Choose between gel polish remover or acetone soaked in cotton.
- Wrap Nails with Foil: Secure the cotton with foil for a snug fit around each nail.
- Wait Patiently: The polish needs time, usually 15-20 minutes, to lift from the nail.
- Gently Scrape Off Polish: Use a cuticle pusher or orange stick to remove loosened polish.
- Buff the Nails: Smooth out any leftover polish with a nail buffer. Be gentle to avoid nail damage.
- Moisturize: Finish by nourishing your nails with cuticle oil to restore hydration.
Following this guideline ensures a clean polish removal while maintaining the integrity of your natural nails.
Health and Safety Precautions
Caring for your health and safety is crucial when you do gel nails at home. Two key precautions will keep you safe.
Working in a Ventilated Space
Always work in an area with fresh air flow. Gel polishes can release strong fumes. Open windows or use a fan to keep the air moving. This will help avoid breathing in any vapors that could harm your health.
Protecting Skin from UV Exposure
UV exposure during curing can harm your skin. Wear UV-blocking gloves or apply sunscreen to your hands, leaving nails uncovered. This way, you protect your skin while letting the UV light cure the gel polish properly.