Gel Polish Ombre Nails: A Beginner’s How-To
Introduction to Gel Polish Ombre Nails
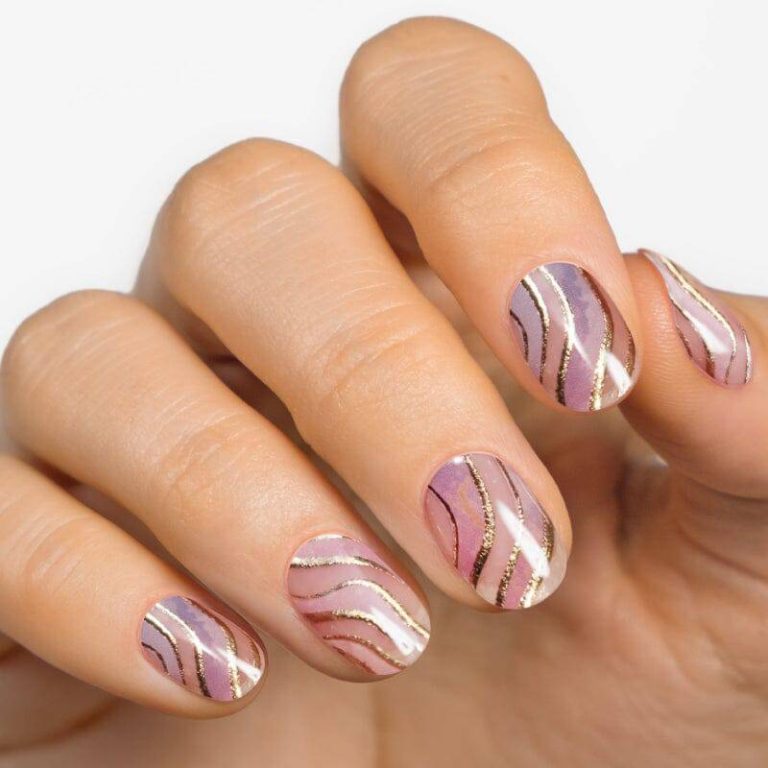
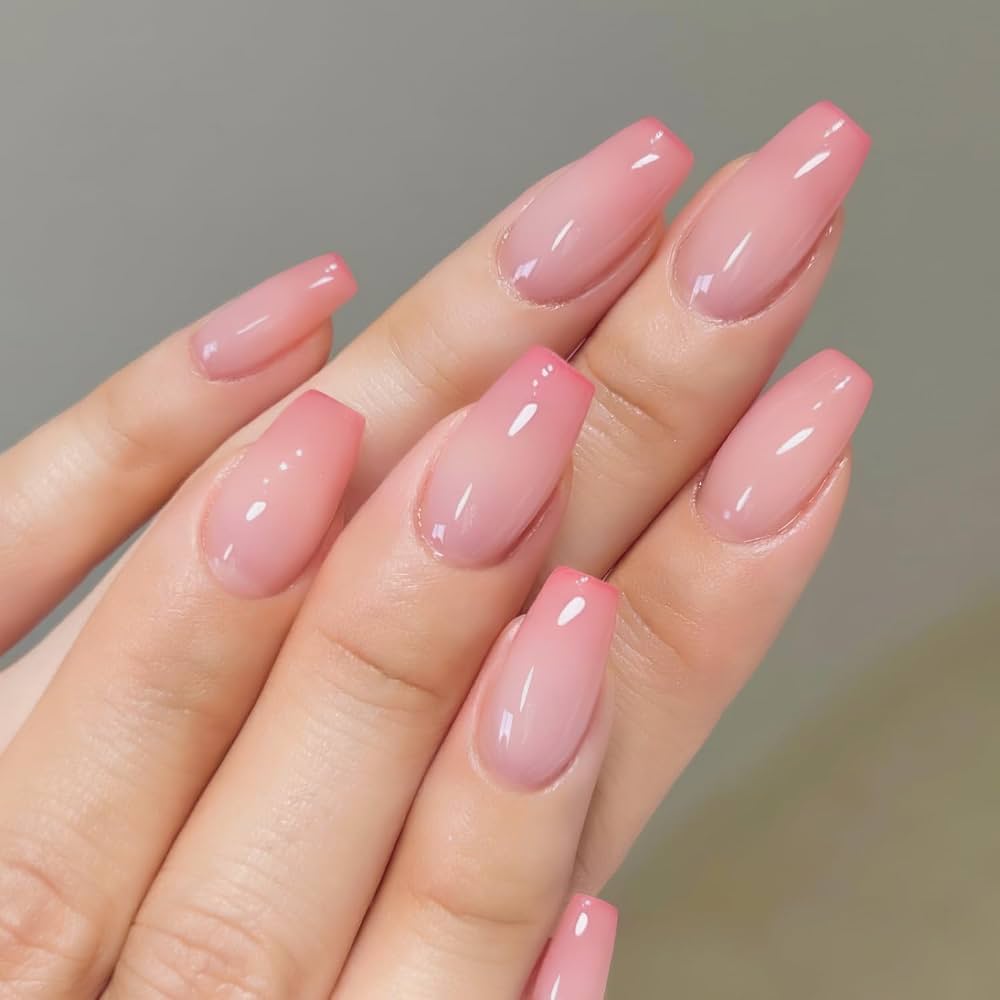
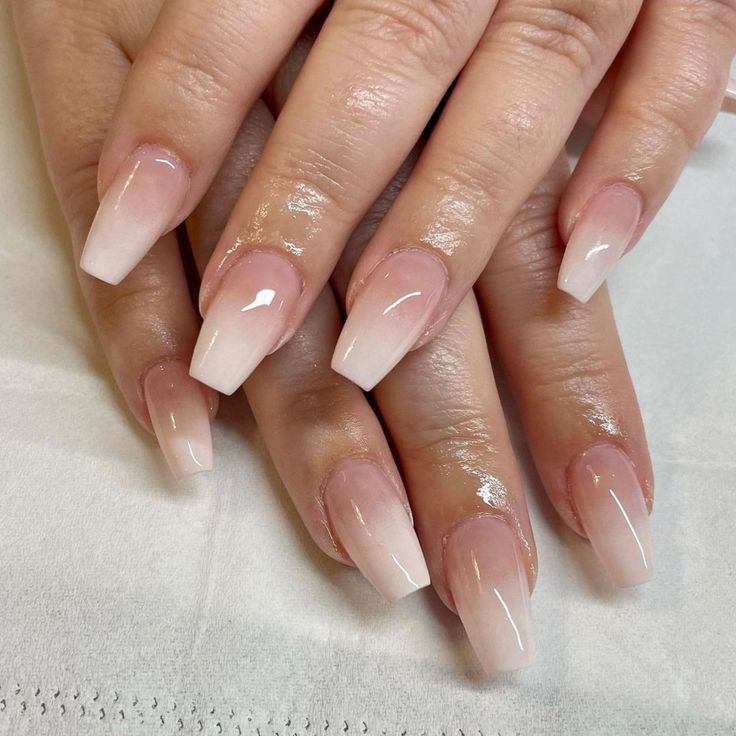
Ombre nails are a lasting trend in the beauty world. They blend two or more colors in a gradient fashion, giving a stunning visual effect. How to do ombre nails with gel polish? Gel polish provides a durable, glossy finish, making it an excellent option for ombre nails.
Ombre nails with gel polish offer versatility. You can opt for a bold summer look with neon and pastel colors, or a darker, glittery style for winter. The choice of matte or glossy finish further personalizes your nail art.
Gel ombre nails require some basic steps, like preparing the nails and applying a base coat. You then sequentially apply colors and blend them using either a brush or sponge.
Achieving the perfect ombre effect does take practice. But once you master the technique, you can create salon-level nail art in the comfort of your home. Whether you aim for subtlety or statement nails, learning how to do ombre nails with gel polish will expand your creative options.
Essential Tools and Materials for Gel Ombre Nails
To start your journey into the realm of gel ombre nails, you need the right set of tools and materials. Here’s a basic rundown of what you’ll need:
- Gel polishes: At least two colors to create the gradient effect. Three colors can add depth.
- Base coat: To protect your nails and ensure adhesion of the gel polish.
- Top coat: To seal in your design and choose your finish, either matte or glossy.
- UV/LED lamp: To cure the gel polish between layers.
- Nail prep tools: Nail file, buffer, cuticle pusher and cleaner for shaping and preparing the nail.
- Ombre brush: A special brush designed for blending colors in an ombre pattern.
- Makeup sponge: An alternative to the brush for a different blending technique. Remember to remove fibers with tape.
- Clean-up supplies: Lint-free wipes and cleanser for tidying any excess polish.
Choosing high-quality products will make the process smoother and the results longer-lasting. Now, let’s dive into the two popular methods of creating ombre nails: using a brush and a sponge.
Two methods of Creating Gel Ombre: Brush and Sponge Techniques
Brush Technique: You’ll apply your gel polish in sections on the nail, then use the ombre brush to blend the colors horizontally. This method offers a clean and precise finish, minimizing polish on the surrounding skin.
Sponge Technique: You’ll use a makeup or manicure sponge to dab the polish onto the nail for a blended look. This method can give a softer gradient but may require more clean-up around the nail edges. Cut the sponge into thin layers to avoid excess polish.
Both methods have their pros and cons, and the choice ultimately comes down to personal preference and the materials you have at hand. Practice is key to perfecting either technique, so don’t be discouraged if it doesn’t turn out perfect the first time. With each attempt, your skills will improve.
Preparing Your Nails for Ombre
Before diving into the art of creating ombre nails using gel polish, proper nail preparation is crucial. This foundation will ensure your nail art is smooth and long-lasting. Follow these simple steps and you’ll be ready for the ombre technique.
Step-by-Step Nail Preparation
- Cleanse Your Nails: Start with clean, dry nails. Remove old polish, if any, with a gentle remover.
- Shape Your Nails: Using a nail file, shape your nails to your desired style. Be consistent with the filing direction to prevent split ends.
- Buff the Surface: Use a buffer to smooth out the nail surface. A smooth base is key for even application of gel polish.
- Push Back Cuticles: With a cuticle pusher, gently push back your cuticles. This step helps in creating a neat ombre effect.
- Trim Cuticles if Needed: If you have any excess overgrown cuticles, carefully trim them. Remember to be gentle to avoid damaging the nail bed.
- Clean the Nail Plate: Wipe the nail plate with a cleanser to remove oils and debris. This promotes better gel polish adhesion.
- Apply a Base Coat: Brush on a thin base coat of gel polish, capping the free edge. Cure under a UV/LED lamp as directed.
With these steps, your nails are fully prepped. They offer an optimal canvas for creating stunning ombre nail art with gel polish. Remember, patience and practice are key to mastering how to do ombre nails with gel polish.
The Gel Polish Ombre Process with Brush
Creating ombre nails with a brush offers clean lines and precise color blending. Follow this step-by-step guide to master the technique.
Step-by-Step Application Using a Brush
- Apply Your Base Color: Paint the entire nail with the lightest gel polish. Cure it under the LED lamp.
- Apply the Second Color: Add the second color in a thin stripe where you want the blend to start. Don’t cure yet.
- Blend the Colors: Use your ombre brush to blend. Use quick horizontal strokes. Act fast before the polish sets.
- Cure Under the Lamp: Once blended, cure the polish under the lamp to set the gradient.
- Add More Layers (Optional): For a deeper gradient, apply more polish and blend again. Cure each layer.
- Apply the Top Coat: Finish with a top coat to protect your design. Cure one last time.
The brush method may take practice, but results in stunning, professional-looking ombre nails. Remember that similar tones blend easier for beginners. Now, let your creativity flow and try it out with your favorite colors!
The Gel Polish Ombre Process with Sponge
When using a sponge to create gel polish ombre nails, the process adds a softer gradient with a different texture compared to the brush method. Get ready for a more playful and hands-on approach to blending your favorite colors.
Step-by-Step Application Using a Sponge
- Apply Base Color: Cover your nail with a base coat of the lightest color. Cure it under your lamp.
- Add Second Color: On a sponge, apply the second gel polish. Place it right above the base color on your nail.
- Dab to Blend: Gently dab the sponge on your nail. This blends the colors together.
- Clean any Excess: Use a stick or wipe to remove polish outside your nail.
- Cure and Repeat: Cure the blended colors. Add more layers if needed, curing each time.
- Finish with Top Coat: Apply a top coat for shine and cure again to set it.
The sponge technique is fun and produces unique ombre effects. Make sure to press just enough to blend without making the layers too thick. Patience is key! Practice makes perfect, so don’t worry if it takes a few tries to get it right.
Top Tips for Perfect Gel Polish Ombre Nails
Achieving flawless ombre nails with gel polish can be tricky. Here are tips to perfect your skills:
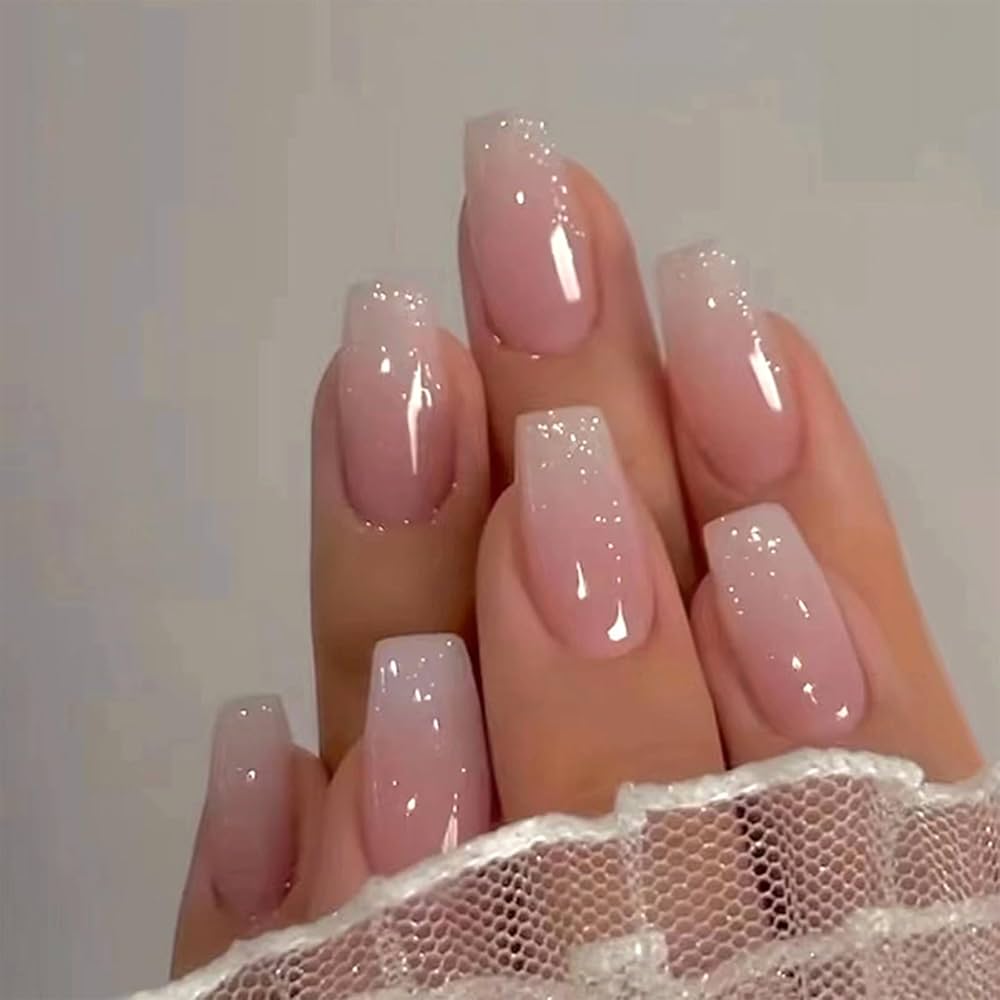
- Start with similar shades: Choose colors close in hue for easier blending.
- Maintain healthy nails: Prep your nails well to ensure a smooth application.
- Quality over quantity: Use high-quality gel polishes for a lasting finish.
- Thin layers are key: Apply gel polish in thin layers to avoid bulges and speed up curing.
- Work quickly but carefully: Gel polish dries fast under a lamp. Blend swiftly for best results.
- Patience with practice: Don’t rush. The more you practice, the better you get at ombre.
- Clean as you go: Keep skin free of polish for a neat look. Use a stick or swab for this.
- Change up techniques: Try both brush and sponge methods to find your favorite.
- Seal with a top coat: Always finish with a top coat to protect your art.
- Have fun with it: Experiment with different color combos and textures. Enjoy the process!
By keeping these tips in mind, your journey to masterful ombre nails will be smoother and more enjoyable.
Seasonal Ombre Nail Inspirations
Nail art is not just about technique; it’s also about timing. Seasonal trends can inspire beautiful ombre color combinations. Here are some ideas for summer and winter, as well as special occasions.
Summer Ombre Nail Color Combinations
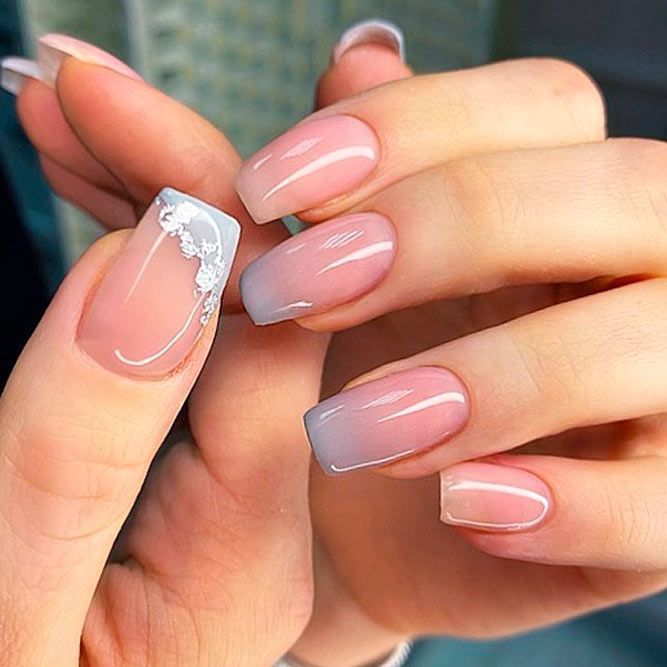
Summer calls for vibrant, lively colors. Use neon or light pastels to create a fresh look. Combine shades like turquoise and melon or coral and peach for a sunny vibe. For a subtle effect, blend sky blue into soft lavender. These combinations reflect the joy and brightness of summer days.
Winter Ombre Nail Color Combinations
Winter invites darker, richer colors. Opt for combinations like deep blue fading into icy silver or forest green melting into emerald. For cozy appeal, try burgundy transitioning to a warm taupe. Matte top coats add sophistication and depth to winter nails.
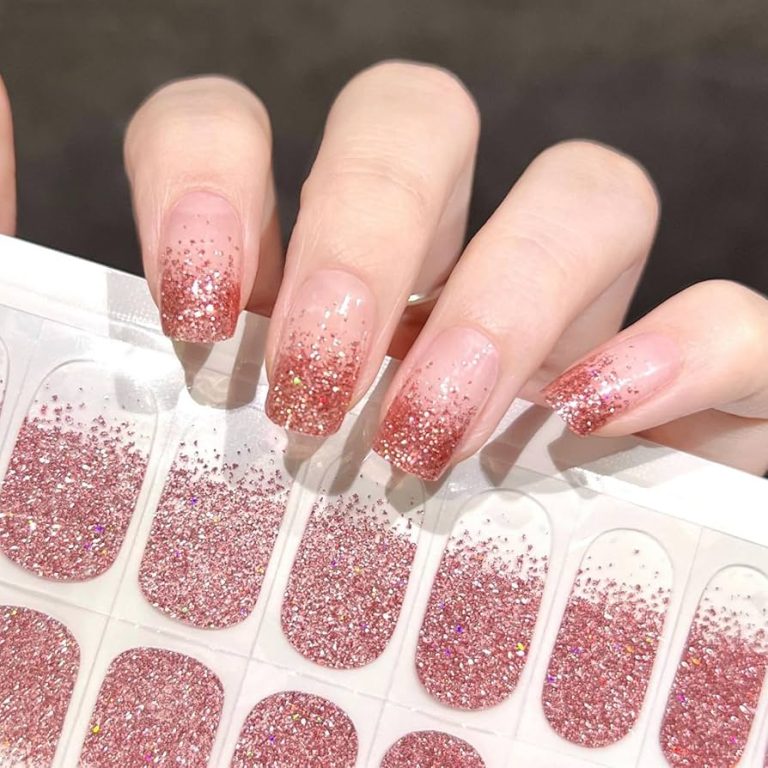
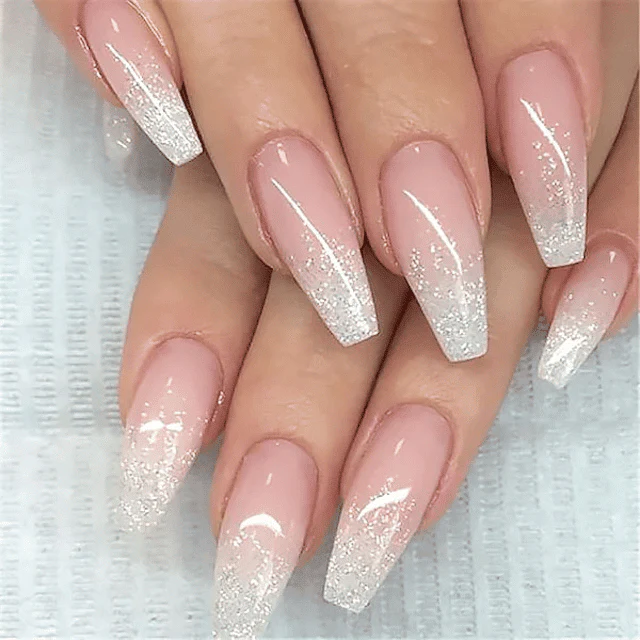
Glitter Ombre Nails for Special Occasions
Glitter adds sparkle to any celebration. Mix glitter polish with a solid color for a glamorous gradient. Silver with violet or gold with red make dazzling pairs. These sparkly styles are perfect for New Year’s Eve or a birthday bash.
Choosing the right ombre combination can elevate your nail art for any season. Play with these suggestions to find what works for you.
Finishing Touches: Top Coats for Ombre Nails
After creating your ombre nails, a top coat is a must. It seals your design and adds the desired finish. Whether it’s a protective shield or a style statement, the top coat makes a difference.
Choosing Between Matte and Shiny Top Coats
Matte and shiny top coats each set a different mood. A shiny top coat adds gloss and makes colors pop. It’s perfect for a flashy, polished look. A matte top coat gives a flat finish. It’s good for a modern, sophisticated style. Both can be durable and protect your ombre nails well. Consider your occasion and what you wear to pick the right one.